5 Simple Steps To Make A Chalkboard Wall
Every home can use a chalkboard, right? They are perfect for family message centers, reminders in a home office, or a spot for kids to draw. But what about carving out a section of a wall or an entire feature wall designated for a chalkboard? If you don't have wall space, you could paint the front of a door. All you need is just a few hours and these five simple steps to make a chalkboard wall or door.
This post contains affiliate links so you can see what products I used or recommend for this project. At no cost to you, we receive a small commission if you make a purchase.
With chalkboard paint they recommend you wait at least three days before using the chalkboard. With flat latex or chalk paint, you should wait at least 12-24 hours for the paint to completely dry.
IMPORTANT: Before using a brand new chalkboard it MUST be primed first or else you risk permanent ghost marks. Ask me how I know!
Simply rub the side of a stick of chalk liberally over the entire board and rub it in with a clean rag. Erase with a chalk brush or slightly damp rag.
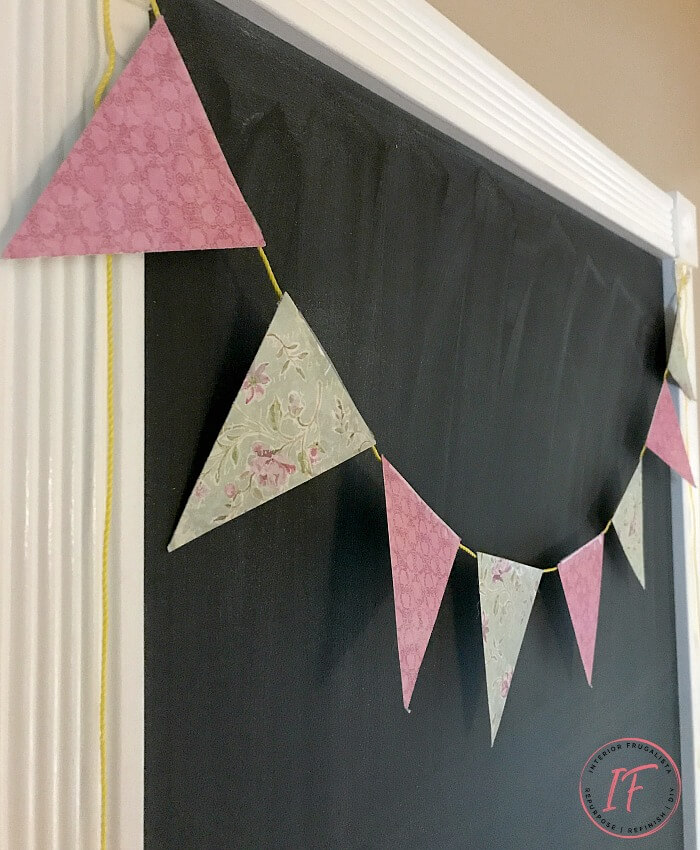
That's it, you're now ready to write messages and reminders for the kids or get creative with some chalk pens. I like to decorate the top of my chalkboard with cute bunting banners for the seasons and holidays.
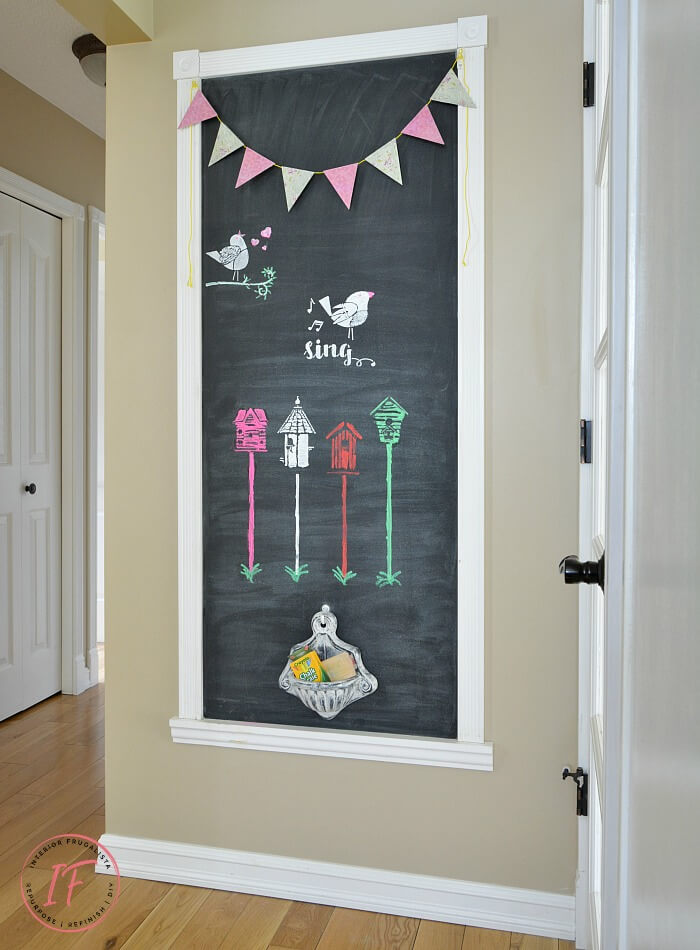
To hold our chalk I picked up this little gem at the dollar store. I painted it with a dark graphite chalk paint first followed by white chalk paint and distressed it to show the grey underneath. I protected the finish with a coat of clear wax and its perfect for holding an entire package of chalk. It hangs on a hook so it can easily be removed.
I always have colored chalk in it for my grandson who loves to draw on Grandma's big chalkboard!
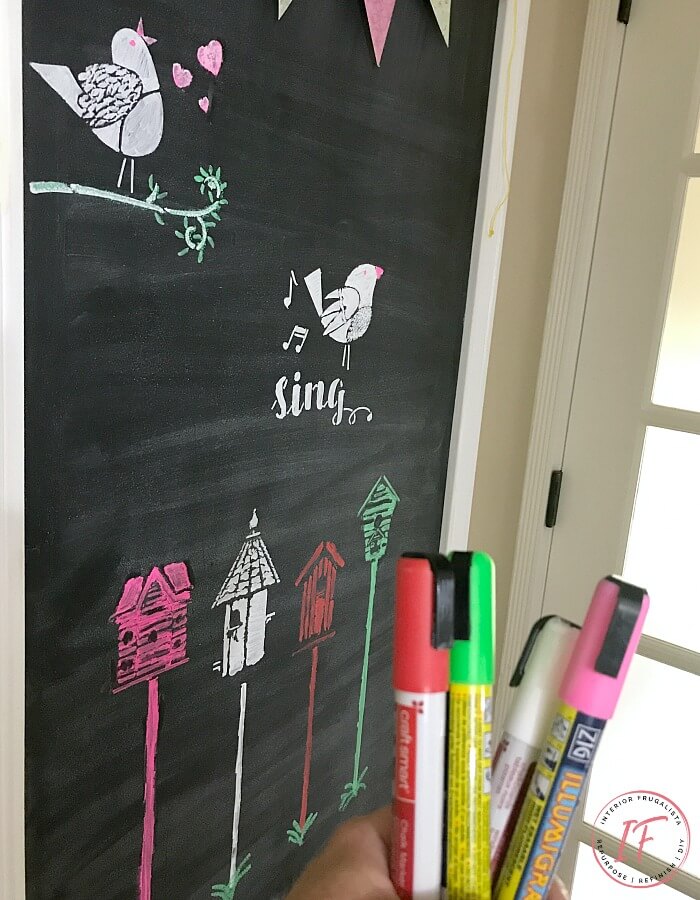
I had a little fun with a birdhouse stencil and some liquid chalk pens on our new kitchen chalkboard wall.
Vintage Dresser Mirror Chalkboards
Chalkboard Menu With Oyster Shell Patina
Silver Plate & Charger Chalkboards
If you have any questions about this project, please leave them in the comment section below or press the Contact Me button at the top of the blog to drop me an email. I love hearing from you!
I share my projects at these inspiring link parties.
How To Make A Chalkboard Wall or Door
This post contains affiliate links so you can see what products I used or recommend for this project. At no cost to you, we receive a small commission if you make a purchase.
Step 1 - Create a smooth surface for the chalkboard
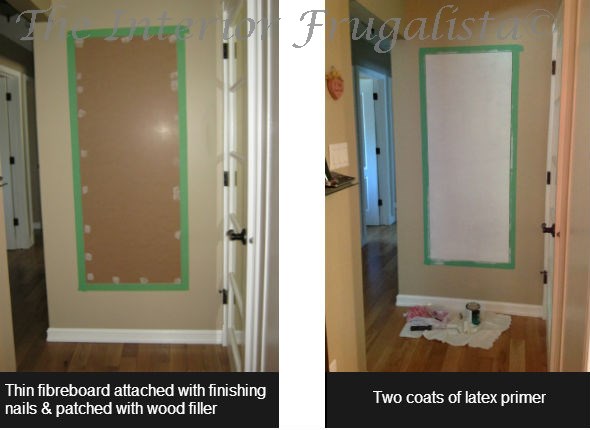
Cut a piece of thin MDF to size. Sometimes you can luck out and find a piece big enough in the precut section of home improvement stores. If not, cut it with a straight edge and a utility knife. Hang the hardboard onto the wall with finishing nails or construction adhesive. You'll need to hold it onto the wall with tape while the adhesive cures.Feature Chalkboard Wall:
You'll need to repair any holes and dents in the drywall and sand the wall nice and smooth first.Chalkboard Door:
For painting a chalkboard on a door you'll need it to be a solid door with a smooth surface. Make sure to fill any deep scratches or dents first.Step 2 - Prime the wall
Once you've repaired the wall or installed the MDF board, apply painters tape around the perimeter to protect your walls. Prime the surface with two coats of a good quality latex primer.Priming Tip:
Unlike what I did, tint the primer with a few drops of dark grey or black paint. Roll the primer on with a foam roller so it goes on nice and smooth. Sand it lighting with 220-grit sandpaper between coats and wipe the dust with a lint-free rag.Step 3 - Paint the chalkboard
You can use two different products to paint your chalkboard onto the wall or door.Chalkboard paint
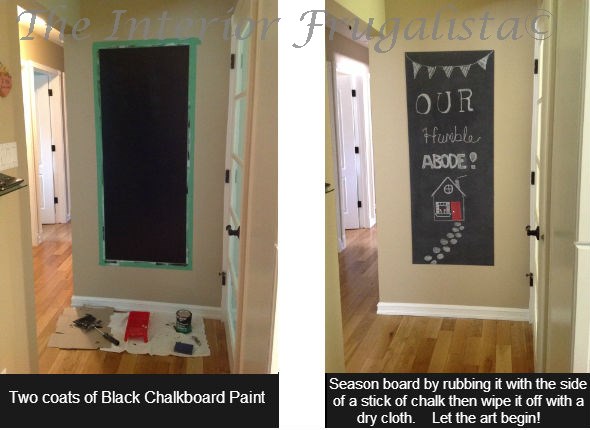
You can use a latex writable-erasable chalkboard paint with tintable colors - like school green. It is a thicker product and requires fewer coats BUT it requires a 4-hour dry time between coats. This is the product we used to paint our chalkboard.Flat latex or chalk paint
Did you know you can use regular latex paint? But it has to be a FLAT latex to work but you could also use chalk paint too. It does require at least three thin coats for complete coverage but you can apply them within an hour. Another plus is that your color choices are endless. You should roll the paint on like the primer with a foam roller.Step 4 - Prime the chalkboard
Remove the painter's tape before the last coat of paint dries.With chalkboard paint they recommend you wait at least three days before using the chalkboard. With flat latex or chalk paint, you should wait at least 12-24 hours for the paint to completely dry.
IMPORTANT: Before using a brand new chalkboard it MUST be primed first or else you risk permanent ghost marks. Ask me how I know!
Simply rub the side of a stick of chalk liberally over the entire board and rub it in with a clean rag. Erase with a chalk brush or slightly damp rag.
Step 5 - Frame the chalkboard
Trim the chalkboard with either the same trim you have on your interior windows and doors or go with something more decorative. We trimmed ours to match our interior trim.Trim Tip
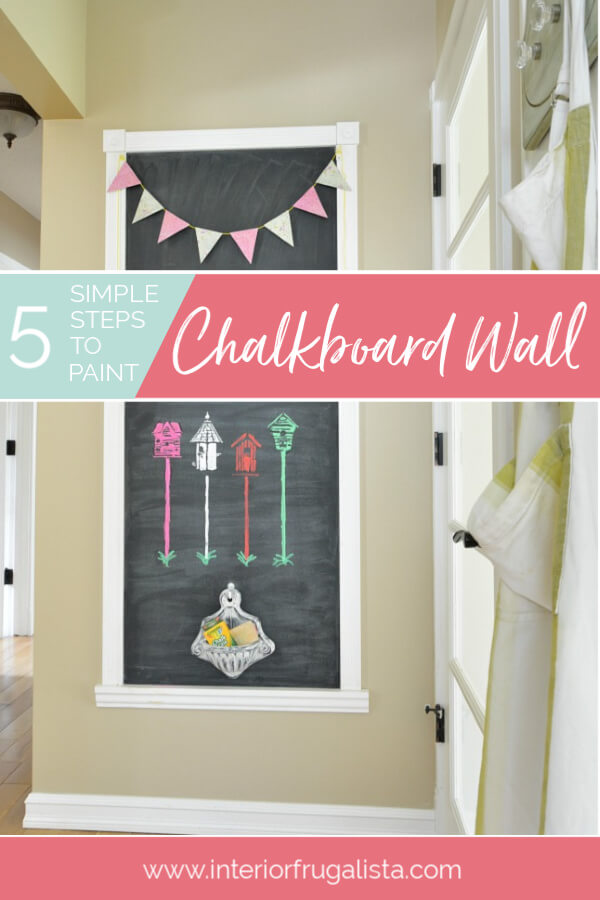
For the bottom of the chalkboard, use a small crown style molding that has a ledge for holding sticks of chalk and chalk brush. It's also handy for catching the chalk dust so it doesn't land on your floor to be tracked around the house.To hold our chalk I picked up this little gem at the dollar store. I painted it with a dark graphite chalk paint first followed by white chalk paint and distressed it to show the grey underneath. I protected the finish with a coat of clear wax and its perfect for holding an entire package of chalk. It hangs on a hook so it can easily be removed.
I always have colored chalk in it for my grandson who loves to draw on Grandma's big chalkboard!
I had a little fun with a birdhouse stencil and some liquid chalk pens on our new kitchen chalkboard wall.
More chalkboard ideas
Large DIY Chalkboard (no power tools required)Vintage Dresser Mirror Chalkboards
Chalkboard Menu With Oyster Shell Patina
Silver Plate & Charger Chalkboards
If you have any questions about this project, please leave them in the comment section below or press the Contact Me button at the top of the blog to drop me an email. I love hearing from you!
I share my projects at these inspiring link parties.




Hi Marie! I found you over at the Faeries and Fauna Link Party! I love this chalkboard idea! I totally need one, so am thinking about trying it out. Thank you for sharing :-)
ReplyDeleteWelcome Christina, so glad you popped over for a visit! I hope you found my tutorial helpful for when you make your chalkboard wall. It's easy peasy to make!
Delete