DIY Faux Barnwood Photo Backdrop Wall With EasyOff Mural
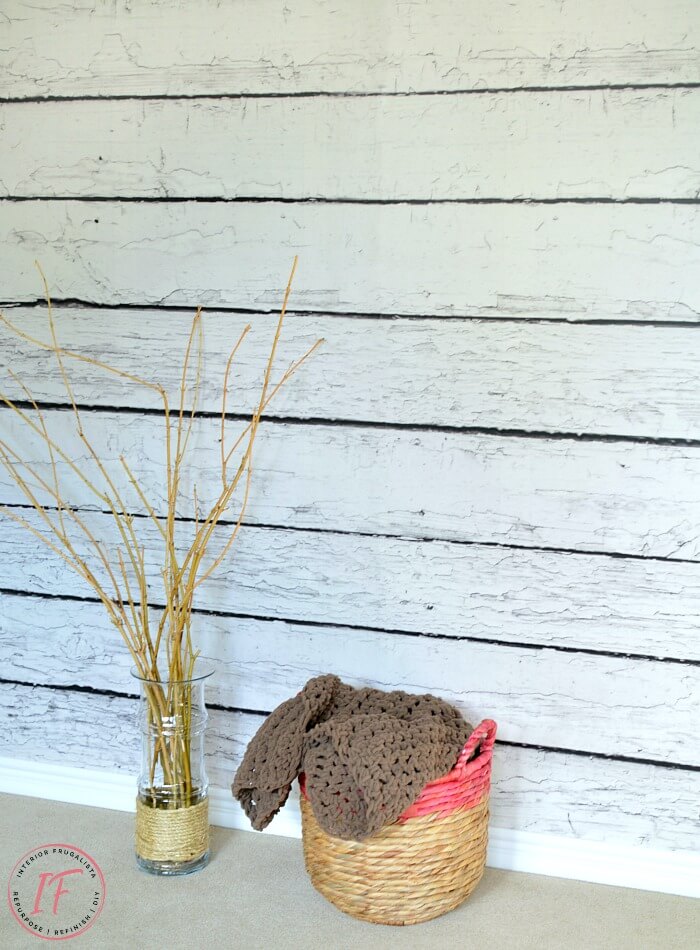
Good morning friends, I was hoping today was the day I could tell you that I got the okay to resume normal activities. Unfortunately, that's not the case and I have a few more weeks of physiotherapy under my belt. I've been itching to head down to the workshop to get dirty with some paint. I've got so many projects on the workbench queue. But I am so excited that when I do, I can share those completed projects in front of my new DIY Faux Barnwood Photo Backdrop Wall with Easyoff Mural.
Too excited to wait until after my six-week recovery, I had Mr. Frugalista install it the day after my surgery. Perhaps not a good idea because it is evident in some of the photos that I clearly had no business operating a camera while under the influence of pain meds.
It took days for me to narrow down my choice from the hundreds of Easy-Off Wall Murals available at Ink Shuffle but I kept going back to this White Wood Background.
There isn't a wall in this house suitable for taking decent furniture makeover photos. Our walls are painted a taupe color and we don't get a lot of natural light so my photos come off very dark. Photos with a white background look so crisp and bright. I'm thrilled to finally have the white background I've been longing for without having to paint our walls.
guest bedroom disaster furniture storage zone into the adjacent family room and lean against our taupe wall. Initially, we built the backdrop so it folded in half (hence the seam in the middle in the photo below) but it ended up being a nuisance. The frame is sheeted with thin MDF hardboard to keep it lightweight.
This is what the back side of the photo backdrop wall looks like to give you an idea of how we constructed it with 2" x 2" lumber to keep it lightweight. My apologies for the blurry photo.
The former folding backdrop used to have white beadboard paintable wallpaper. After the laborious task of stripping the paper from the MDF hardboard, we were ready to cover the backdrop with our EasyOff Barnwood Mural.
The mural came in 16-inch wide panels that are numbered for easy installation.
The paper is pre-pasted and all you do is soak in water for two minutes to activate the adhesive.
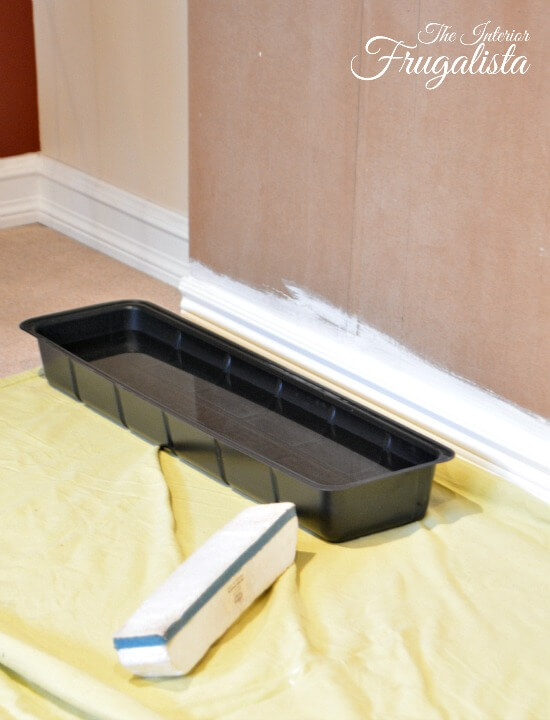
Before hanging the mural the wall needs to be sized, much like you do when hanging wallpaper. Mark the first row to ensure it is hung nice and straight.
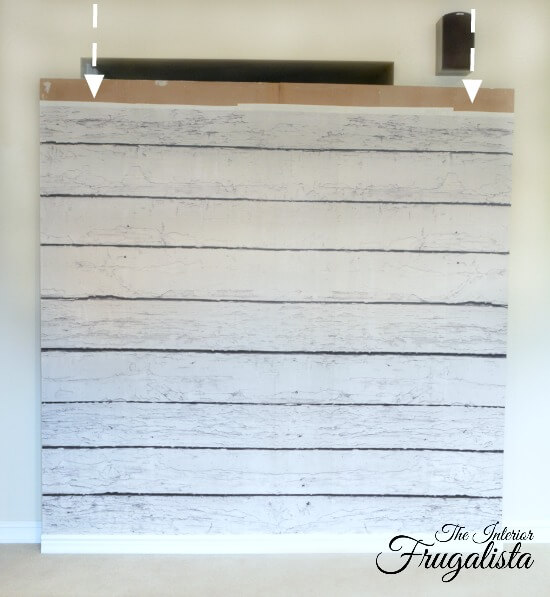
The numbered strips were so easy to hang because each panel has a mark that you line up over one another on the top and bottom (pictured below).
It was really easy to adjust the panels while lining them up and we were surprised by how the paper didn't wrinkle in the process. There were few air bubbles under the paper and easily removed with a wallpaper brush.
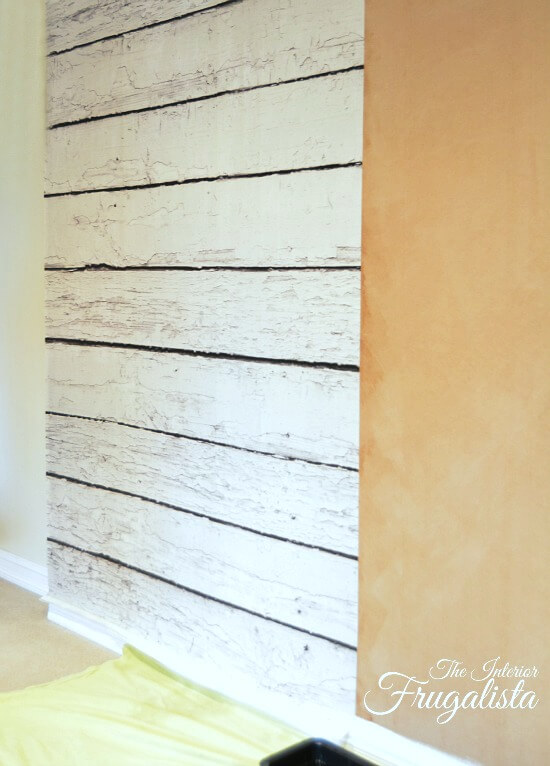
Two strips down - easy peasy!
The entire wall was finished in mere minutes. Afterward, he simply wiped the panels with a cloth to remove any excess moisture.
Another thing that's so awesome about these murals is that they are Easy-Off which is perfect for renters. There is no messy scraping or steaming and the panels essentially peel off in seconds without damage to either the wall or the paper.
We decided to put that to the test when we had to readjust the last panel after it was dry and I captured it in a quick video. Sorry for the quality of the video. Again, I should not have been operating machinery under the influence of pain meds. Plus this was my first EVER video on the blog and we had poor lighting.
When you're determining the size you need to order, it is recommended you add an extra two-inches all around. The excess was easy to cut off using a sharp utility knife and a straight edge.
My EasyOff mural is only 6' x 5'6", too small to cover a wall but perfect for a photo backdrop. I would have loved it to be 6-feet tall and there is an option to print the image larger but at the risk of pixelation and unwanted blurriness. The recommended settings ensure a nice sharp print and so I caution you to pay careful attention to the maximum sizing options should you want to order a mural.
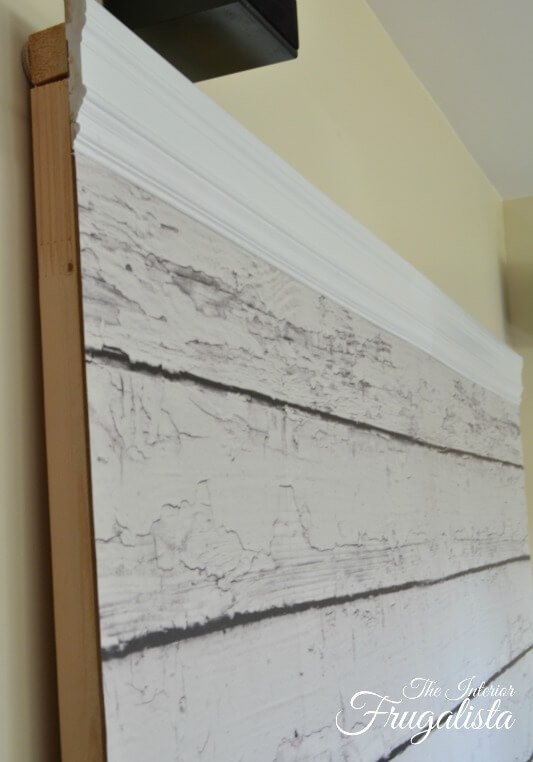
We covered the shortage with crown molding glued onto the MDF photo backdrop.
Looks intentional, right?
I'm on the fence about whether I should keep the trim white or age it with dark wax or glaze. What do you guys think?
I couldn't be more happy with my new white barn wood photo backdrop wall!
Now, here's another very cool thing about these EasyOff murals, you can create a personalized mural by uploading your own artwork or favorite photograph! You may not want that photo of Aunt Myrtle's toothless grin as she blows out all 99 candles on her birthday cake but you may want that awesome picture you took while strolling the streets of Paris.
You can find the EasyOff murals at InkShuffle, a Canadian company based out of Toronto.
I can't wait for my first furniture makeover photo shoot!
If you have any questions about my new photo backdrop, please leave them in the comment section below or press the Contact Me button at the top of the blog to drop me an email. I love hearing from you!
DIY Faux Barnwood Photo Backdrop Wall with EasyOff Mural
"My backdrop may be faux but photographs like the real thing!"
Too excited to wait until after my six-week recovery, I had Mr. Frugalista install it the day after my surgery. Perhaps not a good idea because it is evident in some of the photos that I clearly had no business operating a camera while under the influence of pain meds.
It took days for me to narrow down my choice from the hundreds of Easy-Off Wall Murals available at Ink Shuffle but I kept going back to this White Wood Background.
There isn't a wall in this house suitable for taking decent furniture makeover photos. Our walls are painted a taupe color and we don't get a lot of natural light so my photos come off very dark. Photos with a white background look so crisp and bright. I'm thrilled to finally have the white background I've been longing for without having to paint our walls.
Here's how we did it...
Building the photo backdrop wall
Last year we built a portable 6' x 6' backdrop that can easily slide from ourThis is what the back side of the photo backdrop wall looks like to give you an idea of how we constructed it with 2" x 2" lumber to keep it lightweight. My apologies for the blurry photo.
The former folding backdrop used to have white beadboard paintable wallpaper. After the laborious task of stripping the paper from the MDF hardboard, we were ready to cover the backdrop with our EasyOff Barnwood Mural.
How to hang the EasyOff barn wood mural
These are the wallpaper hanging supplies needed to hang the mural.The mural came in 16-inch wide panels that are numbered for easy installation.
The paper is pre-pasted and all you do is soak in water for two minutes to activate the adhesive.
Before hanging the mural the wall needs to be sized, much like you do when hanging wallpaper. Mark the first row to ensure it is hung nice and straight.
The numbered strips were so easy to hang because each panel has a mark that you line up over one another on the top and bottom (pictured below).
It was really easy to adjust the panels while lining them up and we were surprised by how the paper didn't wrinkle in the process. There were few air bubbles under the paper and easily removed with a wallpaper brush.
Two strips down - easy peasy!
The entire wall was finished in mere minutes. Afterward, he simply wiped the panels with a cloth to remove any excess moisture.
Another thing that's so awesome about these murals is that they are Easy-Off which is perfect for renters. There is no messy scraping or steaming and the panels essentially peel off in seconds without damage to either the wall or the paper.
We decided to put that to the test when we had to readjust the last panel after it was dry and I captured it in a quick video. Sorry for the quality of the video. Again, I should not have been operating machinery under the influence of pain meds. Plus this was my first EVER video on the blog and we had poor lighting.
When you're determining the size you need to order, it is recommended you add an extra two-inches all around. The excess was easy to cut off using a sharp utility knife and a straight edge.
My EasyOff mural is only 6' x 5'6", too small to cover a wall but perfect for a photo backdrop. I would have loved it to be 6-feet tall and there is an option to print the image larger but at the risk of pixelation and unwanted blurriness. The recommended settings ensure a nice sharp print and so I caution you to pay careful attention to the maximum sizing options should you want to order a mural.
What to do with those extra 6-inches?
We covered the shortage with crown molding glued onto the MDF photo backdrop.
Looks intentional, right?
I'm on the fence about whether I should keep the trim white or age it with dark wax or glaze. What do you guys think?
I couldn't be more happy with my new white barn wood photo backdrop wall!
Now, here's another very cool thing about these EasyOff murals, you can create a personalized mural by uploading your own artwork or favorite photograph! You may not want that photo of Aunt Myrtle's toothless grin as she blows out all 99 candles on her birthday cake but you may want that awesome picture you took while strolling the streets of Paris.
You can find the EasyOff murals at InkShuffle, a Canadian company based out of Toronto.
I can't wait for my first furniture makeover photo shoot!
If you have any questions about my new photo backdrop, please leave them in the comment section below or press the Contact Me button at the top of the blog to drop me an email. I love hearing from you!










Thank you so much for this tutorial. I need this in the worst way! There is absolutely no place to photograph in my house! This is amazing! Pinning!
ReplyDeleteSo glad you found this helpful, Susan! Like you, I had nowhere in this house to take decent photos of my furniture makeovers. If you have a garage, this is perfect to set in front of the garage doors when taking photos outdoors.
Delete