What To Do With An Ugly Sign In Under 30 Minutes
Every time I walked down our front stairs I would make a mental note, I've got to give that sign a makeover and every day of every week of every year it still hadn't happened. Until last Saturday when I yanked that thang right off its hook and brought it down to the workshop.
I had plans to share a different project with you this week on Frugal Decor Tuesday but I walked past that sign one too many times.

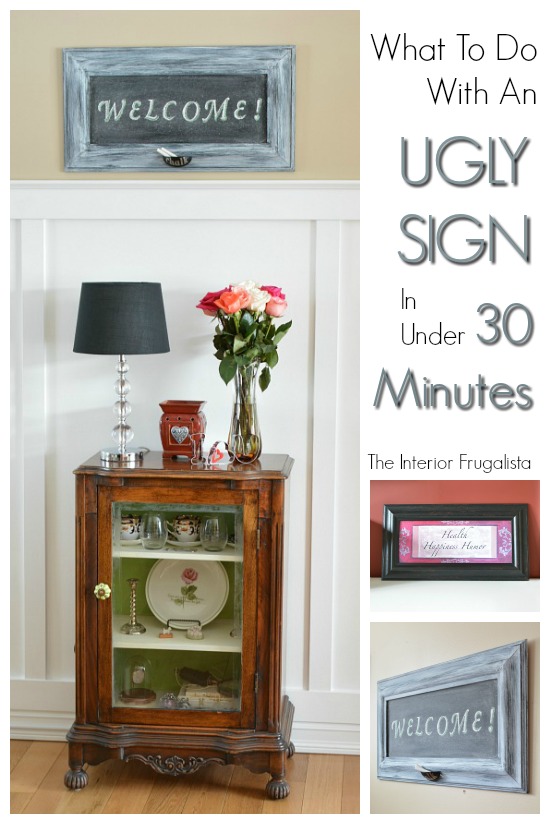
Here is what it looked like in all its plastic fake wood grain glory. You can see how the pink border clashed with our Sundried Tomato paint color.
I gave the frame a quick drybrush of Simplicity White chalk paint applying random strokes for a rustic look. Next, I grabbed my can of chalkboard paint and realized it had been put away with the lid slightly open and I was left with a can of black toffee.
Did you know you can use chalk paint to make chalkboards?
Unlike chalkboard paint, the color choice becomes endless using chalk paint. Mine was painted in the color Liquorice by Country Chic Paint. The other bonus is that it dries much quicker between coats. I suggest applying it in thin layers and mine took three coats to get complete coverage.
While the chalk paint was drying I needed something to hold chalk. I had one lonely drawer pull in my hardware stash and decided it would make the perfect holder for one stick of chalk. The plan was to spray paint it black and call it a day but I was having too much fun.
I attached some self-adhesive letters onto the front and spray painted the pull in flat black, removing the letters with tweezers once the final coat of paint was applied. To protect the finish I used a fast-drying clear coat (as pictured below).
Before using the new chalkboard it must be seasoned.
Simply rub the side of a stick of chalk in both directions over the board and wipe with a dry cloth or paper towel.
I knew I wanted my chalkboard to say Welcome but didn't trust my freehand skills so I cheated and used stencils.
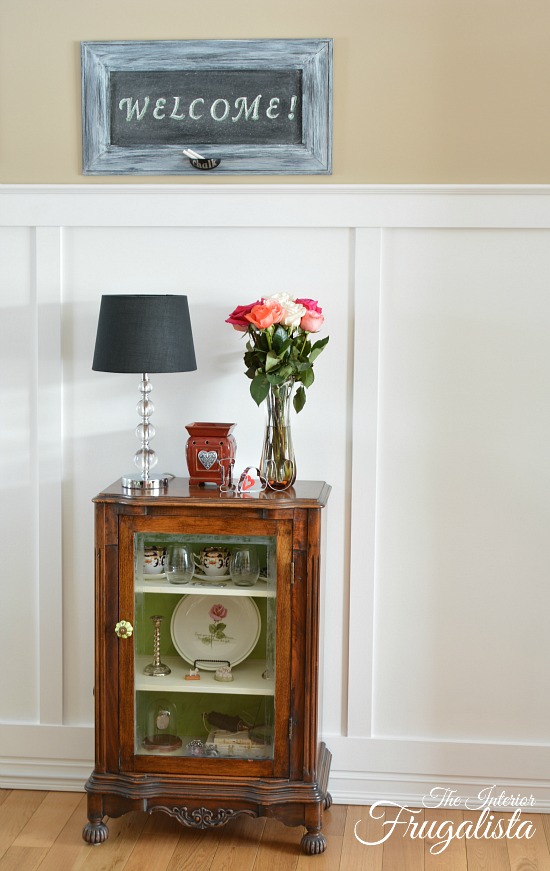
I connected the bridge of the stenciled letters so it wouldn't look...well...stencilly (new word). I added a green shadow because the accent color on our main floor is green.
I took these photos in our dining room where there is more light and where I could show off the just because roses Mr. Frugalista surprised me with last week. The new Welcome Chalkboard looks great as you enter the front door.
If you like this Under 30 Minute Repurposed Dated Framed Art Turned Chalkboard idea, please share it with a friend and/or save it on Pinterest.

If so, I'd love to hear about it. I hope to see you back here next week for Frugal Decor Tuesday where I will be hosting under candlelight.
I'm sharing this post at these LINKY PARTIES.
I had plans to share a different project with you this week on Frugal Decor Tuesday but I walked past that sign one too many times.
What To Do With An Ugly Sign In Under 30 Minutes

Here is what it looked like in all its plastic fake wood grain glory. You can see how the pink border clashed with our Sundried Tomato paint color.
Did you know you can use chalk paint to make chalkboards?
Unlike chalkboard paint, the color choice becomes endless using chalk paint. Mine was painted in the color Liquorice by Country Chic Paint. The other bonus is that it dries much quicker between coats. I suggest applying it in thin layers and mine took three coats to get complete coverage.
While the chalk paint was drying I needed something to hold chalk. I had one lonely drawer pull in my hardware stash and decided it would make the perfect holder for one stick of chalk. The plan was to spray paint it black and call it a day but I was having too much fun.
I attached some self-adhesive letters onto the front and spray painted the pull in flat black, removing the letters with tweezers once the final coat of paint was applied. To protect the finish I used a fast-drying clear coat (as pictured below).
Before using the new chalkboard it must be seasoned.
Simply rub the side of a stick of chalk in both directions over the board and wipe with a dry cloth or paper towel.
I knew I wanted my chalkboard to say Welcome but didn't trust my freehand skills so I cheated and used stencils.
I connected the bridge of the stenciled letters so it wouldn't look...well...stencilly (new word). I added a green shadow because the accent color on our main floor is green.
I took these photos in our dining room where there is more light and where I could show off the just because roses Mr. Frugalista surprised me with last week. The new Welcome Chalkboard looks great as you enter the front door.
If you like this Under 30 Minute Repurposed Dated Framed Art Turned Chalkboard idea, please share it with a friend and/or save it on Pinterest.

Do you have some framed dated art tucked away somewhere in storage that you could transform into a fun chalkboard?
If so, I'd love to hear about it. I hope to see you back here next week for Frugal Decor Tuesday where I will be hosting under candlelight.
I'm sharing this post at these LINKY PARTIES.


Comments
Post a Comment
Don't be shy, I love reading your comments and reply to every single one! If you want to be notified when I reply back to you, click the "Notify Me" button below the comment box.