How To Make A Simple Drop Cloth Envelope Pillow Cover
Today I'm sharing a tutorial on how to make a simple envelope pillow cover with inexpensive drop cloth fabric. If you can sew a straight line, then you can definitely make these. The best part of sewing envelope-style pillow covers is that there are no intimidating zippers.
DIY Envelope-Style Pillow Cover Tutorial
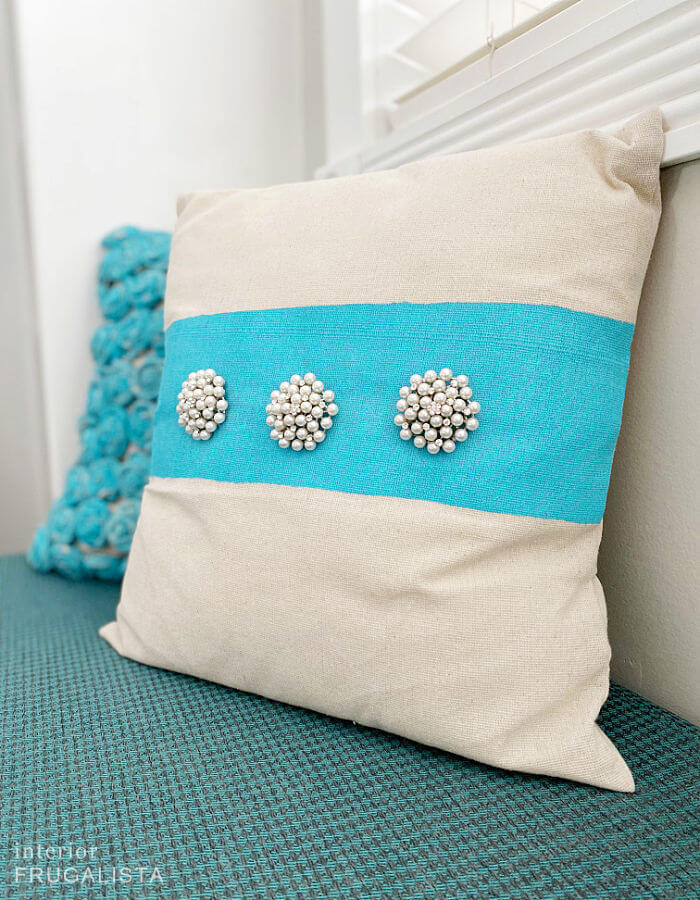
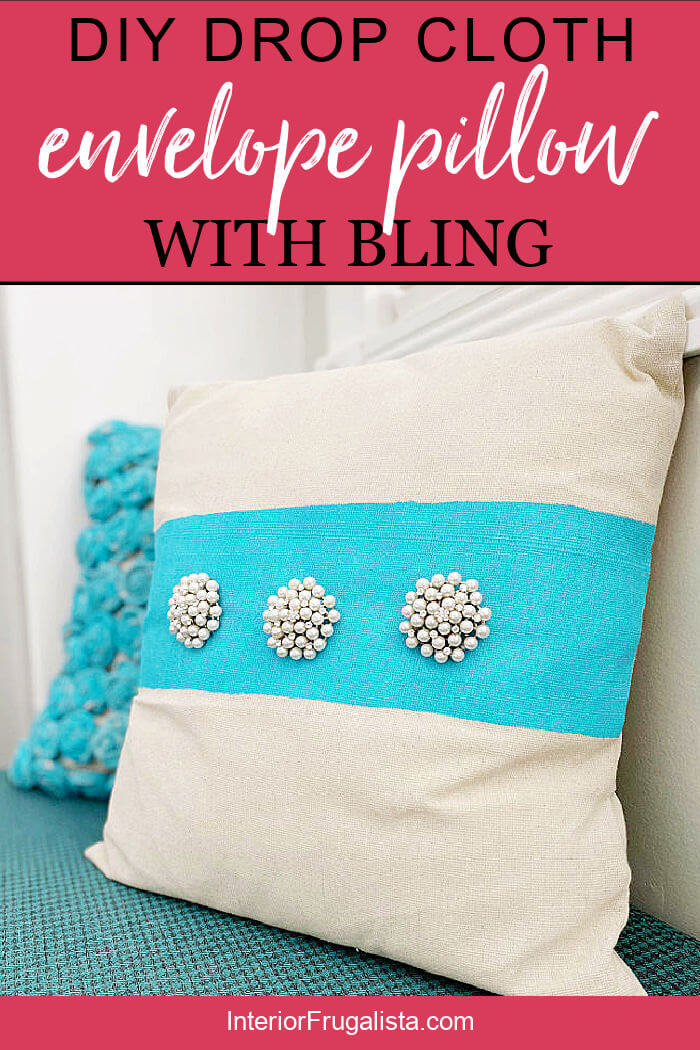
Though the pillow cover may be sewn with an inexpensive drop cloth, I've taken this one up a notch by adding some bling to give it a feminine touch for propping on a bed or bedroom window seat.
The motivation for sharing the pillow cover instructions is because when I recently shared our Bedroom Window Seat Makeover, several readers asked if I made the blingy pillow and the turquoise rosette pillow on our window seat.
Realizing I hadn't, I figured it might be more helpful if I shared instructions for making an envelope pillow because adding the bling was the easy part.
We'll begin with the envelope pillow cover tutorial followed by instructions for painting the burlap fabric and adding the blingy earrings to the pillow cover. Just skip over the last section if you just want the meat and potatoes of how to sew an envelope pillow cover.
How To Make An Envelope Pillow Cover
The tutorial is based on a 16-inch pillow form. You'll want to adjust the measurement accordingly based on your pillow form size.
Pillow Form TIP
For a nice full pillow, cut the fabric the same width as your pillow form, without a seam allowance.
Cutting Pillow Fabric
Cut the fabric 16-inches wide (without a seam allowance) by 37-inches long. This is based on doubling the length of the 16-inch pillow form (for both the front and back pieces), two 1-inch seam allowances on each end, plus a three-inch overlap on the back of the pillow cover. You'll see what I mean further down.
Sewing Envelope Pillow Cover
On the raw edge on each end of the fabric, fold the fabric over 1-inch and press the seam with an iron. Fold it again another 1/2-inch, press the fold, and pin as pictured below. Sew a straight stitch across each seam.
Now that we have the seams finished for the back of the pillow, let's move on to sewing the side seams.
- Lay the pillow form down on the good side of the fabric.
- Fold the fabric over the bottom half of the pillow form to the center.
- Pin the side seams together.
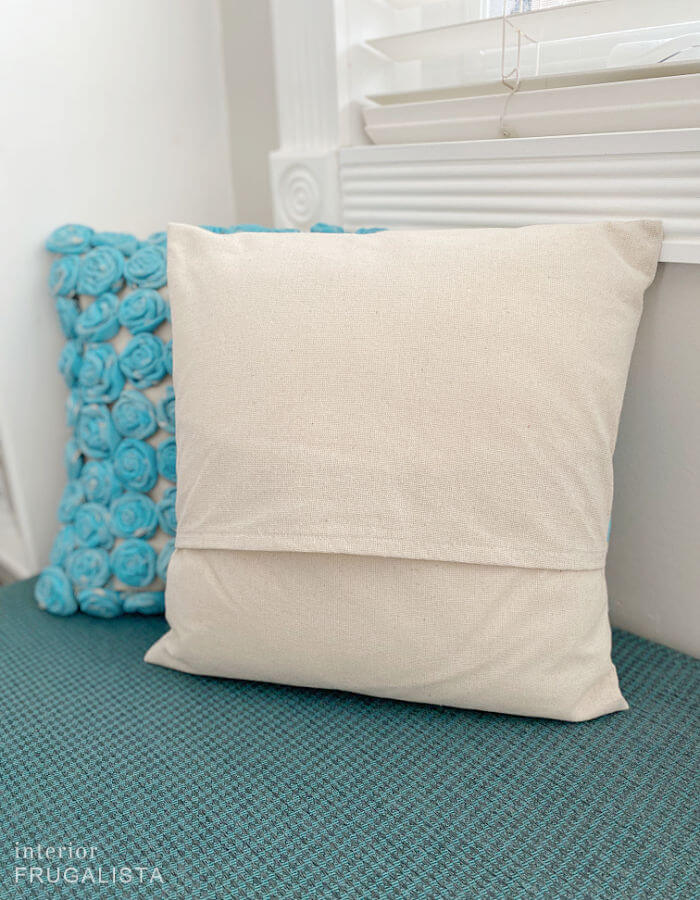
- Fold the top half of the fabric over the pillow form so it overlaps the bottom piece by three inches.
- Remove the previous pins under the fold and pin the side seams together.
- Stitch the side seams with a 1/2-inch seam allowance.
- Snip the corners at an angle to remove the bulk, being careful not to cut into the seam.
Turn the pillow right side out and push the corners out with the handle of a wooden spoon. That's all there is to it for making an envelope pillow. See, I told you it was easy!
Dressing The Drop Cloth Pillow With Pearls
These next steps are optional but if you'd like to dress the envelope pillow cover with some bling, then here are the instructions for how I did it.
A couple of summers ago I found pretty vintage pearl earrings at a nearby country market. The vendor was closing their booth and clearing everything out. They were calling my name but I never wear clip-on earrings.
But with the original price being $18 each and reduced to $5, I bought them anyway knowing that I might find a use for them one day. Well, that day is today, who says earrings can't be worn on a pillow!
Painting The Drop Cloth Pillow Cover
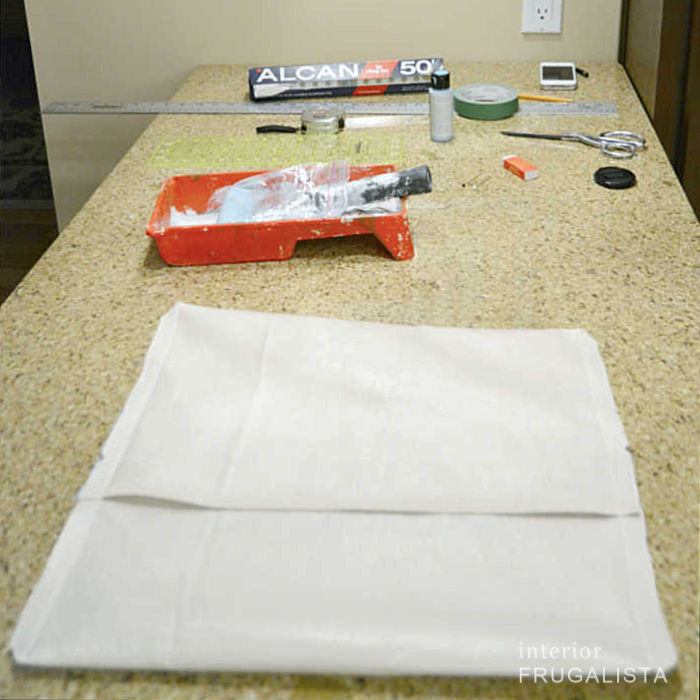
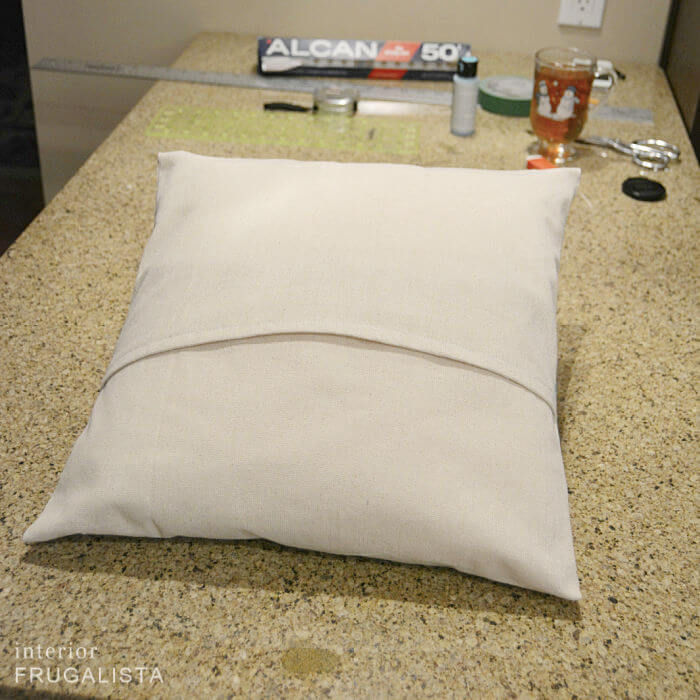
We'll begin by painting a wide turquoise stripe on the pillow cover. The photos show me painting it before sewing the pillow cover. Ignore that because it's easier to find the center placement for the stripe after the pillow is sewn.
- Find the center of the front of the pillow and mark it with tailor's chalk on either side.
- Remove the pillow from the pillow cover.
- Lay the pillow cover perfectly flat and measure two inches above the center marks on either side and mark it with the tailor's chalk.
- Repeat the previous step two inches below the center mark.
- Lay wide painter's tape on your chalk lines.
- Rub the edges of the tape with your finger for a tight seal to eliminate any paint bleed.
- Set a piece of cardboard inside the pillow cover to prevent the paint from seeping onto the back of the pillow cover.
- Pour either multi-surface or fabric paint onto a paper plate.
- Use a 6-inch foam roller to paint the stripe and the color I used is called Turquoise Waters.
- Let the first coat of paint completely dry before applying the second coat. A blow dryer can help speed the drying process.
- While the second coat of paint is still wet, gently remove the painter's tape at a 45-degree angle.
- Allow the paint to completely dry before moving on to the next step.
At this point, you can leave the stripe as is like I did or finish it off with a border. Use fabric glue or a hot glue gun to attach decorative trim, cording, or narrow ribbon to give the stripe a finished look.
Adding Bling To The Pillow Cover
Once the paint is dry remove the cardboard from the inside of the pillow cover. Now we're ready to add some bling!
- Measure the center of the painted stripe both vertically and horizontally and mark it with tailor's chalk. This is where the first earring will be attached later.
- Find the center from the side seam to the center mark and mark it with chalk.
- Repeat the previous step on the opposite side.
- Use a straight edge to make sure the marks line up perfectly straight.
- Open the clip on the back of an earring and tape the earring to the center chalk mark on the pillow cover.
- Hand-stitch the earring onto the pillow cover by wrapping thread around the clasp and through the fabric and over the clasp again several times.
- Close the clasp and repeat this step for the remaining earrings.
Ideally, stud-style earrings would be much easier to attach because you wouldn't need to sew the earrings. Just poke the earring post through the fabric and attach the back to the inside of the pillow cover and voila!
Thanks for stopping by the Interior Frugalista today! I hope you found the envelope pillow cover instructions easy to follow and helpful.
Almost all of our DIY ideas have step-by-step tutorials so why not get your budget DIY on and subscribe. You can also find us on Pinterest, Facebook, Instagram, and YouTube.
If you have any questions, please leave them in the comment section below or the Contact Me tab at the top to drop me an email. I love hearing from you!
If you enjoyed this DIY drop cloth envelope pillow cover idea, I'd be so thankful if you shared it with a friend and pinned it to your favorite board on Pinterest.
I share my projects at these inspiring link parties.





Comments
Post a Comment
Don't be shy, I love reading your comments and reply to every single one! If you want to be notified when I reply back to you, click the "Notify Me" button below the comment box.