Harlequin Stenciled Art Deco Coffee Table Makeover
The furniture makeover I'm sharing today is the easiest upcycle I've done EVER. Why? Because most of the work was already done for me!
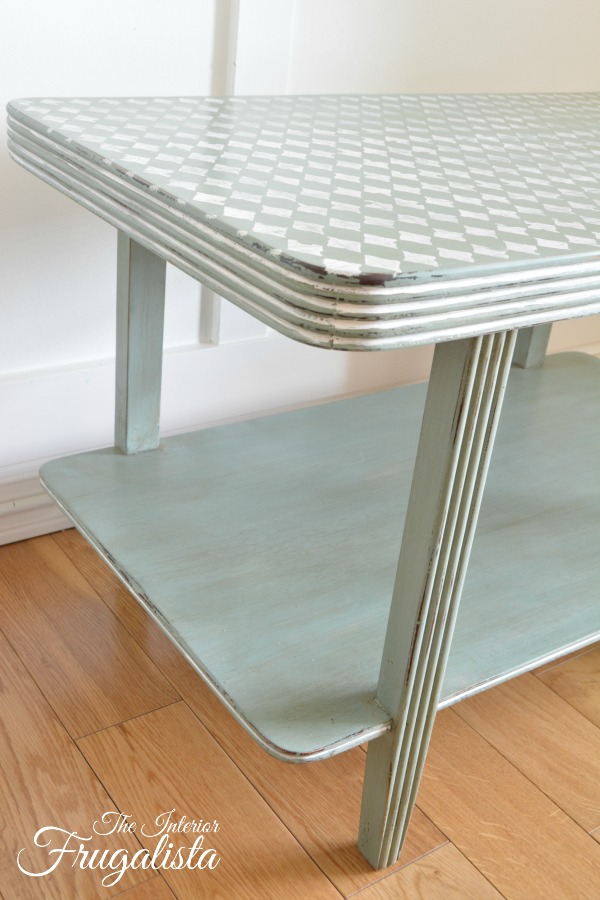
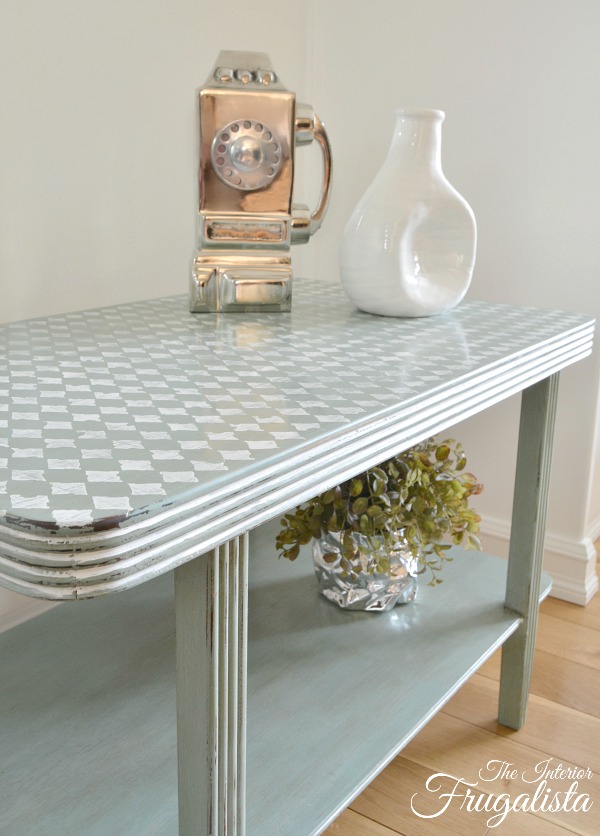
Mr. Frugalista found this tiered table at a local online auction for a great price. It had already been painted a duck egg blue color with chalk paint and all I had to do was inject some personality with a stencil. I hope you like the unique harlequin stenciled art deco coffee table makeover as much as I do.
Unique Art Deco Coffee Table Makeover
This is where I normally add a before picture but I was so excited to dig into this upcycle that I completely forgot. You get a pretty good idea of what the top looked like from the bottom shelf.
The distressing was already done for me as well and I didn't mind the original dark wood showing through the paint.
This post contains affiliate links so you can see what products I used or recommend for this project. As an Amazon Associate, I earn a small commission from qualifying purchases at no extra cost to you.
Before we get into the nitty-gritty of how to make the coffee table upcycle, almost all of the DIY projects shared here at Interior Frugalista have step-by-step tutorials so why not get your budget DIY on and subscribe. You can also follow us on Pinterest, Facebook, Instagram, and YouTube.
Here's How I Did It
The first thing I did was grab an art brush and paint pure white chalk paint inside the ridges, not being fussy about getting the lines perfect.
All I did next to inject some personality into the duck egg painted table was stencil the top with this Harlequin stencil.
If you've never stenciled furniture before, I've included some helpful tips below.
Pro Stencil Tips
- The trick for not getting paint bleed is to offload some of the paint on the brush by dabbing it onto a paper towel.
- Start stenciling in the middle of the open area of the pattern and work your way toward the edges.
- Another important tip is for the stencil to lay perfectly flat with either stencil adhesive spray or painter's tape. My preference is the latter because I don't like the sticky residue left on the stencils.
- Use a stencil roller, stencil brush, foam pouncer, or a wedge makeup sponge to apply the stencil.
- Either roll the paint on, pounce it with an up and down motion, or swirl in a circular motion.
- Whichever method you choose, apply very little pressure on the brush.
Rather than an allover stencil like I did on this table, perhaps start with a one application stencil like I did on this Birds of Paradise Coffee Table Makeover. Or perhaps try a stenciled border like on this Arabesque Stenciled Night Table. The possibilities are endless and I promise that it gets much easier with practice.
Once the paint was dry I distressed the stencil to match the rest of the table with 220 grit sandpaper. Then I protected the paint with clear wax and a wax brush and buffed it with a lint-free rag.
If only all furniture makeovers were this easy! I hope this stenciled coffee table has inspired you to give stenciling furniture a try.
Thanks for stopping by the Interior Frugalista today! I hope you were inspired by this easy coffee table makeover. If you have any questions, please leave them in the comment section below or the Contact Me tab at the top to drop me an email. I love hearing from you!
If you enjoyed this retro coffee table, I'd be so thankful if you shared it with a friend and pinned it to your Mid-Century Furniture Makeovers or Coffee Table Makeover Ideas board on Pinterest.

I share my projects at these inspiring link parties.


WOW, This is very pretty
ReplyDeleteGreat job.
Thank you Anita, such an easy peasy makeover and the table sold quickly.
Delete