Antique Scalloped Tilt-Top Table With Decoupage Wallpaper
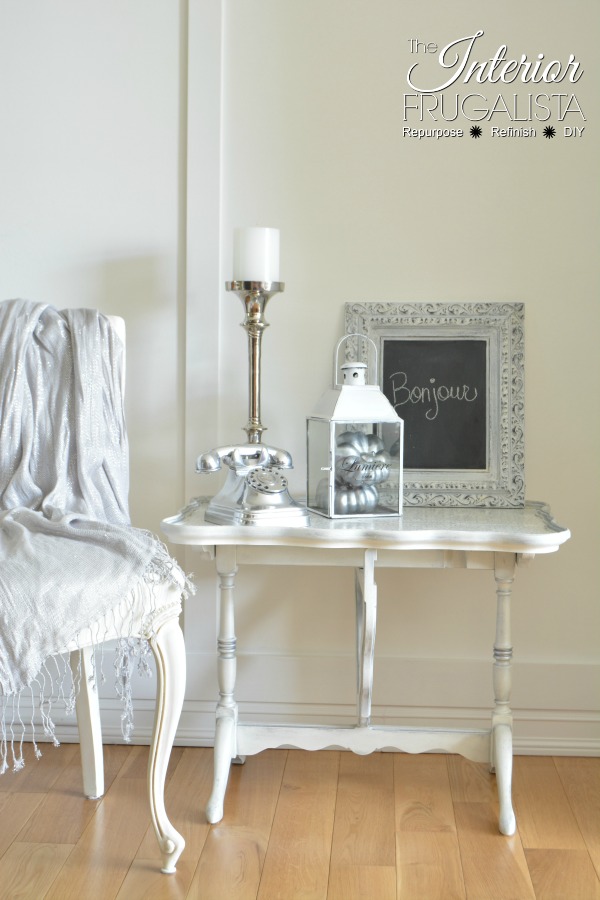
The furniture makeover I'm sharing today is all about layers. Removing layers of damaged veneer, layers of paint with colored wax, and adding a decoupage layer to the top. This poor little antique scalloped tilt-top table got a night and day transformation with a pretty metallic decoupage wallpaper top.
Antique Scalloped Tilt-Top Tea Table
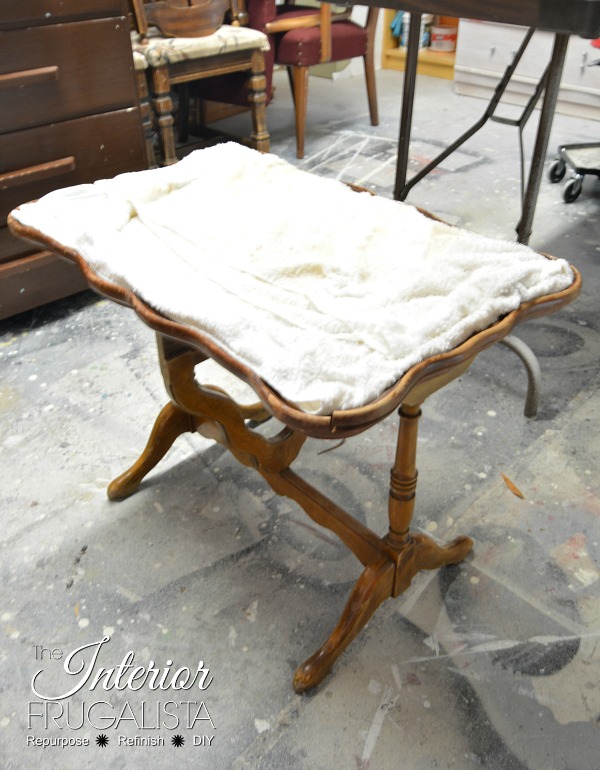
As you can see from the photo below, this poor antique scalloped tilt-top table looked worthy of the trash bin. But I was determined to at least try redeeming it.
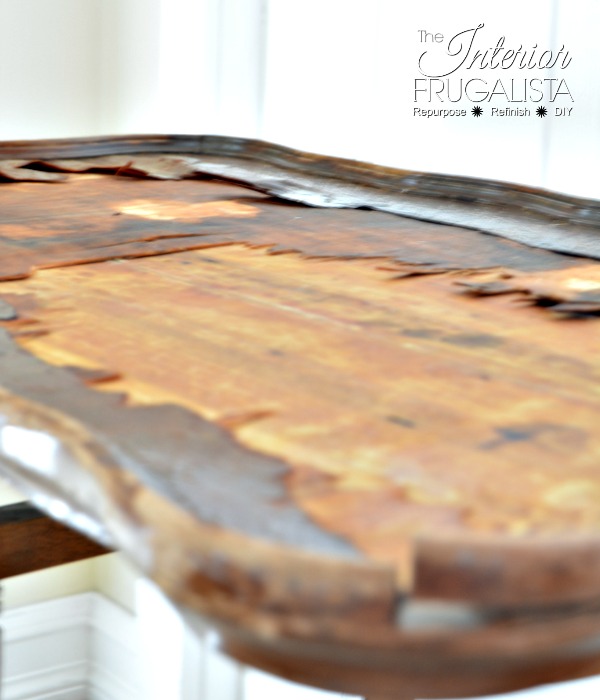
I knew I had my work cut out for me with the VERY damaged wood veneer top but I'm a gal who loves a challenge. I mean you don't come across these tilt-top tables often. I've only come across one other, this curbside scalloped tilt-top drop-leaf table that I gave a makeover in my favorite color.
But even if the table doesn't tip up, I can't pass up a curvy beauty like this scalloped tea table makeover that I also did. If only I could find these two table styles more often.
Layer One - Removing Damaged Veneer
The first order of business was removing the damaged veneer and missing layers of plywood. I learned a trick from my friend Larissa at Prodigal Pieces for how to remove damaged veneers.
It worked like a charm, and I could literally peel off the veneer with my fingers.
Layer Two - Removing Damaged Plywood
Removing the damaged plywood required an extra soak with wet towels overnight. Once I removed the damage, I let the wood dry overnight and then carefully sanded it smooth with a mouse sander. I'm thrilled I was able to redeem the top, albeit not stain-worthy.
Layer Three - Painting Table Base
I had three visions for this table and all three involved painting the base white. Because the table is mahogany it is guaranteed to cause the paint to bleed so I brushed a coat of DecoArt Stain Blocker that I had on hand. I've written an entire tutorial on how to fix wood bleed.
Once the stain blocker primer was dry, I brushed four thin coats of white chalk paint to get full coverage. I lightly sanded with 220-grit sandpaper between coats for a smooth finish and waited about an hour between each coat.
Layer Four - Colored Wax Highlights
Once the last coat of paint was completely dry, I protected the painted finish with a coat of clear wax, applied with a lint-free rag.
Next, I highlighted the scalloped edge on the tabletop and some of the details on the tilt-top base with Silver Metallic Gilding Wax applied with my fingers.
Lastly, I went over the white paint on the table base with Pearl White Wax to give it an iridescent shimmer.
Curious what age the scalloped tilt-top table might be, I did image searches on Google. It's a numbered piece, for whatever that's worth, but had no success finding another one like it. Regardless, I decided to keep the number visible when painting the bottom of the table.
As mentioned earlier that I had three visions for the now repaired top on this antique tilt-top table and they were:
- Stain the repaired plywood a medium brown color and dry brush layers of white and soft gray paint for a rustic look.
- Decoupage the top with sheet music paper for a whimsical touch.
- Decoupage the top with a soft and subtle metallic paper and apply silver metallic highlights along the scalloped edge.
Layer Five - Decoupage Wallpaper Table Top
I went with option three because it seemed the most suitable option for this dainty tea table. I cut the wallpaper slightly larger than the length and width of the tabletop so it was easy to work with.
Then I brushed wallpaper adhesive on the back of the metallic wallpaper and set it in place, rubbing my fingers into the scalloped areas. Once it was dry, I used a sharp retractable knife to trim the excess paper.
I'm so glad I went with this option, isn't the paper pretty?
Here is a close-up of the pretty decoupage wallpaper top.
In the photo below, you can see the silver metallic gilding wax around the scalloped edge.
Now here's where I'm going to keep it real friends. While I love the pretty metallic papered top I'm not feeling 100% certain it'll be a selling feature for potential buyers as I plan on listing this table. Do you think I should rethink the papered top and silver gilding wax?
Thanks for stopping by the Interior Frugalista today! I hope you were inspired by this antique scalloped tilt-top table makeover.
Almost all of our DIY ideas have step-by-step tutorials so why not get your budget DIY on and subscribe. You can also find us on Pinterest, Facebook, Instagram, and YouTube.
If you have any questions, please leave them in the comment section below or the Contact Me tab at the top to drop me an email. I love hearing from you!
If you enjoyed this scalloped tilt-top table makeover, I'd be so thankful if you shared it with a friend and pinned it to your favorite board on Pinterest.
I share my projects at these inspiring link parties.


Oh this turned out so beautiful!! You did an amazing job!
ReplyDeleteThank you so much, Niki! I'm so glad I was able to redeem this table considering how much damage there was.
DeleteSo many people would have passed this table by, but you gave it new life. Just gorgeous Marie!
ReplyDeleteThank you so much! I definitely questioned whether to take it on but I don't come across these tilt top tables often so I went for it. Thank goodness I was able to redeem it!
Delete