Adorable Recycled Teapot Wind Chimes
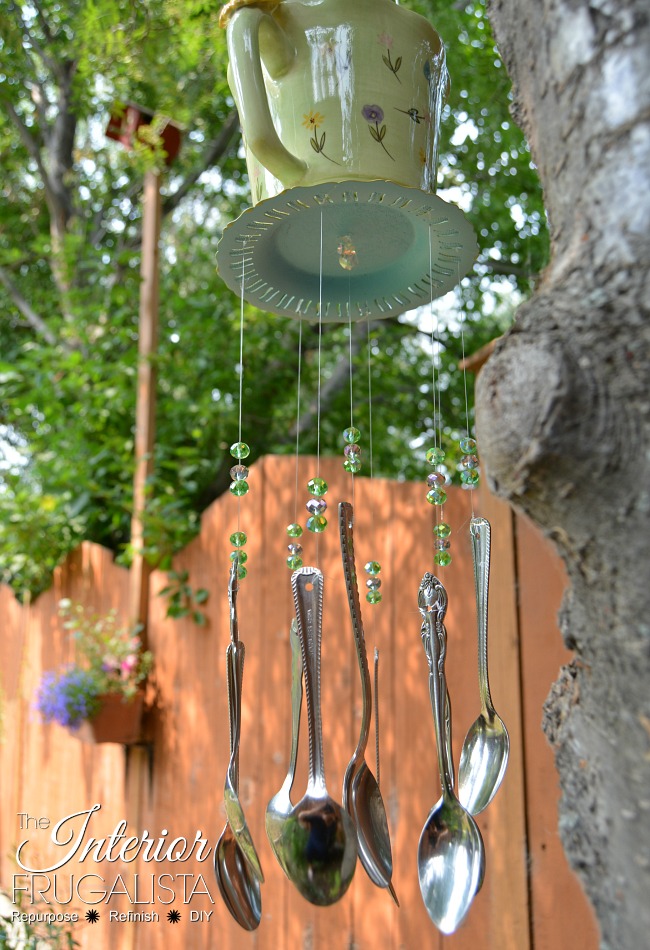
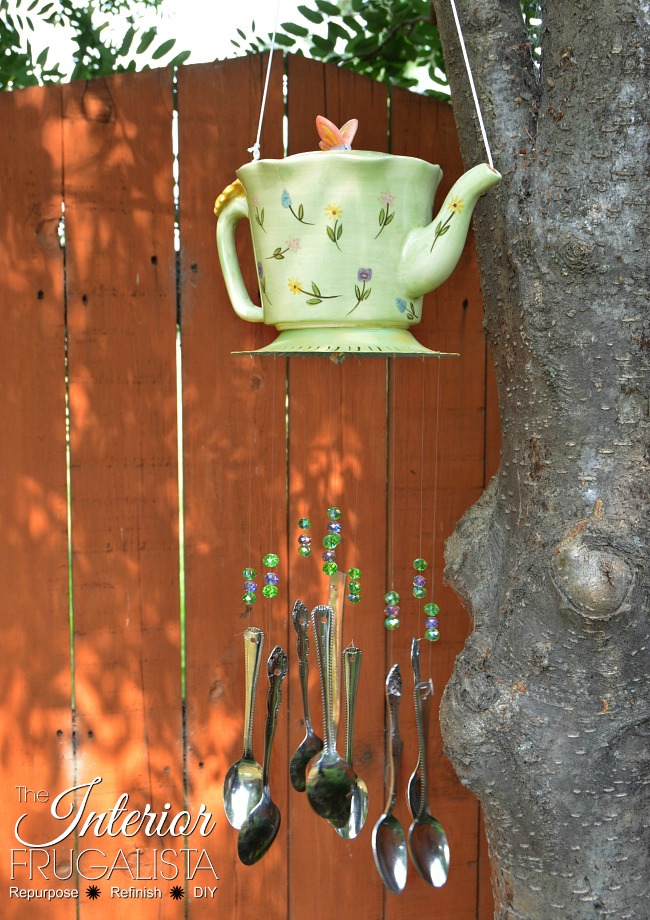
If you or someone you love collects teapots, then you're going to love this idea! It's a great handmade gift idea for the tea lover in your life. These adorable recycled teapot wind chimes add a little whimsy outdoors during the Spring and Summer.
It's a budget-friendly garden decor idea made with recycled flatware and a teapot from the thrift store. My garden chimes are a birthday gift for my daughter-in-law. Not only is she a tea drinker, but she's also a part-time sales consultant for a tea company.
DIY Whimsical Teapot Wind Chimes
When shopping for supplies to make the Recycled Sugar Bowl Wind Chimes for our own backyard, I came across this lovely ceramic teapot. I thought the green color, cute butterfly wing lid, and pretty flowers would be adorable as whimsical garden chimes.
Since I had chimes on my mind, I figured I would challenge myself to make a second flatware wind chime with the teapot. I've included a short clip of the sound the chimes make in the video further down in the post.
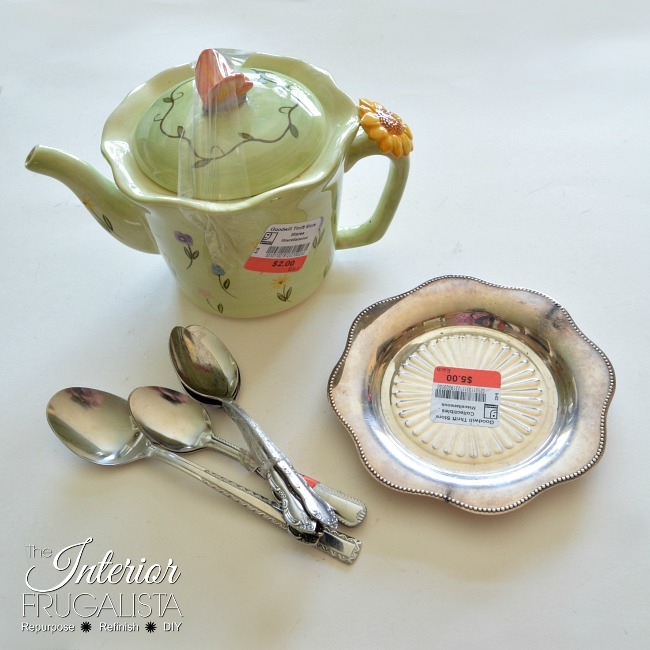
Pictured below are the Goodwill finds used to make the chimes, minus the silver plate. I found a different one that I liked better on another shopping trip.
Before we get into the nitty-gritty of how to make the teapot wind chimes, almost all of the DIY projects shared here at Interior Frugalista have step-by-step tutorials so why not get your budget DIY on and subscribe. You can also follow us on Pinterest, Facebook, Instagram, and YouTube.
What You'll Need To Make Them
This post contains affiliate links so you can see what products I used or recommend for this project. As an Amazon Associate, I earn a small commission from qualifying purchases at no extra cost to you.
Supply List
- Ceramic Teapot
- Small Sterling Silver Plate
- 8 Sterling Silver Teaspoons
- 1 Large Sterling Silver Serving Spoon
- E6000 Glue
- Clear Stretch Free Jewelry Thread (or fishing line)
- White 1.5 mm 100% Nylon Cording
- 9 Purple Glass Beads
- 18 Green Glass Beads
- 2 Extra Clear or Color Glass Beads (for the top of the middle chime)
- 1 Keyring
- Paper Clip or Thin Washer
Tool List
- Power Drill
- 3/16" Metal Titanium Drill Bit
- Safety Glasses
- Safety Gloves
Here's How I Did It
Step 1 - Painting The Silver Plate
This step is completely optional. I wasn't liking the look of the silver plate against the green teapot so I spray painted it an aqua color.
I found it to be too much of a contrast, so I painted the bottom side of the plate facing towards the teapot a moss green. Still not a good match, I dry brushed light yellow paint over the green. As you can see in the photo below it is a perfect match.
If you end up painting your silver plate too, be sure to protect the paint with two coats of an outdoor-rated clear spray.
Let's Talk Safety
Before we move on to the next step, let's talk about safety. It's important that you wear safety glasses when drilling holes in the sterling silver. You don't want those fine shards of metal piercing your skin or worse, in your eye. You'll also want to wear protective gloves because the spoons and the drill bit get VERY hot.
Step 2 - Drilling Holes In Spoons
In the supply list, I mentioned getting sterling silver teaspoons and a serving spoon. Stainless steel flatware is next to impossible to drill through and softer sterling silver is much easier.
With a power drill and 3/16" high-speed metal titanium drill bit, drill a hole in the top of each spoon. I'm using a photo from my other flatware wind chimes as an example below.
Step 3 - Hanging Chimes Onto Silver Plate
If your silver plate doesn't have open slots like mine for attaching the jewelry thread, follow the same instructions from the previous step for drilling holes in the sterling silver plate. You'll want to drill eight holes around the edge of the dessert plate and one in the center.
- Slip 14-inch strands of stretch-free jewelry thread (or fishing line) into the holes of the spoons and tie in a double knot.
- String a green bead about 1-inch from the top of the spoon and double loop through the bead to keep it from sliding.
- String a purple bead above the green one (no need to double-loop).
- String another green bead and double loop to stop it from sliding.
- Set the silver plate upside down onto your work table with the wrong side facing towards you.
- On every second hole, tie a teaspoon chime with a double knot about 10-inches from the top of the last bead and trim the excess thread.
- Repeat the same step for the remaining four teaspoon chimes except tie it about 8-inches from the top of the last bead so the spoons are tapered.
- On the large serving spoon in the middle, make sure it hangs slightly lower so that all eight teaspoons are hitting it.
- This is a good time to hold the plate up to test it for sound and adjust the length of the middle spoon accordingly.
- Mark that spot under the plate with a piece of tape and slip it out of the hole again.
- String a clear (or colored) bead on the tape mark and double loop it to keep the bead from sliding. Remove the tape.
- Slip another bead on top and then pull the thread back through the center hole on the silver plate again.
- Tie the thread with a double knot onto a paper clip or thin washer.
- Glue the paper clip (thin washer) onto the top of the plate and trim the excess thread.
Step 4 - Attaching Silver Dish
Now we're ready to attach the plate to the bottom of the teapot. Run a bead of E6000 glue along the edge of the bottom of the teapot. Set the teapot down on the center of the good side (top) of the silver plate and press firmly for a tight bond. Allow the glue to cure overnight before moving onto the next step.
Step 5 - Adding Teapot Hanger
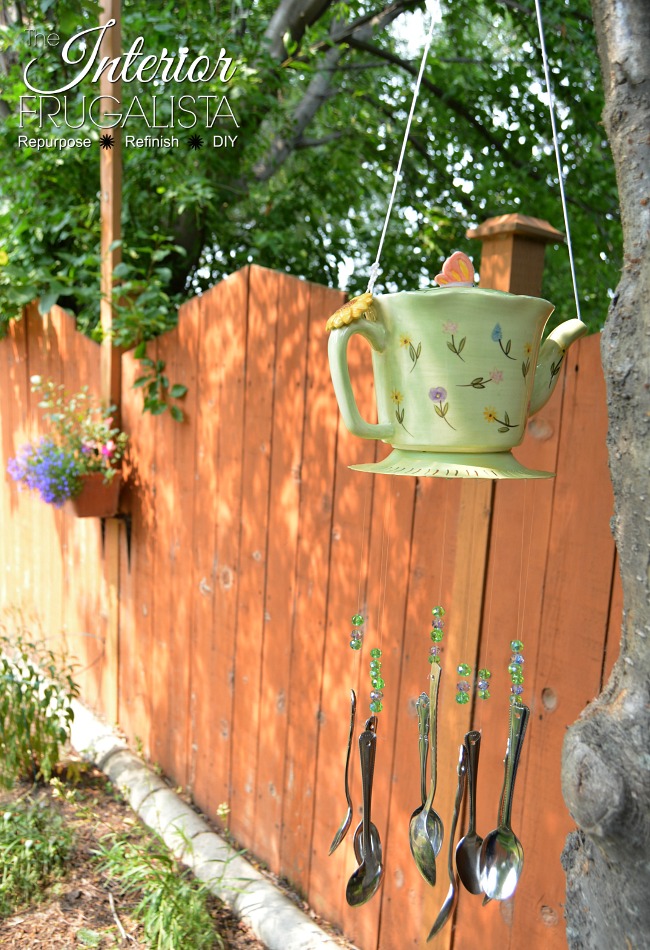
Don't do what I did as I did not think the hanger through. Instead of attaching the hanger through the spout and onto the teapot handle like I did (pictured below), do the following:
- Fold a 14-inch piece of white nylon cording in half.
- Lay the middle of the cording under the center of the teapot lid.
- With E6000 glue, attach the lid onto the teapot.
- Allow the glue to cure for at least 24-hours before moving onto the next step.
- Tie the two ends onto a keyring for a hanger.
Pro-Tip
Ideally, look for a teapot that has a lid with an open handle. This way you glue the lid on first then simply tie a slip knot with the white cording around the handle.
That's it we're done! I'm pleased to report that my daughter-in-law loved her teapot wind chimes and the decorative wrought iron hook that I included with her gift. She has them hanging from their garden shed.
Here's another idea for bright and whimsical homemade wind chimes you may like. These recycled tin can wind chimes are easy to make with food tins and a collapsible vegetable steamer basket.
Thanks for stopping by the Interior Frugalista today! I hope you were inspired by the handmade wind chimes. If you have any questions, please leave them in the comment section below or the Contact Me tab at the top to drop me an email. I love hearing from you!
If you enjoyed this recycled teapot wind chime idea, I'd be so thankful if you shared it with a friend and pinned it to your DIY Outdoor Decor Ideas or Handmade Gift Ideas board on Pinterest.

I share my projects at these inspiring link parties.


Super cute idea! Love that you painted the dish to match the teapot!
ReplyDeleteHappy Spring,
Kippi #kippiathome
Thank you Kippi! I gave these windchimes to my daughter-in-law for her birthday because she loves her tea 😊
DeleteLove teapots, wind chimes, and upcycling! Great job on this one and I’ll be featuring you at our next To Grandma’s House We Go link party!
ReplyDeleteWell you just made my Thursday morning! Thank you so much for the upcoming feature 😊 I'm glad you like this upcycled garden decor idea! xo
DeleteI love this. And, I just so happen to have a bunch of spoons! Looks like there's a fun project in my future.
ReplyDeleteYay! I bet your windchimes will be amazing Virginia and I can't wait to see them.
DeleteMarie, this is so fun! What a lovely gift for your future daughter in law! As always, you provide great tutorials. Thanks for partying at Snickerdoodle. This is my Snickerdoodle Special Feature for today's party. Hope to see you there!
ReplyDeleteThanks for the pin and share Marilyn!
ReplyDeleteYou made my Saturday morning Beverly! Thank you so much for the feature 😊
ReplyDeleteSo pretty, Marie! And congrats on getting 2 features at Funky Junk this week: woot!
ReplyDeleteWhaaat? I haven't visited Funky Junk yet this morning so you just brightened my day, Lora! Heading over there next.
DeleteThis is a beautiful and unique wind chime! I love the teapot! My mom used to have a massive teapot collection, so I like them, too.
ReplyDeleteThank you very much T'onna! How fun that your Mom collected teapots. I think if I was a tea drinker, I would probably love to collect teapots too. I bet her collection was filled with unique and interesting ones!
DeleteYou're the best, Marily, thank you 🤗
ReplyDelete