Easy Peasy Recycled Flannel Shirt Sleeve Fall Wreath
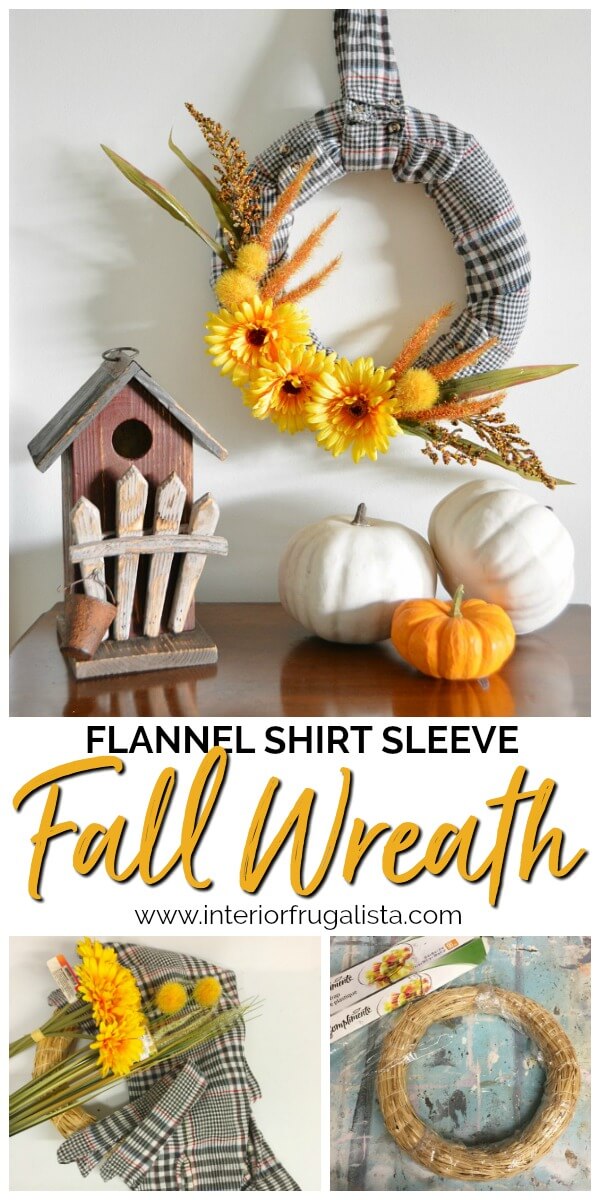
Who says flannel shirts are just for wearing? After you've worn the heck out of it don't throw it. Because I'm going to show you how to recycle it into an easy peasy flannel shirt sleeve fall wreath. Yup, just the sleeves but we'll also use the shirt collar for the wreath hanger!
Save the rest of the shirt for other recycled crafting potential and I'll be sharing links to some ideas for that too.
DIY Flannel Shirt Sleeve Fall Wreath
Every Fall I like to make a new wreath and I'm always looking for ways to make it unique. What doesn't say Fall more than a flannel shirt? It took all of ten minutes to put this wreath together.
Aside from being a quick and easy fall craft, it also costs next to nothing to make because aside from the recycled shirt, all the embellishments can be found at the dollar store, including the wreath form.
What You'll Need To Make The Flannel Wreath
This post contains affiliate links so you can see what products I used or recommend for this project. As an Amazon Associate, I earn a small commission from qualifying purchases at no extra cost to you.
Supply List
Flannel Shirt
Floral Wire Cutters
Hot Glue Gun
Fabric Sewing Scissors
Large Wreath Form
Fall Floral Picks
Sunflower Stems
What To Do With The Rest Of The Flannel Shirt?
Nothing goes to waste around here so I hemmed and hawed about what to do with the rest of the flannel shirt and came up with a couple of ideas. How about a flannel shirt trunk liner or this special Santa Christmas box.
How To Make A Flannel Shirt Sleeve Wreath For Fall
How to make a budget-friendly fall wreath with a recycled flannel shirt in a few easy steps.
Step 1 - Straw Wreath Form
I used a straw wreath form that I had on hand but alternatively, styrofoam or wooden wreath form are better options. To contain the messy straw from getting everywhere I wrapped the wreath form in plastic wrap.
Step 2 - Flannel Shirt Sleeves
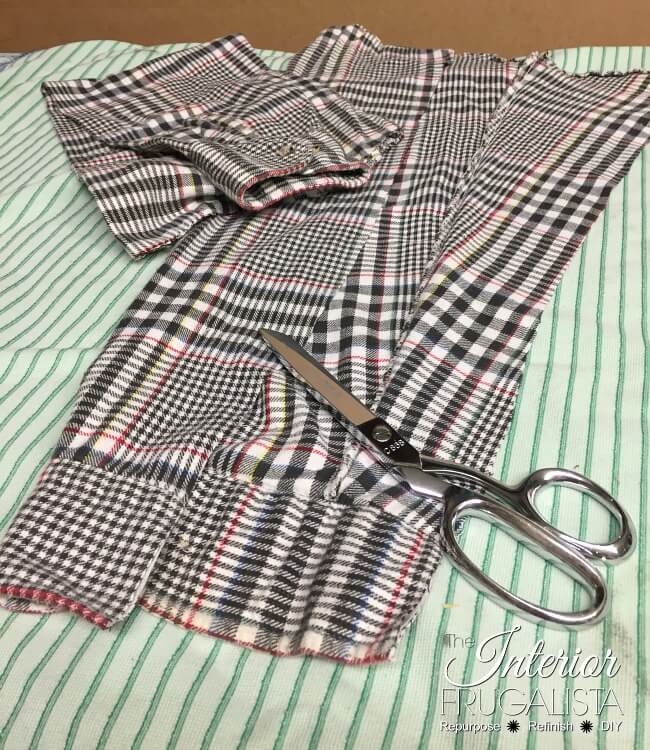
Cut the sleeves off the flannel shirt along the seam. On the backside of the sleeves, the opposite side of the buttoned cuff, cut the sleeve down the center to open it up.
Step 3 - Close Flannel Shirt Sleeve Cuffs
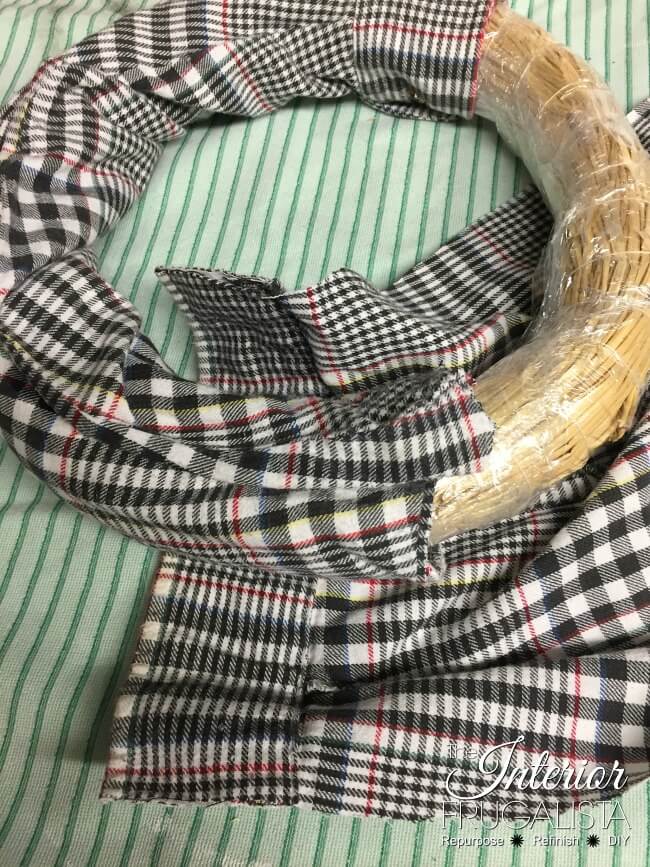
Next, we'll need to close the gap above the cuff so the wreath form won't show underneath. Just run a bead of hot glue on the inside of the seam to close the gap (pictured below).
Step 4 - Wrap Flannel Sleeves Around Wreath Form
Lay one sleeve over the wreath form and overlap the fabric on the back. You may need to trim some of the fabric if the sleeve is too wide. With a hot glue gun join the pieces on the back like pictured below.
Overlap the second shirt cuff over the raw edge of the first sleeve and button the cuff. Repeat the previous steps until the entire wreath form is covered.
When you reach the first cuff, unbutton it and fold it open. Cut the excess fabric on the second sleeve and run a bead of hot glue to hold the fabric in place (pictured below).
Fold the cuff over the raw edge on the first sleeve and button up the cuff.
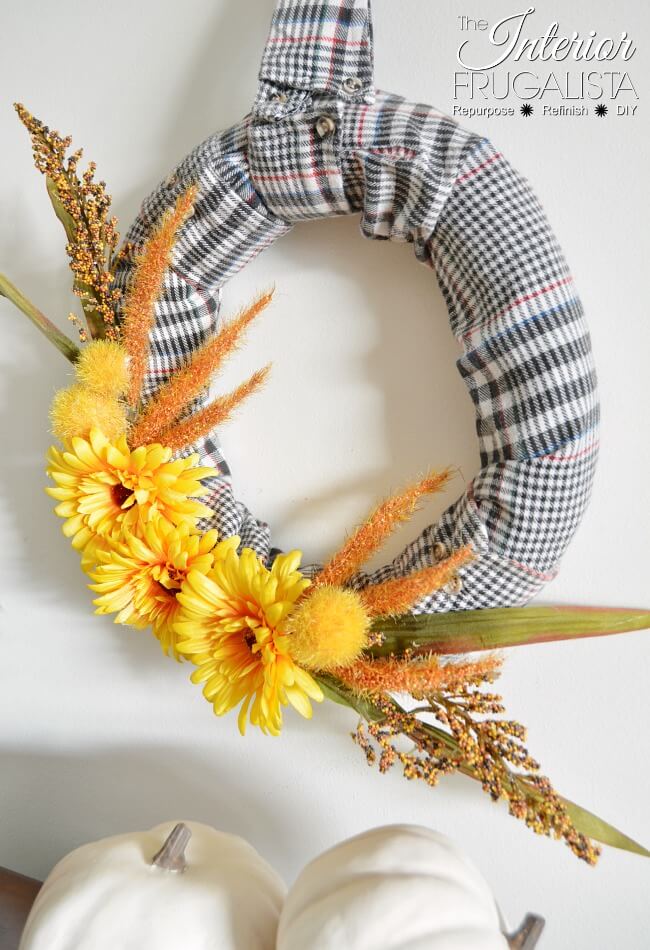
And your wreath should look like this when it's finished. Not too loose or too tight around the wreath form.
Here's where we're going to salvage the shirt collar.
Step 5 - Shirt Collar Wreath Hanger
Simply wrap the shirt collar around the top of the wreath and button it closed. It can't get any easier than that!
Step 6 - Embellish Flannel Shirt Sleeve Wreath
Remove the stem from the sunflowers and glue all three flowers on the left side of the wreath, between the top shirt cuff and the bottom of the wreath.
Pro-Tip
The golden rule for floral arranging is to group elements in threes. Also, always start with the largest elements first.
So now that we've added the sunflowers, we'll layer the floral picks in groups of three, starting with the longest first.
- Slip the stem of the picks behind the sunflowers and secure them to the wreath with dabs of hot glue.
- You may need to add a dab of glue towards the top of the picks as well to hold them in place.
- Cut the next set of picks slightly shorter and layer them over the previous ones. Tucking the stems behind the sunflowers on either side and secure with a few dabs of hot glue.
- Repeat the previous step until the floral picks are nice and full and to your liking.
That's it, we're done!
Thanks for stopping by the Interior Frugalista today! I hope you are inspired to go rummaging through your closets to find an old flannel shirt.
If you don't have one, now is a good time to pay a visit to your local thrift store before they are all gone. This time of year they are a hot commodity.
Almost all of our DIY ideas have step-by-step tutorials so why not get your budget DIY on and subscribe. You can also find us on Pinterest, Facebook, Instagram, and YouTube.
If you have any questions, please leave them in the comment section below or the Contact Me tab at the top to drop me an email. I love hearing from you!
If you enjoyed this recycled flannel shirt sleeve wreath for fall, I'd be so thankful if you shared it with a friend and pinned it to your Fall Wreath Ideas or Flannel Shirt Ideas board on Pinterest.
I share my projects at these inspiring link parties.


I see a sheet metal pumpkin in my future and a shirt sleeve wreath! You are so creative, Marie, and I adore your projects and ingenuity! Thanks for sharing your projects.
ReplyDeleteAw, I'm so glad you like the shirt sleeve wreath and the sheet metal pumpkin, Barb. Thank you so much for your sweet comment, you made my day! xo
Delete