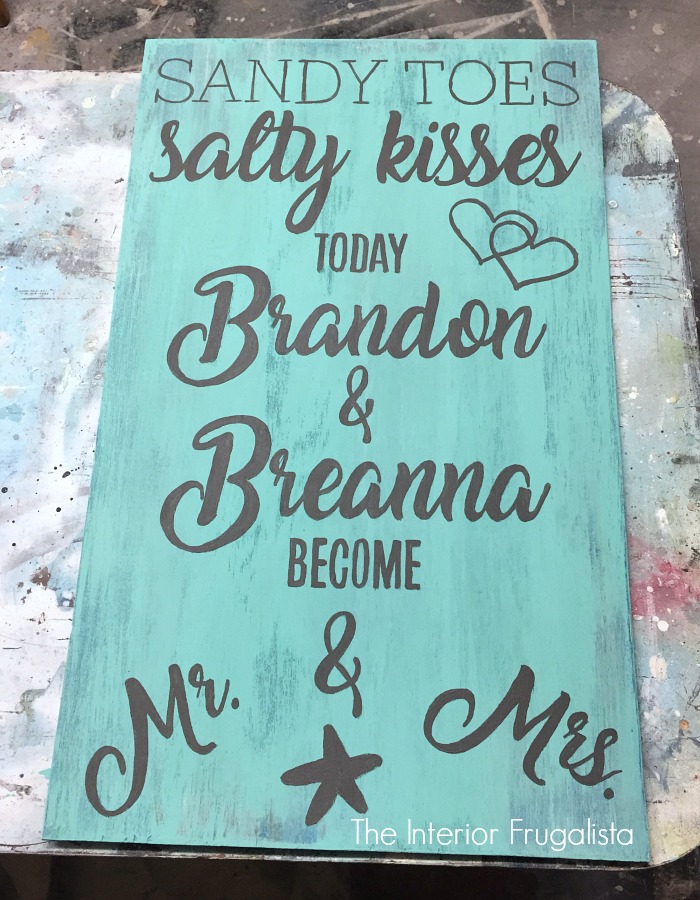
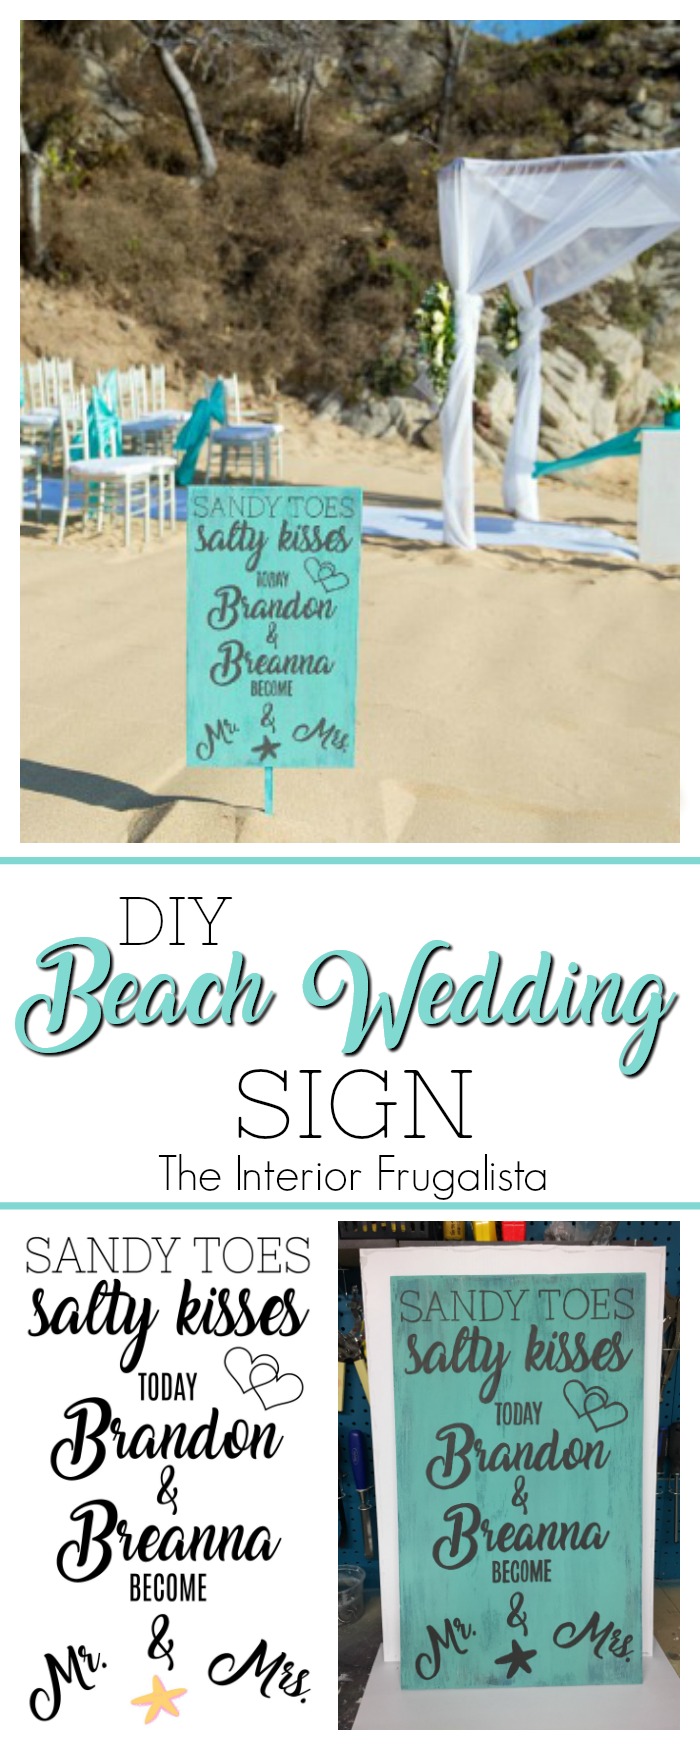
How To Make A Beach Destination Wedding Sign
Are you planning a beach destination wedding? Are you looking for easily transportable ideas that add a personal touch to your wedding decor? Then you'll love this fun idea for how to make a beach destination wedding sign. It fits inside a large suitcase and can easily be assembled on site.
DIY Beach Wedding Sign
The motivation for making the beach wedding sign is for our son's wedding in Mexico. Our daughter-in-law came up with the idea and the sentiment for the sign and asked if I could make it for them. The sign is easy to make and I share the steps in a tutorial below.
Here is the sign on the beach before the ceremony.
All you have to do is no later than 24 hours before the wedding, attach the stake to the back of the sign with a strong glue (see supply list below).
The bride & groom were able to easily remove the stake from the sign after the wedding and bring it back to Canada in their luggage to hang on a wall in their home.
What You'll Need To Make It
These are the supplies you'll need to make the beach wedding sign.
This post contains affiliate links so you can see what products I used or recommend for this project. As an Amazon Associate, I earn a small commission from any qualifying purchases at no extra cost to you. Thank you for your support!
Supply List
1/4" Plywood
1" x 1" Pressure Treated Wood Nailing Strip
Peacock Blue Mineral Chalk Paint
The Gulf Mineral Chalk Paint
Hurricane Gray Mineral Chalk Paint
Van Dyke Brown Glaze
White Wash Glaze
Gator Hide Clear Coat
Chip Brush
Script Liner Art Brush OR Oil Based Sharpie Marker
Graphite Paper
Red Pen
Liquid Nails Glue
Instructions For DIY Beach Wedding Sign
Beach Wedding Sign Lumber
In order to keep the sign lightweight for travel, we used 1/4-inch thick plywood. We thought about using high-density hardboard but decided not to for two reasons; it can easily break during travel and could warp with the high humidity.
The plywood is cut to 15 x 25-inches. The stake for the sign is made with a pressure-treated 1" x 1" nailing strip, cut 24-inches long.
Layers Of Coastal Paint Colors
Layers of paint and glaze were used to give the sign a timeworn coastal patina. First, the entire board was painted with one coat of the darkest color, a turquoise mineral chalk paint.
Next, the sign was dry brushed in a teal mineral chalk paint color. Let it dry for about an hour between each layer of color.
Dry Brush Paint Technique Tips
To achieve a dry-brushed layer of paint that doesn't completely cover the previous color, dip just the tips of an inexpensive chip brush into the paint and offload the excess onto a paper towel.
With light pressure on the brush apply one long swipe of paint from one end of the sign to the other. You can see in the photo below that the base color is still peeking through. Don't worry if you apply too much paint in some areas because you can go over that area with the next color.
Layers Of Coastal Glaze Colors
Unfortunately, I was so engrossed in my work that I completely forgot to take photos of the next two layers using brown and white glaze.
Alternatively, instead of glaze, you could use the same dry brush technique with a layer of brown and white paint.
Apply the glaze just like you did the layers of paint in the previous step except dip the tips of your brush into the water first to dampen the bristles (not saturate). This will help the glaze move further across the sign better.
Start with brown glaze and let it dry and then a layer of the white glaze. Don't worry if the glaze goes on too thick in spots. Just dip the brush in water and spread the color out more.
If that doesn't work, wait until it dries and dry brush over it with the previous paint color. There are no mistakes, just play with the colors until you achieve the look you want.
How To Add Graphic To Wedding Sign
In PicMonkey I created a graphic for the sign sized to 1500 x 2500 pixels using fonts from their wedding invitations and saved it as a jpeg file.
Next, I uploaded the file to the Block Posters website and enlarged it to fit the sign. It was saved as a PDF file on my computer. It printed onto six sheets of paper which I taped together as pictured below.
To add the graphic to the sign I used this image transfer technique. You can get the gist of how it's done in the following photos.
This is after hand painting over the traced graphic using a script liner art brush and two coats of chalk paint in the color Hurricane Gray. But you can use an oil-based Sharpie marker instead.
Although not the intention, the beach wedding sign made a perfect spot for guests to leave their shoes before heading to their chairs on the sandy beach.
We also made a personalized beach wedding card box for the reception that was also easily transportable.
Before I end the post, I thought I'd share a few photos from the wedding located at the beautiful Dreams Resort in Huatulco, Mexico.
You couldn't ask for a more beautiful setting for our son and his beautiful bride to say their I Dos!
Thanks for stopping by the Interior Frugalista today! I hope you were inspired by this idea for a personalized beach wedding sign.
Almost all of our DIY ideas have step-by-step tutorials so why not get your budget DIY on and subscribe. You can also find us on Pinterest, Facebook, Instagram, and YouTube.
If you have any questions, please leave them in the comment section below or the Contact Me tab at the top to drop me an email. I love hearing from you!
If you enjoyed this wedding sign idea, I'd be so thankful if you shared it with a friend and pinned it to your DIY Wedding Decor Ideas or Destination Wedding Ideas board on Pinterest.
I share my projects at these inspiring link parties.


Comments
Post a Comment
Don't be shy, I love reading your comments and reply to every single one! If you want to be notified when I reply back to you, click the "Notify Me" button below the comment box.