Upcycled Wedding Card Box For A Beach Wedding
Are you planning a beach or lakeside wedding? The nice thing about a destination wedding is that everything is done for you by the resort/hotel Events Coordinator. But if you want to add personal touches, it's much easier on the pocketbook if you bring those items yourself.
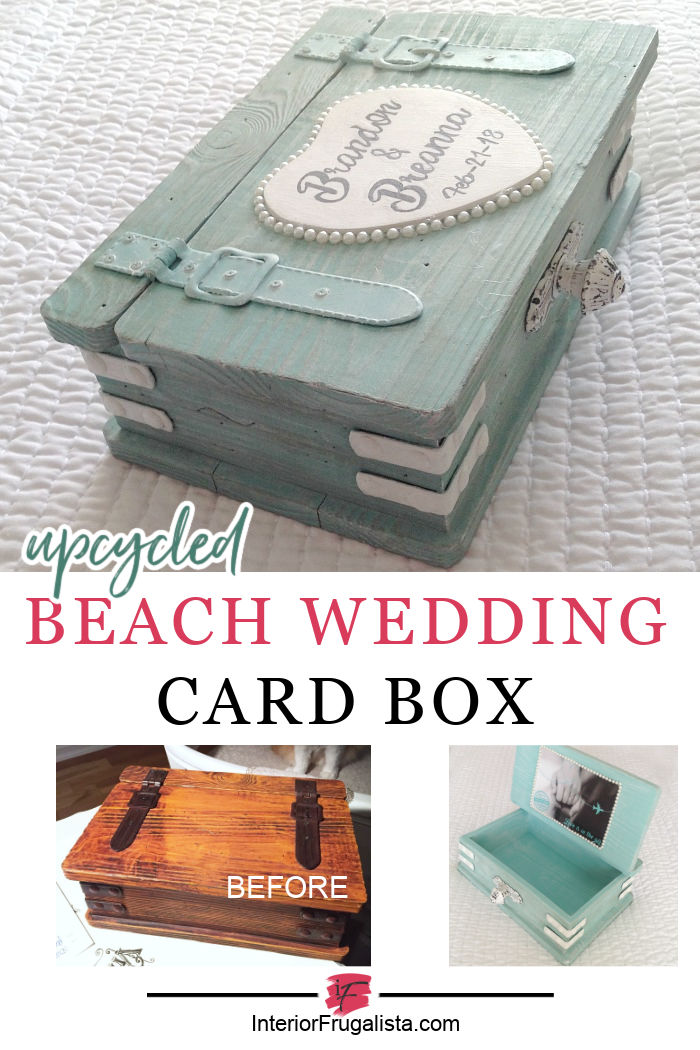
When my now daughter-in-law asked if I'd make a personalized card box for their destination nuptials, there was no twisting my arm! The stipulations were that it couldn't take up much room in her luggage and had to have a beach theme. I had the perfect box from Goodwill and made an upcycled wedding card box for their beach wedding.
Beach Wedding Card Box Upcycle
Tucked in a drawer in my workshop I had a small chest-style wooden box that I found at Goodwill several months ago. What doesn't speak beach more than a treasure chest, right?
At least that's what the wooden box reminded me of. After getting the thumbs up to go ahead and use it, I had to figure out how to add wedding elegance with coastal charm.
This is the wooden box before the makeover. The faux leather straps give it the treasure chest vibe. But the challenge was how to get it from ahoy matey to wedded bliss.
What You'll Need To Make It
These are the products used to transform the mini treasure chest into an elegant upcycled beach wedding card box.
This post contains affiliate links so you can see what products I used or recommend for this project. As an Amazon Associate, I earn a small commission from any qualifying purchases at no extra cost to you. Thank you for your support!
Supply List
Small Wooden Box With Lid (thrift store)
Teal Chalk Style Paint
White Chalk Paint
Black Chalk Paint or Black Acrylic Craft Paint
Script Liner Artist Brush or Oil Based Sharpie Pen
Brown Glaze
White Glaze
Matte Mod Podge
Chip Brush
Foam Sponge Brush
High-Density Hardboard
Retractable Knife
Graphite Paper
Self-Adhesive Pearl Bead Stickers
White Furniture Knob with Back Plate (alternatives)
Liquid Nails
How To Upcycle A Beach Wedding Card Box
The first thing is to clean the thrift store box. My preference is a homemade cleaning solution of one part white vinegar to two parts warm water with a drop of Dawn dish soap.
Paint Wooden Wedding Card Box
After thoroughly cleaning the thrift store box, it is painted inside and out in the color The Gulf, a teal very close to the wedding colors. It took two coats to completely cover the ugly orange color underneath.
Time Worn Beach Vibe With Glaze
To give the freshly painted wedding card box a time-worn look, just the outside of the box is brushed with Van Dyke Brown Glaze.
To do that dip just the tips of an inexpensive chip brush into the glaze and with little pressure on the brush, swipe it across the paint with the grain of the wood.
Remove the excess glaze with a lint-free rag so it settles in the grain and recessed areas. With a damp cloth, remove the glaze on the metal cornices and straps.
While the box is definitely starting to have a coastal vibe, it certainly isn't looking elegant enough for a wedding. Time to add some white.
Adding Wedding White
Next, the metal straps got whitewashed with white glaze, letting it rest in the stitching and around the buckle.
It definitely helped but the box is begging for more wedding white. Next, I layered white glaze both inside and out and I'm much happier with the results.
While the glaze definitely added the much-needed wedding white it also gave the box more coastal charm.
Adding A Pretty Knob
To dress up the box I found a pretty white cabinet knob with a backplate in my stash that I purchased at Hobby Lobby a few years ago. You can read about that adventure in my Canadian Girl's Maiden Voyage To Hobby Lobby post.
How To Personalize The Wedding Box
To personalize the wedding card box I purchased a ready-made wooden heart. But when I went to glue it onto the lid it looked too thick. The heart didn't go to waste as it was used as wedding decor on the guest table.
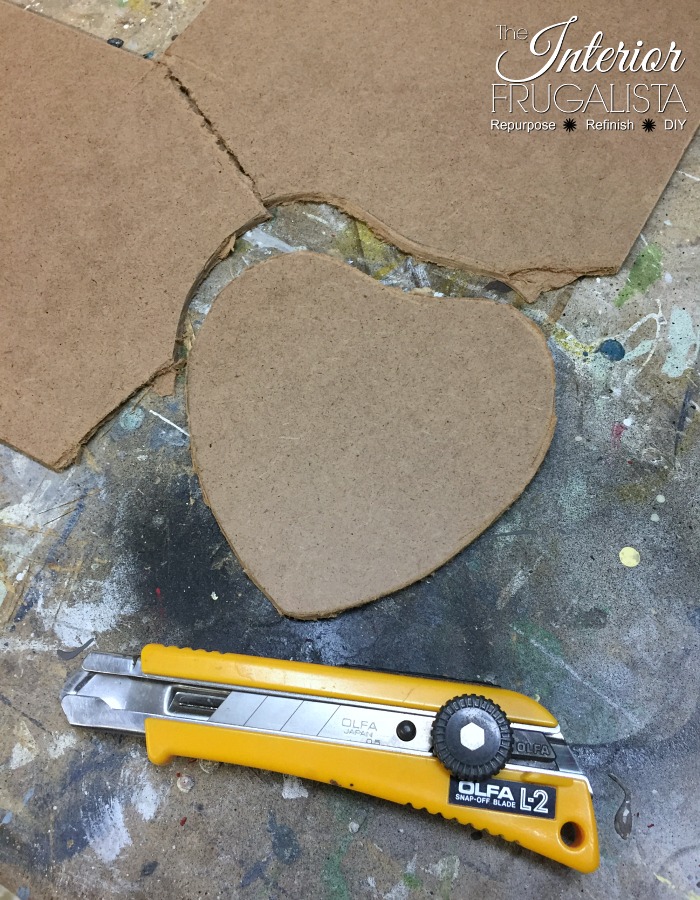
I got to work making another much thinner heart for the top of the box with high-density hardboard.
First I traced the shape of the original heart onto the hardboard. I cut the heart using a retractable knife and sanded the edges smooth with 150-grit sandpaper. Next, I painted the heart white with chalk paint that I had on hand.
In Microsoft Word, I used the same font that was on their wedding invitations and created a graphic for the top of the heart. I added the bride and groom's names and their wedding date, sized to fit the heart shape. After printing the typography, I used this image transfer technique to transfer it onto the painted heart.
I simply went over the traced graphic with a script liner artist brush and black chalk paint. But you could also use an oil-based Sharpie paint pen. Once the paint was dry I glued the heart to the center of the lid with Liquid Nails glue.
The heart embellishment definitely added wedding charm but the elegance came with pearl bead strands. They have self-adhesive backs but I erred on the side of caution (especially considering the humidity in Mexico) and reinforced them with dabs of hot glue.
You may have noticed that the metal cornices are now solid white in the photo above. After adding the white heart it felt like the box needed more white. So I painted over the whitewashed glaze cornices with the same white chalk paint as the heart.
But I wasn't done just yet...
Embellishing The Wedding Box Interior
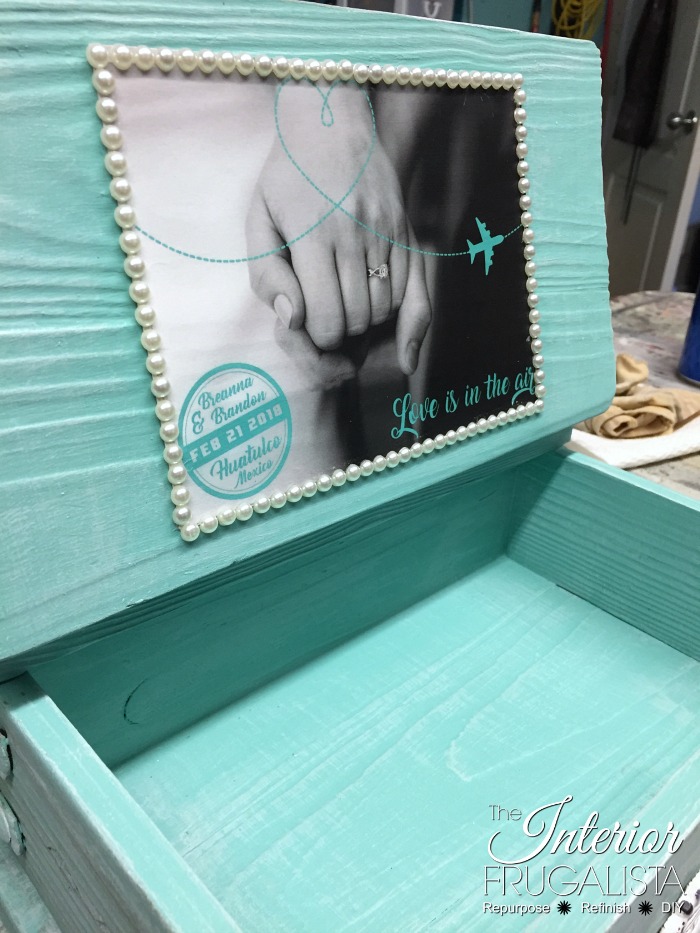
As mentioned earlier, the interior of the box was also painted teal green with a whitewash glaze. To add an element of surprise when opening the box, I decoupage their wedding invitation onto the inside of the lid with Mod Podge.
Because they'll likely use the box after the wedding for wedding keepsakes, I protected the paper with two coats of Mod Podge. Like the heart on the exterior, I framed the invitation with pearl beads.
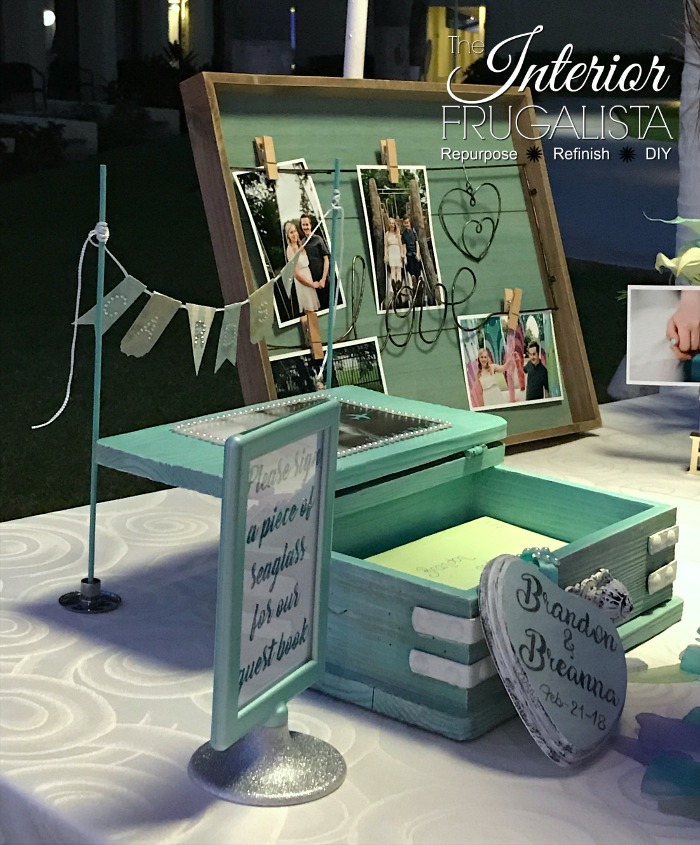
I've included a photo below of the wedding card box on the guest table during the reception. You can see the original heart that I made for the box leaning up against the wedding card box? I'm so glad it didn't go to waste and was used as guest table decor.
DIY Miniature Wedding Card Box Banner
The little banner behind the wedding card box (pictured above) was made with painted dowels glued inside the stem of chrome furniture knobs.
The flags were made with scrapbook paper double-sided in the wedding colors. Bling letter stickers were attached to the front of the flags and glued to a strand of pearlized jewelry cording. Easy peasy!
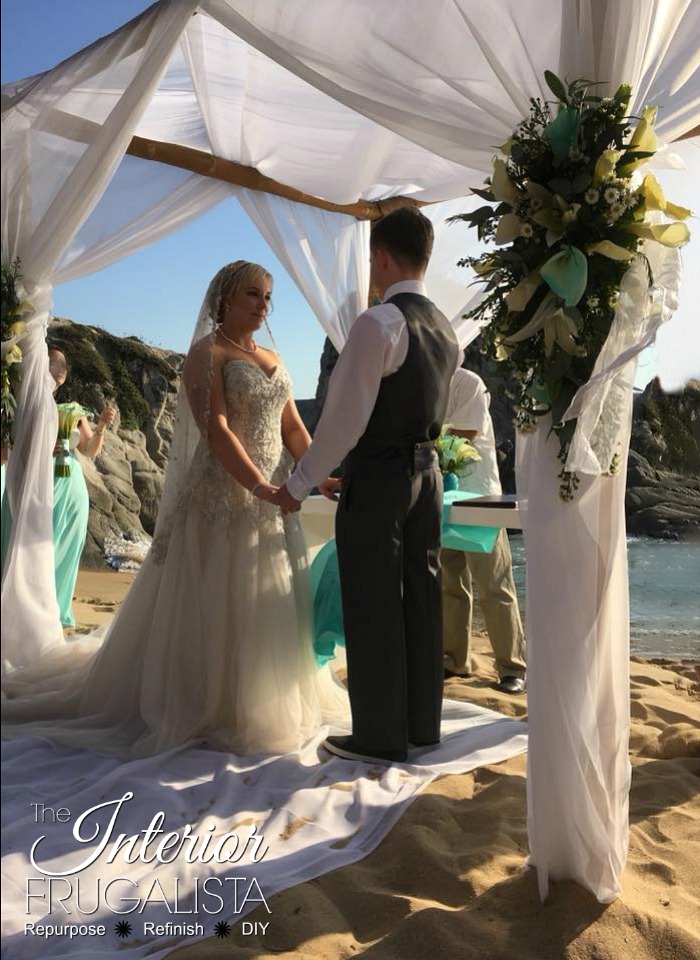
The destination wedding took place at the Dreams Resort in Huatulco, Mexico. It was absolutely beautiful! The resort went above and beyond to accommodate our large group of 30 and made everyone feel so welcomed and pampered the entire week.
I couldn't end the post without sharing some wedding photos. Here is our son and his beautiful bride getting married on the beach. Out of the photo frame is a DIY wedding sign that we made for the beach ceremony.
The tables at the beach and poolside reception were illuminated from underneath. Globe strand lights, paper lanterns, and paper bag luminaries surrounding the reception created such a beautiful ambiance.
Look at the amazing view of the ocean from the head table.
Thanks for stopping by the Interior Frugalista today! I hope you were inspired by this beach nuptial wedding card box idea.
Almost all of our DIY ideas have step-by-step tutorials so why not get your budget DIY on and subscribe. You can also find us on Pinterest, Facebook, Instagram, and YouTube.
If you have any questions, please leave them in the comment section below or the Contact Me tab at the top to drop me an email. I love hearing from you!
If you enjoyed this idea for a destination wedding, I'd be so thankful if you shared it with a friend and pinned it to your DIY Wedding Decor or Destination Wedding Ideas board on Pinterest.
I share my projects at these inspiring link parties.






Comments
Post a Comment
Don't be shy, I love reading your comments and reply to every single one! If you want to be notified when I reply back to you, click the "Notify Me" button below the comment box.