Vintage Metal Classroom Desk Makeover
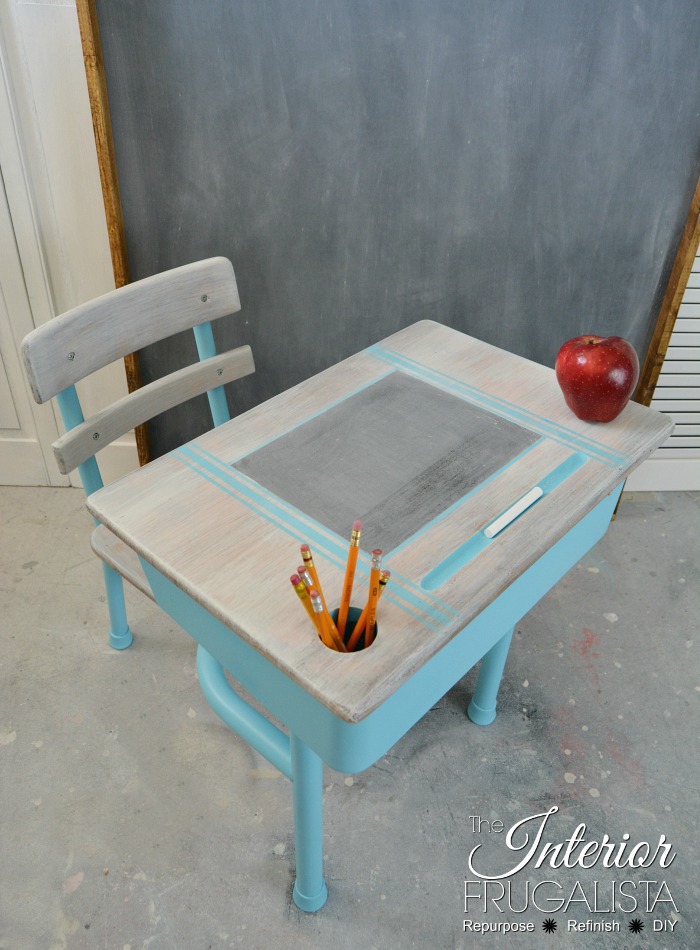
I'm sharing a furniture makeover that took me right back to my elementary school days. I was flooded with memories while breathing new life into this vintage metal classroom desk.
If only this desk could talk, judging by all the crayon drawings and carvings in the wood. I'm not going to lie, I searched for my initials among the others. Now wouldn't that have been a full circle moment!
Vintage School Desk Makeover
Today is Furniture Fixer Upper Day where five talented furniture upcycling friends and I come together to breathe new life into six pieces of furniture. I've included links to their makeovers further down in the post. In case you missed it, last month I repurposed a Bombay television cabinet into a Hollywood Regency Bar.
Let's take a look at the old school desk before the makeover. Someone had some fun with stickers.
Are you ready to see the after?
Judging by the inkwell, I'm assuming this elementary school desk is from the 1950s but they were still in classrooms here in the 1960s. The inkwells were originally meant to hold bottles of ink but I remember using it for bottles of brown glue with a rubber tip. Remember those?
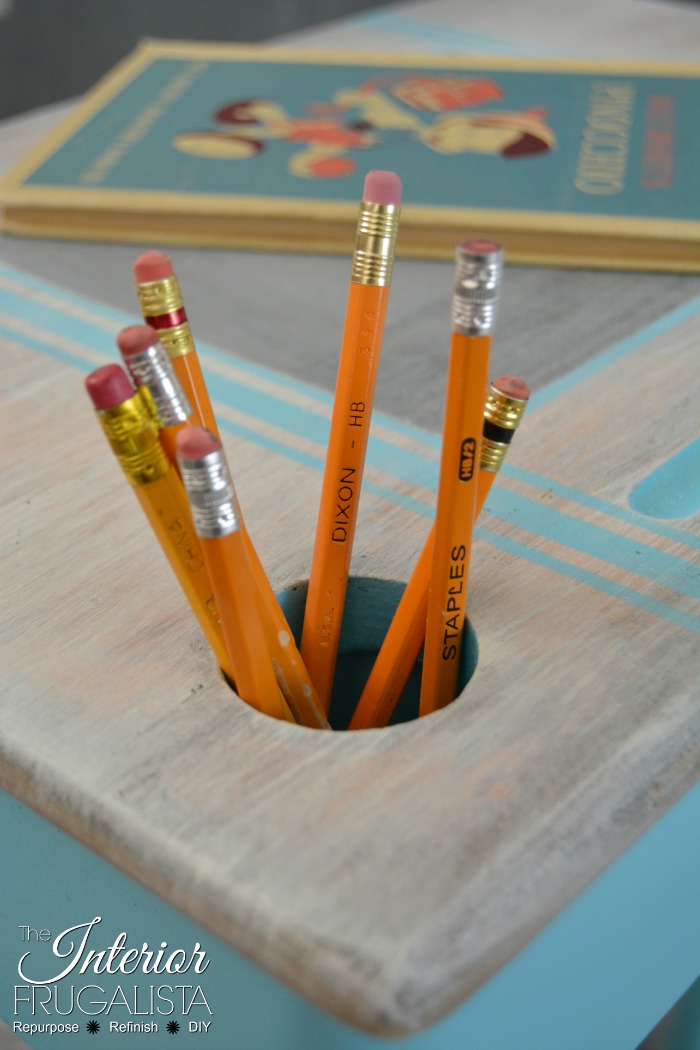
However, I also remember using the inkwell as a garbage can for crumpled balls of paper that later served as ammo for spitballs. Anyway, I modified the inkwell/glue holder/spitball concealer to hold pencils and I'll show you how further down in the post.
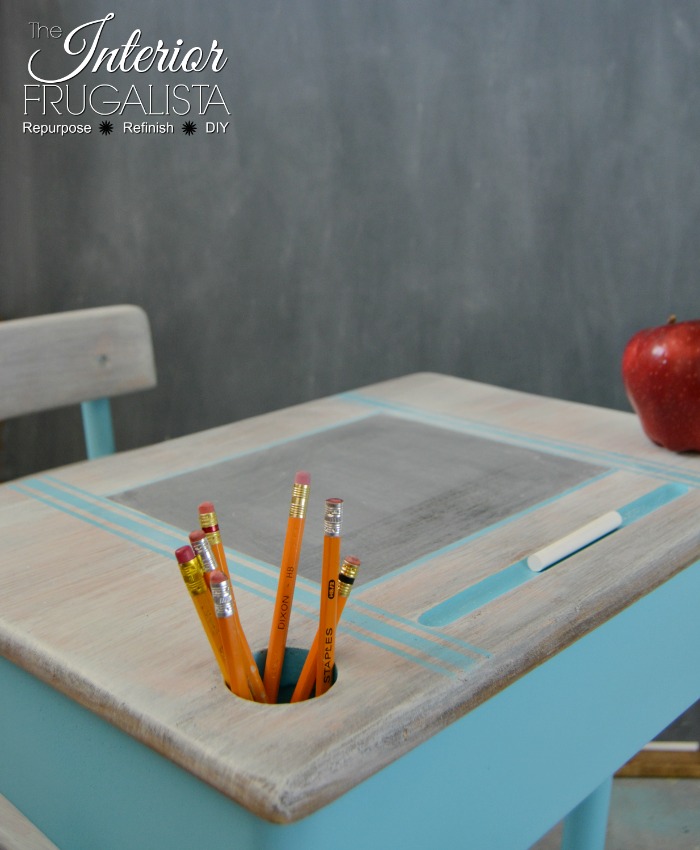
I sectioned off a portion on the top to create a chalkboard reminiscent of an old writing slate used in classrooms back in the day.
I have to admit this was one of those furniture makeovers where I was flying by the seat of my pants. I was certain about one thing though, the metal desk had to be painted turquoise. The rest evolved as I went along.
This post contains affiliate links so you can see what products I used or recommend for this project. As an Amazon Associate, I earn a small commission from qualifying purchases at no extra cost to you.
Supply List
Satin Aqua Rustoleum Spray PaintRustoleum Clear Coat Spray Paint
Minwax Pre Stain Wood Conditioner
Provincial Minwax Wood Finish
Whitewash Glaze Dixie Belle Paint Co.
Graphite Annie Sloan Chalk Paint
Turquoise Acrylic Craft Paint
Grain Sack Stripe Stencil
Painter's Tape
E6000 Glue
1-inch L Brackets
Recycled Tomato Paste Can
Items without links can be found in the Interior Frugalista Amazon Shop.
Here's How I Did It
Prep For Paint
The metal base had definitely seen its better days and had lots of wear on the bar connecting the seat from decades of shoes resting on it. But all it needed was a good clean and a bit of sanding in spots.
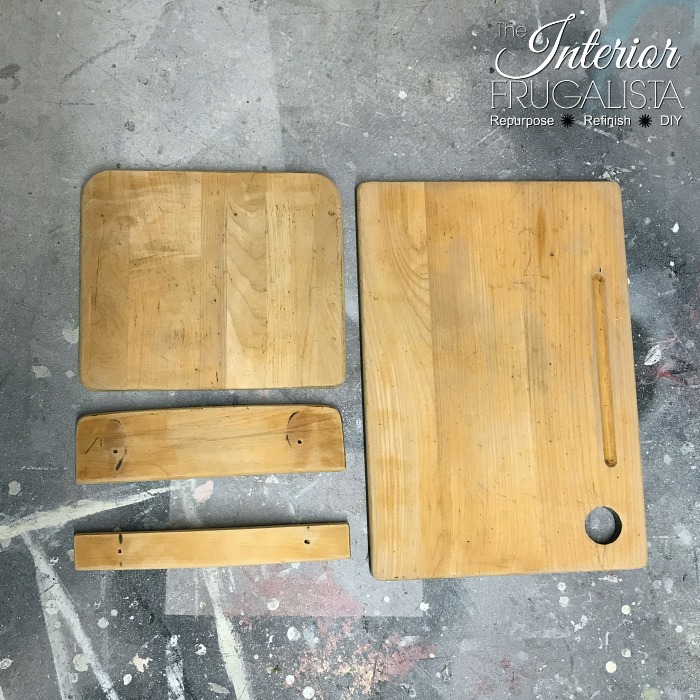
The wood top, on the other hand, had to be sanded and sanded some more to remove the etched carvings from decades of bored students. The chair slats, other than a bunch of stickers were in good shape but the seat was well worn from all those little squirming butts over the decades.
Paint The Base
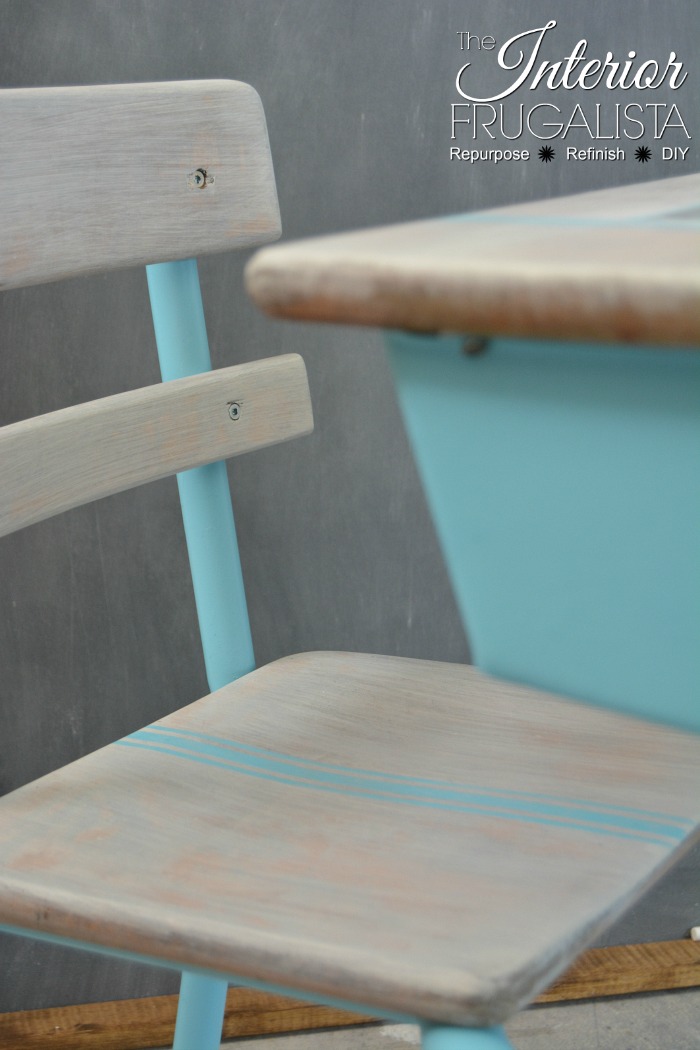
After removing all the wood pieces, the first thing that happened was the metal base got three coats of pretty Aqua colored spray paint followed by a couple layers of a satin clear coat.
Stain The Wood
After what felt like eons sanding the wood, it was treated with Minwax pre-stain wood conditioner. The conditioner penetrates the wood so you get a uniform stain finish.
Or so I thought...
My heart sank with the blotchy mess that was happening while staining the wood in the color Provincial.
I had three options; 1) sand the pieces back to the natural wood again and start over, 2) paint the wood, or 3) cover the blotchy wood with something. I chose option three.
A Chalkboard Slate
At this point, I had no clue how I was going to cover the blotchy stain so it looked intentional. Then I remembered the writing slates used in classrooms back in the day and had a light bulb💡moment.
How about a chalkboard!
To make it I mapped out a square in the center of the desktop with painter's tape. Then I rolled three coats of graphite color chalk paint with a 4-inch foam roller, lightly sanding with 200-grit sandpaper between coats.
Pro-Tip 1
My preference for homemade chalkboards is using chalk paint rather than chalkboard paint. Why? Because it has a much faster dry time between coats. But did you know flat paint can also be used to make chalkboards?
Pro-Tip 2
Before using a brand new chalkboard it should be seasoned first to prevent ghosting. Rub the side of a stick of chalk vertically and horizontally over the new chalkboard and wipe with a cloth.
Next up, what to do about that blotchy stained wood.
Whitewashed Stain
Unfortunately, the chalkboard didn't conceal all of the blotchy stains and so I covered the chalkboard with paper and brushed the top with a coat of whitewash glaze with an inexpensive chip brush.
Wanting some of the stained wood to still peek through the whitewash, I dipped the paintbrush into some water first to thin the glaze. I brushed a thin layer of glaze over the stained wood and immediately wiped it with a lint-free rag.
I'm much happier with the finish now.
Grain Sack Stripes
The chalkboard still felt like it needed a little something-something so I framed it with grain sack stripes stencil and turquoise acrylic craft paint.
I also added grain sack stripes to the center of the wood seat as well.
Inkwell To Pencil Holder
Next up was turning the inkwell into a pencil holder by recycling an empty tomato paste can. In order to attach the can to the underside of the desk, I glued three L-brackets around the lip of the can with E6000 glue and let it cure overnight.
Next, I painted it with the same Aqua color spray paint as the base of the desk. Then I lined the can up to the inkwell and attached it to the underside of the desktop with small screws.
I have to admit, despite not having a definitive plan going into this makeover, I'm quite pleased with the results. How fun would this desk be in a children's playroom? I see many hours of playing teacher!
Here's some other children's desk inspiration you may like. I gave this Wooden Vintage Student Desk a pretty pink makeover. For the preschoolers, I gave this mismatched Vintage Children's Table & Chair Set a fun makeover. I have seller's remorse with the last one because my three-year-old grandson is a perfect age for it right now.
Thanks for stopping by the Interior Frugalista today! I hope you were inspired by the upcycled vintage school desk makeover. If you have any questions, please leave them in the comment section below or the Contact Me tab at the top to drop me an email. I love hearing from you!
If you enjoyed this furniture makeover, I'd be so thankful if you shared it with a friend and pinned it to your Desk Makeover Ideas or Children's Furniture Makeover Ideas board on Pinterest.

Now let's take a look at how my talented Furniture Fixer Upper friend's transformed these furniture pieces. Click on the links below to see the after photos and makeover tutorials.
Girl In The Garage
Confessions Of A Serial DIYer
Petticoat Junktion
Prodigal Pieces
Just The Woods
The Interior Frugalista







Love this makeover! You did a nice job covering up the splotchy stain. The aqua color of the desk bottom is perfect.
ReplyDeleteThank you very much, I'm glad you like it!
DeleteThe desk turned out great Marie, love the aqua color and the new pencil holder is a great idea!
ReplyDeleteTania
Thanks Tania, it is up there on my favorite furniture makeovers to work on list!
Delete