From Drab To Fab Outdoor Chair Cushions On A Budget
Is it just me or are outdoor chair cushions getting rather pricey these days? If you're looking for a budget-friendly alternative then you've come to the right place? I'm going to show you how easy it is to make inexpensive outdoor chair cushions from drab-to-fab on a budget.
In less than ten minutes you can turn those budget cushions in a solid color into lovely one-of-a-kind cottage style outdoor cushions with a stencil.
How To Give Inexpensive Outdoor Chair Cushions Cottage Style
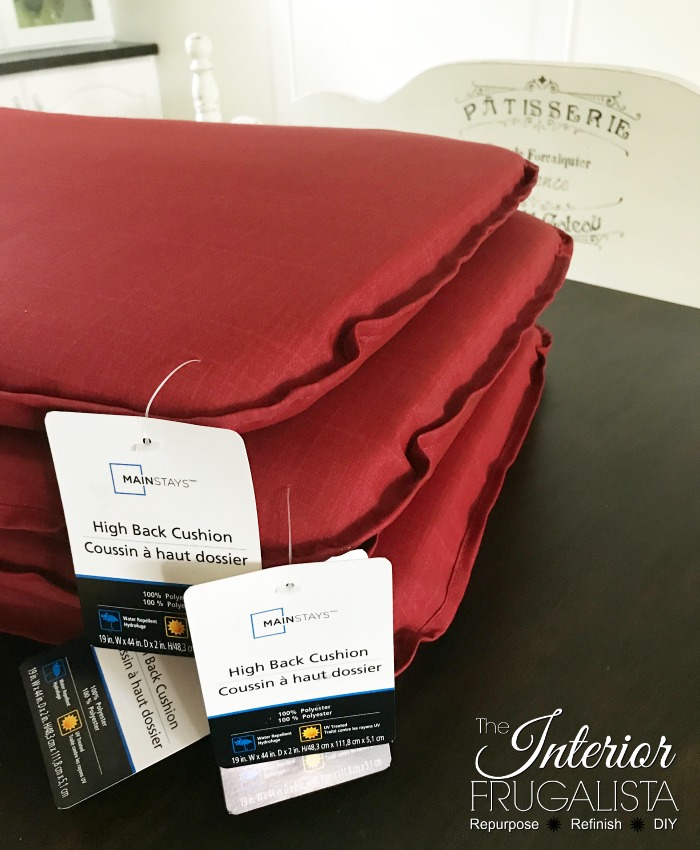
I spent weeks shopping for outdoor cushions both online and locally for our refreshed Adirondack chairs. I found several that I loved but the cheapest price was $49.99 per cushion. Shy of sewing my own, I was determined to find a budget-friendly alternative and I found it at Walmart.
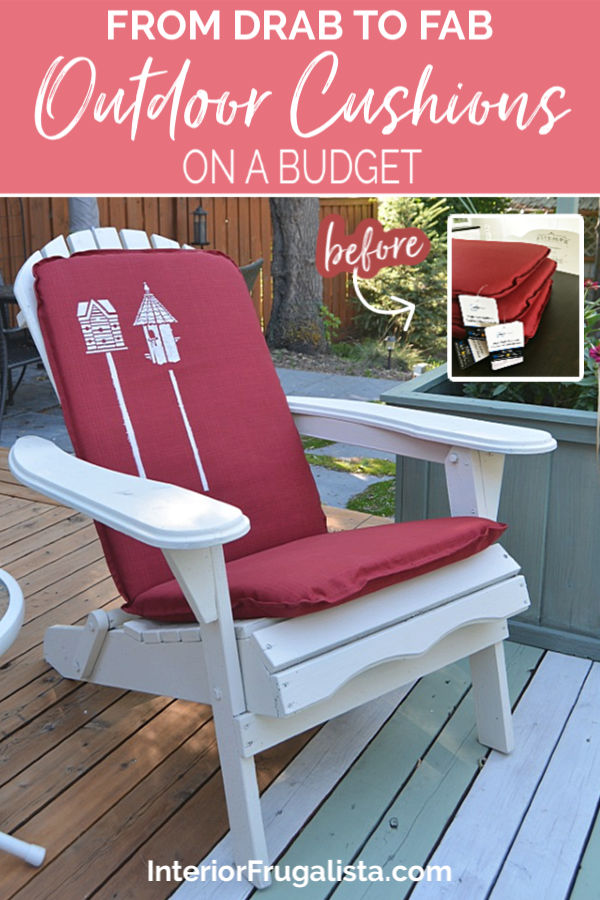
They had high-back outdoor cushions for $19.97 each. While not officially Adirondack chair cushions, they were very similar in size and shape to the higher-end cushions. Unfortunately, the available patterns did not work with our new deck makeover BUT they had them in several solid colors.
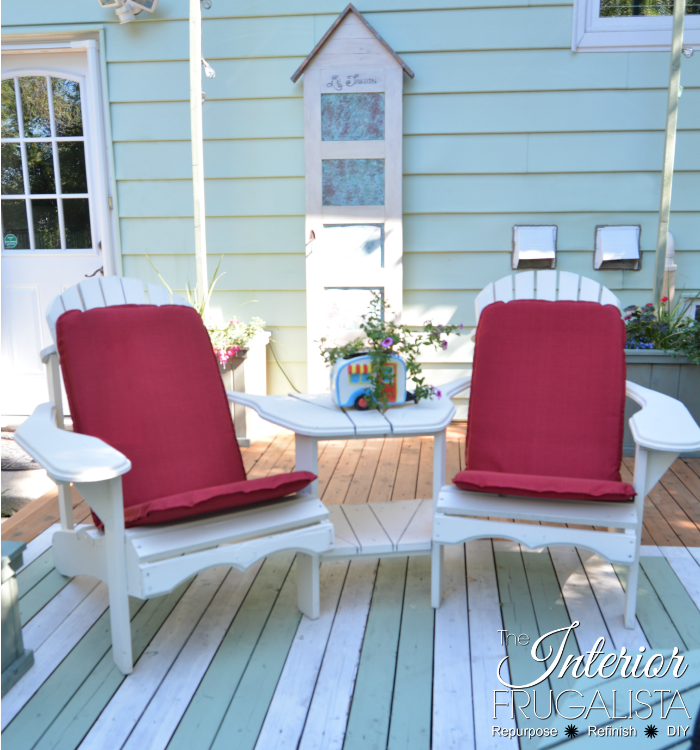
The red certainly works with the seafoam green we are using in this space. But the downside was the cushions looked rather plain and boring. That's when I had the idea to spruce them up with a lovely and unique cottage style.
Wouldn't you agree that they look so much cuter now?
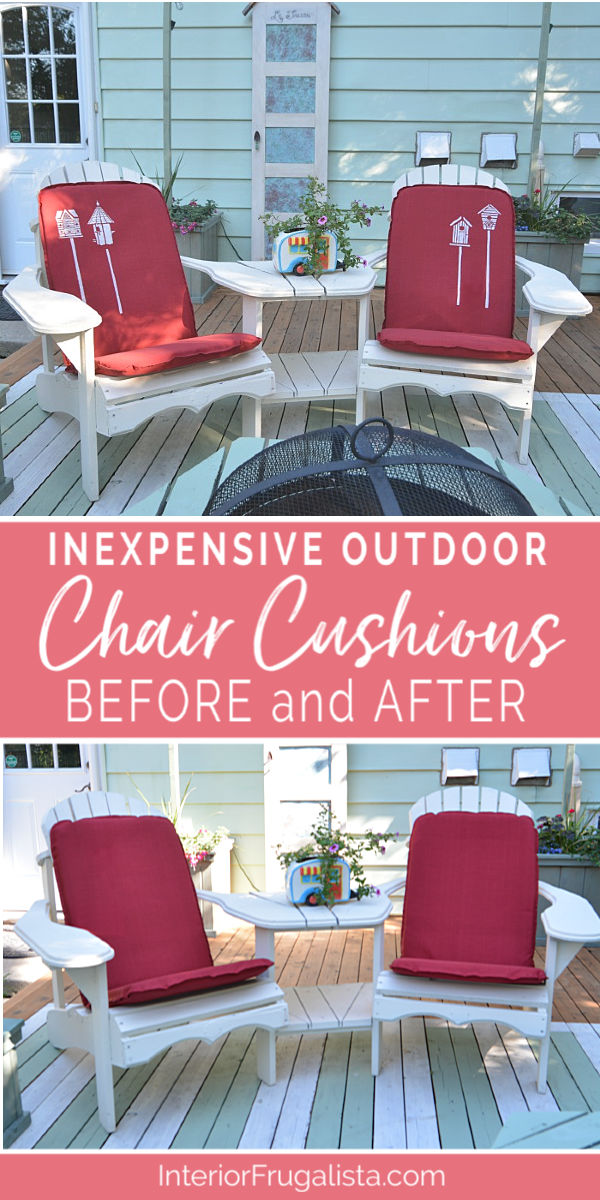
Let's take a look at the cushions on our Adirondack tete-a-tete before being stenciled.
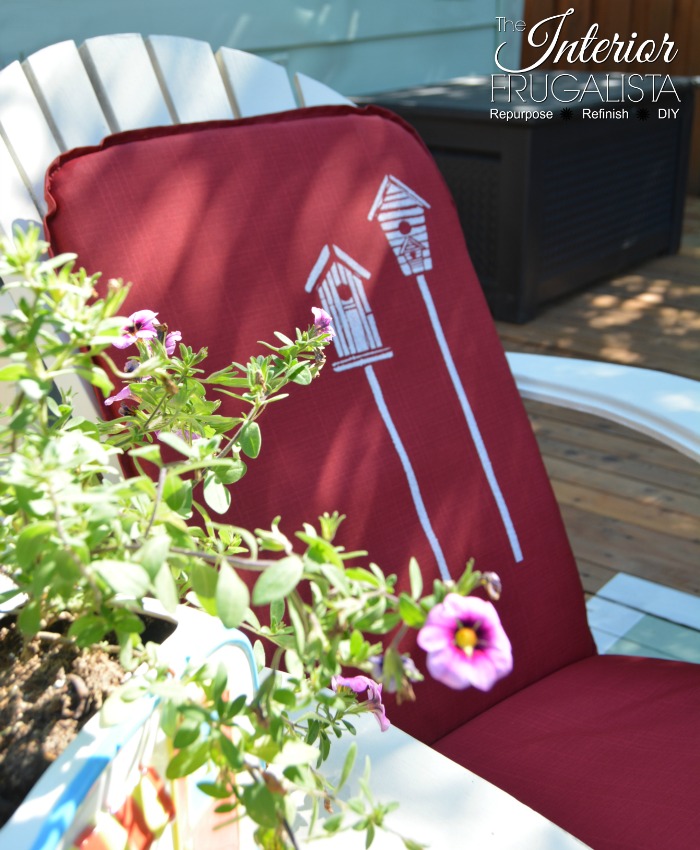
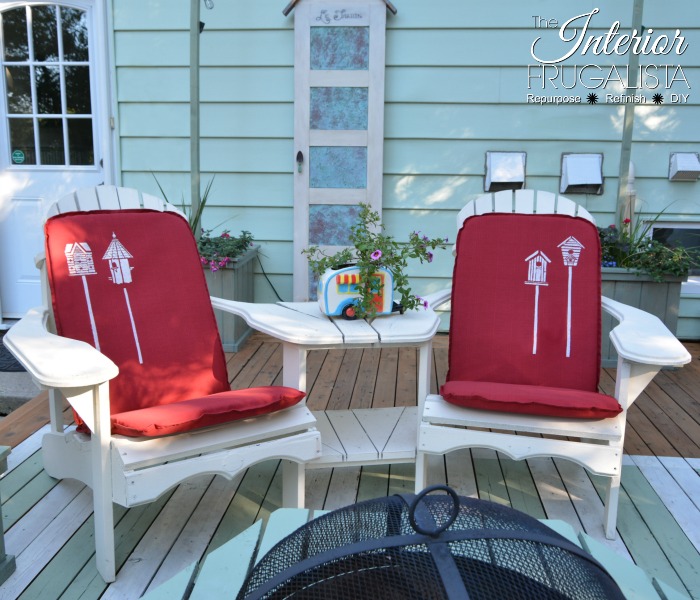
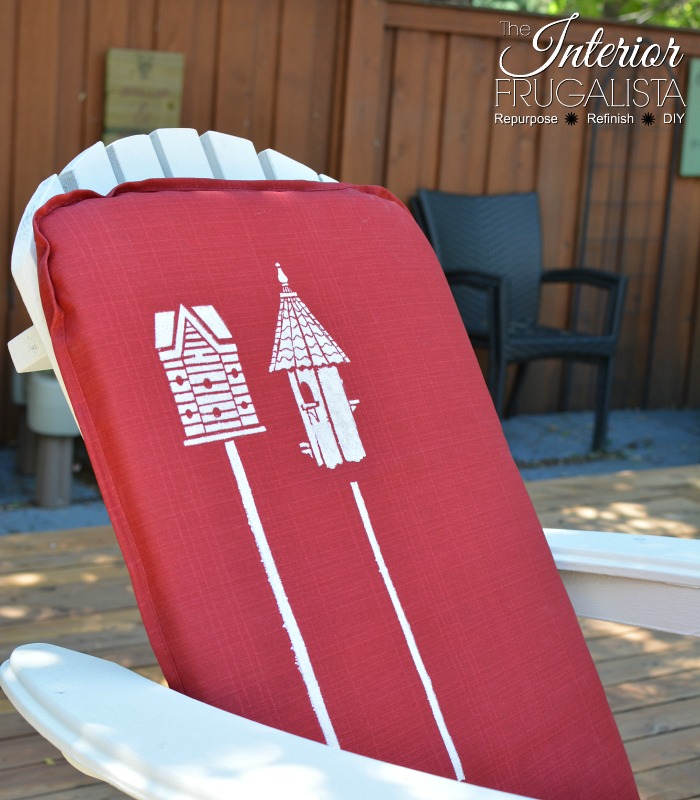
What a difference after being stenciled with an adorable birdhouse stencil.
If your preference is symmetry, then you could stencil all four of the birdhouses on the stencil to each chair cushion. I personally love an asymmetrical look and chose to use just two birdhouses on opposite sides of the cushions when paired together.
Before we get into the nitty-gritty of how to stencil the patio chair cushions, almost all of the DIY projects shared here at Interior Frugalista have step-by-step tutorials so why not get your budget DIY on and subscribe. You can also follow us on Pinterest, Facebook, Instagram, and YouTube.
How To Stencil Outdoor Chair Cushions
This post contains affiliate links so you can see what products I used or recommend for this project. As an Amazon Associate, I earn a small commission from qualifying purchases at no extra cost to you.
In the Spring I purchased this ArtMinds birdhouse stencil at Michaels. If you've been following our budget-friendly deck makeover series, you know that we have a bird theme going on. The birdhouse stencil couldn't be more perfect for our Adirondack chair cushions!
Aligning The Stencil Onto The Outdoor Cushions
To ensure the stencil alignment was uniform on each cushion I used my handy Kreg Multi-Mark Measuring Tool, I love this thing!
Tips For Securing Stencil Onto Outdoor Fabric
Stenciling on fabric is not difficult but with cushions inside without a zipper closure to remove them, it can be a bit of a challenge. The fabric slides easily over the water-resistant outdoor foam so it's imperative the stencil is secured well to the fabric.
I tried using both painter's tape and masking tape to hold the stencil in place but the best tape ended up being clear packing tape. An alternative is using stencil spray adhesive but my concern was that it might stain the fabric.
What Stencil Technique Works Best On Outdoor Cushion Fabric?
Normally I use a swirling motion when stenciling but because the fabric moves easily with the cushions inside, I found the dabbing technique worked much better. I found a foam dabber absorbed too much paint so I used a stencil brush instead, dabbing the paint on with an up and down motion.
Normally you should stencil with a dry brush technique where most of the paint is offloaded onto a paper towel first to avoid paint bleed under the stencil. But I found using multi-surface paint stenciled better by removing just a bit of the excess paint. Instead of a dry brush, you want the brush to be wet but not saturated with paint.
It also helped to hold the stencil firmly with my left hand against the slippery fabric but not too firmly where it condensed the foam. Unfortunately, I did get a little paint bleed, most likely because I had a little too much paint on the brush.
What I Would Do Differently
If I were to stencil outdoor cushion fabric again, I would use fabric paint. With fabric paint, you could use the dry brush technique and not get any paint bleed.
Thanks for stopping by the Interior Frugalista today! I hope you were inspired by the stenciled outdoor cushions. If you have any questions, please leave them in the comment section below or the Contact Me tab at the top to drop me an email. I love hearing from you!
If you enjoyed this budget-friendly outdoor chair cushion idea, I'd be so thankful if you shared it with a friend and pinned it to your Outdoor Decor Ideas or Stenciled Decor Ideas board on Pinterest.
I share my projects at these inspiring link parties.






I REALLY like what you did! In my own ineptness, I would have done 3 on a slant, but that would have destroyed the asymmetrical-ness of it all. Good job!
ReplyDeleteCeyla, I seriously considered doing either 3 or 4 birdhouses. I had the stencil set and ready to add more and stopped myself because I was liking the unexpectedness of two. What can I say, I'm just an asymmetrical kind of gal! LOL
DeleteWell done! :-)
ReplyDeleteI really like the 2 stencils per cushion...each birdhouse stands out with it's own design! I like how you did them and what a great money saving idea!!! WalMart, here I come!!
ReplyDeleteThank you, Karolyn! I'm glad you like my quirky asymmetrical look for the cushions. I hope you find just the right cushions to try this on. Happy stenciling!
DeleteThey are beautiful Marie. I got all excited when I saw this project, I thought she finally used her Cricut. NOT ����
ReplyDeleteLOL, I made these in my pre-Cricut Maker days but they definitely could be made with permanent iron on vinyl. I have been using my Cricut Maker these days on other projects and have a few in the works.
ReplyDelete