Unique Stenciled Hello Fall Checkered Pillow Covers
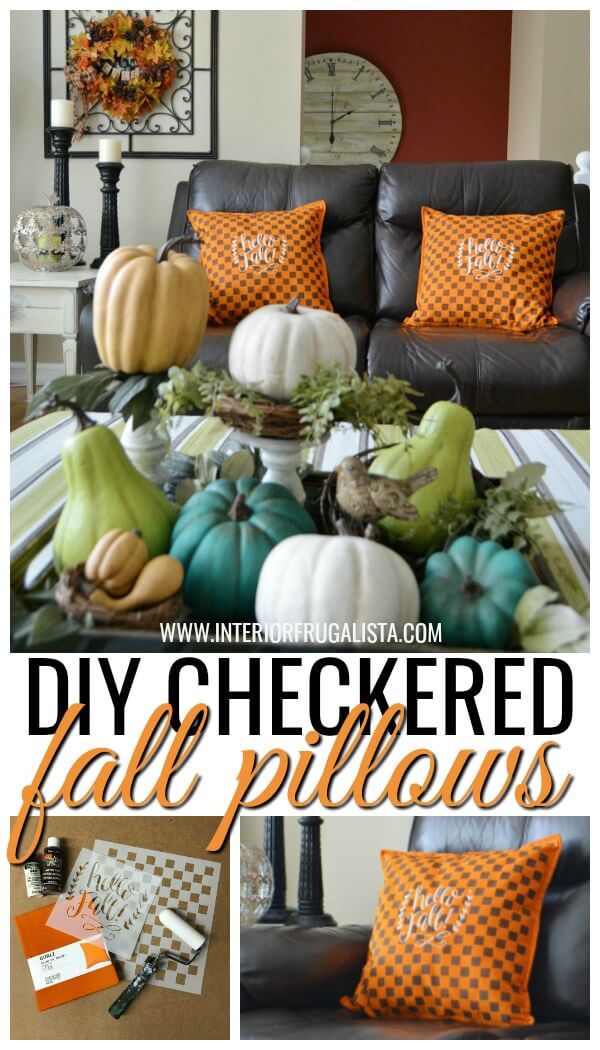
These one-of-a-kind checkered fall pillow covers in traditional autumn colors are so easy to make. Plus they are a space-saving option for seasonal pillows.
If you're like me and decorate with seasonal throw pillows, storing them on the off-season takes up valuable real estate, especially when you live in a small home. But there's a space-saving option where all your seasonal pillows can fit inside one drawer. You read that right, one drawer!
DIY Checkered Pillow Covers For Fall
Gone are the large bulky bags of seasonal pillows that used to be stuffed in our storage room. They've been replaced with pillow forms that are used year-round where the only thing that gets switched out each season is the pillow covers.
I gifted or donated that big bag of seasonal pillows and now all I have are 20-inch IKEA Fjadrar pillow forms that stay put year-round. No storage required! Instead of switching out the pillows, I simply swap the pillow covers.
For the fall checkered pillows that I'm sharing today, I bought 20-inch orange IKEA Gurli cushion covers for $4.99 each. While I was at it, I also bought white ones to make these Christmas ornament pillow covers.
What You'll Need To Make The Checkered Pillows
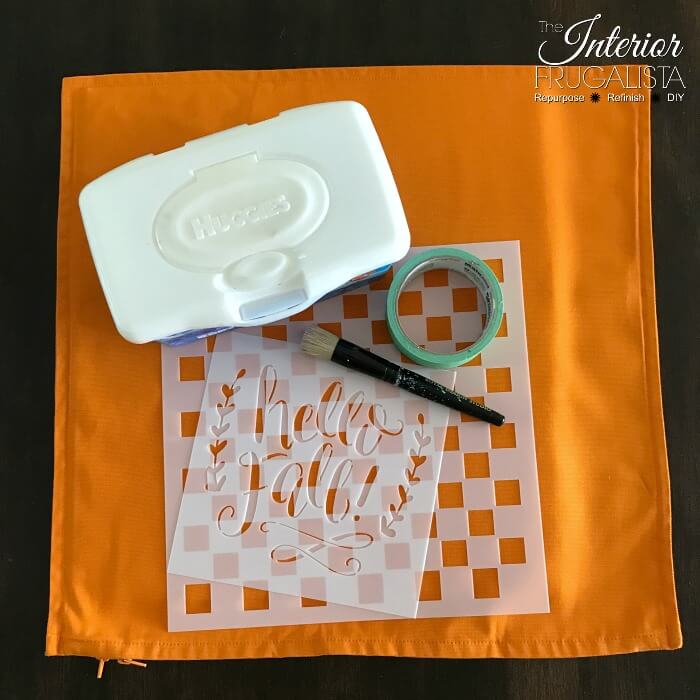
These are the supplies you'll need for the checkered fall pillows. The list contains affiliate links so you can see what products I used or recommend. As an Amazon Associate, I earn a small commission from qualifying purchases at no extra cost to you.
Supply List
20-inch FJADRAR Inner Cushions
Orange GURLI Cushion Covers
Checker Stencil
Hello Fall Stencil
Vintage White Multi-Surface Paint
Burnt Umber Craft Paint
Fabric Medium
Stencil Brush
Stencil Adhesive (optional)
Painter's Tape
In the photo above you'll see a foam roller but I ended up not using it. I found it challenging to roll the paint on the heavily textured cotton fabric because I either had to put too much pressure on the roller or put too much paint on the brush - both of which caused the paint to bleed.
Instead, I switched to the stencil brush pictured below and while it took more time, I had zero paint bleed. As for the baby wipes, you'll see why I use them below.
Stencil Tip
Keep a container of baby wipes on hand to wipe the back of the stencil before stenciling the pattern repeats. Even the slightest bit of wet paint that seeped onto the back of the stencil will transfer onto the fabric when you do the next pattern repeat.
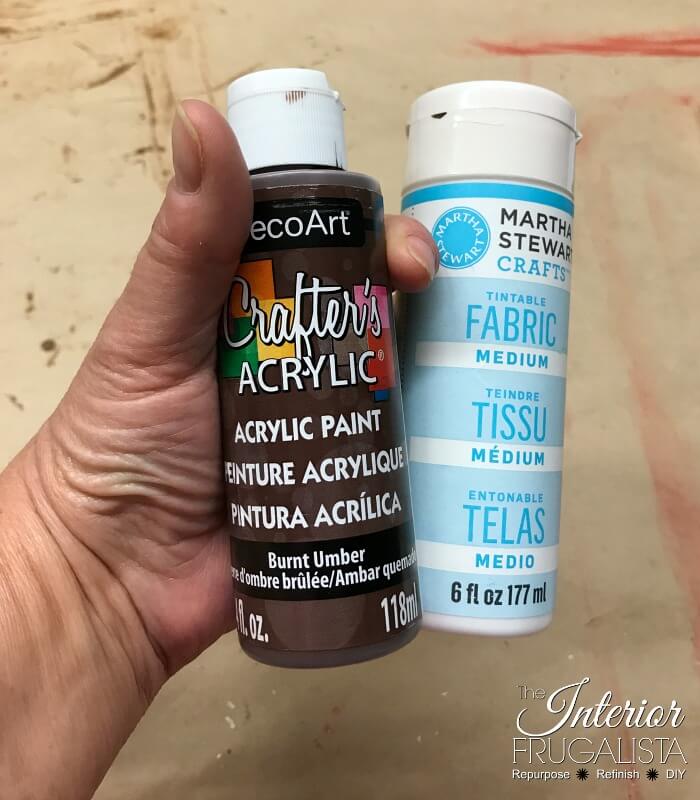
I also used burnt umber acrylic craft paint that isn't best suited for stenciling on fabric. To soften the paint once it's dry and provide even color distribution, you'll also need a fabric medium. Mix 1 part fabric medium to two parts acrylic craft paint.
How To Stencil Fall Pillow Covers
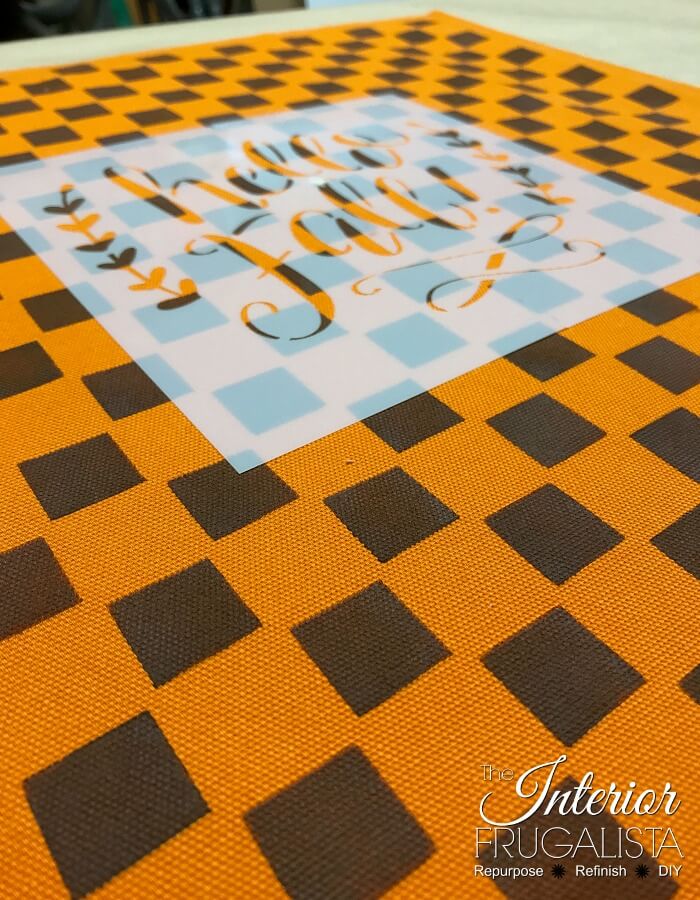
Insert a piece of cardboard inside the pillow cover to prevent the paint from seeping through to the back.
- Use painter's tape or spray adhesive to hold the stencil onto the pillow cover.
- It's also a good idea to tape around the perimeter of the stencil to avoid any accidents with the brush going off the stencil.
- Dip the stencil brush into the brown paint and dab onto a paper towel to remove the excess paint. The trick to not getting paint bleed is to have very little paint on the brush.
- Another trick for not getting paint bleed is to start stenciling in the middle of the open squares first then work your way toward the outer edges.
- If you are fairly new to stenciling then my suggestion would be to stencil with an up and down pouncing motion. It's easier to get paint bleed when using a swirling motion.
My apologies for not having a photo of the stenciling steps (I swore I took several photos). Now we're ready to add another stencil overlay on top of the stenciled checker pattern.
Second Stencil Overlay
Once the checkered pattern is dry, add a second Hello Fall stencil overlay to the center of each pillow cover. This time I used a contrasting white multi-surface paint that doesn't require fabric medium.
I used this same stencil on my DIY Antiqued Fall Mirror for our fireplace mantel Fall vignette too.
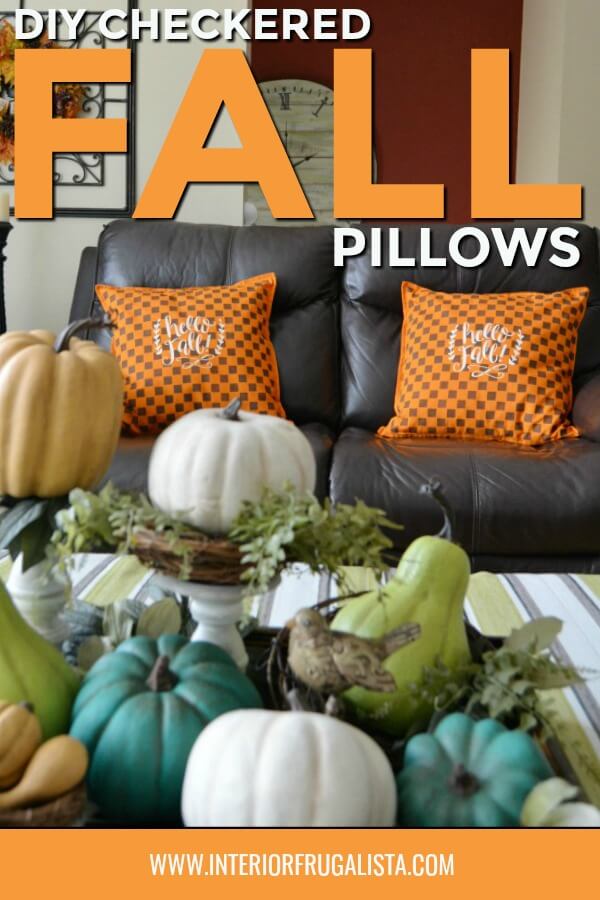
The fall wreath with game tile banner in the photo below is also handmade along with the painted dollar store pumpkins and gourds on the coffee table tray.
If you love to decorate in traditional fall colors, then these one-of-a-kind checkered pillow covers are a unique addition to your fall decor.
Thanks for stopping by the Interior Frugalista today! I hope you were inspired by these stenciled fall pillow covers.
Almost all of our DIY ideas have step-by-step tutorials so why not get your budget DIY on and subscribe. You can also find us on Pinterest, Facebook, Instagram, and YouTube.
If you have any questions, please leave them in the comment section below or the Contact Me tab at the top to drop me an email. I love hearing from you!
If you enjoyed these checkered fall pillow covers, I'd be so thankful if you shared it with a friend and pinned it to your DIY pillow ideas or DIY fall decor board on Pinterest.
I share my projects at these inspiring link parties.






These turned out so sweet, Marie! Perfect way to add a touch of the season to your home. You always have the best projects! Many smiles, Suzanne.
ReplyDeleteYou are very kind, Suzanne, thank you for the sweet comment! Wishing you a wonderful new week ahead. xo
DeleteMarie, what a fun fall craft. The tips really helped me see that I could do this!
ReplyDeleteYour pillows turned out perfect!!!
Oh gosh, Rachelle, you can definitely do this and I know you'll make amazing seasonal pillow covers. I've seen your work! Thanks for stopping by for a visit. 😀
Delete