Easy Way To Paint Chair Spindles When You Can't Spray
Painting wooden chairs can be time-consuming with all those spindles. The quickest way to get the job done is with a paint sprayer. BUT, if you are an apartment dweller or paint indoors then you'll love these easy tips for how to paint chair spindles when you can't spray.
Easy Way To Paint Chair Spindles Without A Sprayer
Also included in this painting tutorial is what to do when sanding the old finish to prep for paint isn't an option. Plus, more tips for what to do when you encounter a challenging chair with peeling and scratched paint and/or a glossy finish.
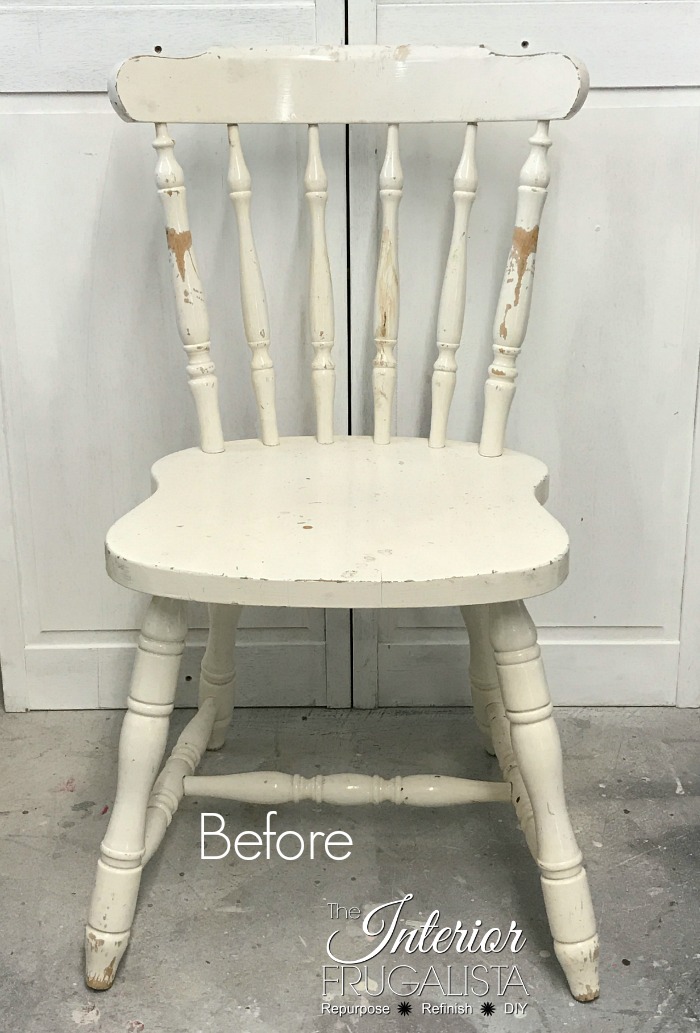
I'll be demonstrating these tips with the wooden chair pictured below that has seen it's better days.
This is the same chair after the makeover using the techniques I'll be sharing in this tutorial.
This post contains affiliate links so you can see what products I used or recommend for this project. As an Amazon Associate, I earn a small commission from qualifying purchases at no extra cost to you.
Three Tips For Painting Chair Spindles Without A Paint Sprayer
It's all about using the right brush, controlling the paint, and the brush stroke direction. Say what?
Tip 1 For Painting Chair Spindles
The type of brush you use makes a BIG difference. A round synthetic paintbrush is a game-changer. I'm not telling you this just to sell you paintbrushes, I am being completely honest when I say that when I switched to using this brush, it rocked my spindle painting world! The silky fine bristles glide over the spindles with uniform coverage and leave no brush strokes behind.
Tip 2 For Painting Chair Spindles
The next thing that makes all the difference when painting spindles is less is more!
Paint with thin coats of paint rather than having a lot of thick paint on the brush. How? By starting with a damp (not soaked) brush because it helps move the paint over the spindles. My secret weapon is this fine mist spray bottle.
Spraying a light mist of water on my round paintbrush before dipping it into the paint and then again before redipping the brush helps the paint go further. It helps both thin the paint and you get more coverage per brush stroke.
Also, thin coats eliminate any paint build-up in the tight ridges and believe it or not, help prevent dreaded paint drips. In the photo below you can see the chair after the first thin coat of paint.
Tip 3 For Painting Chair Spindles
Move the brush from side-to-side rather than in up and down motions. Seriously, it makes all the difference in eliminating brush strokes plus prevents the paint from building up in the ridges.
Wooden Chair Makeover Using This Technique
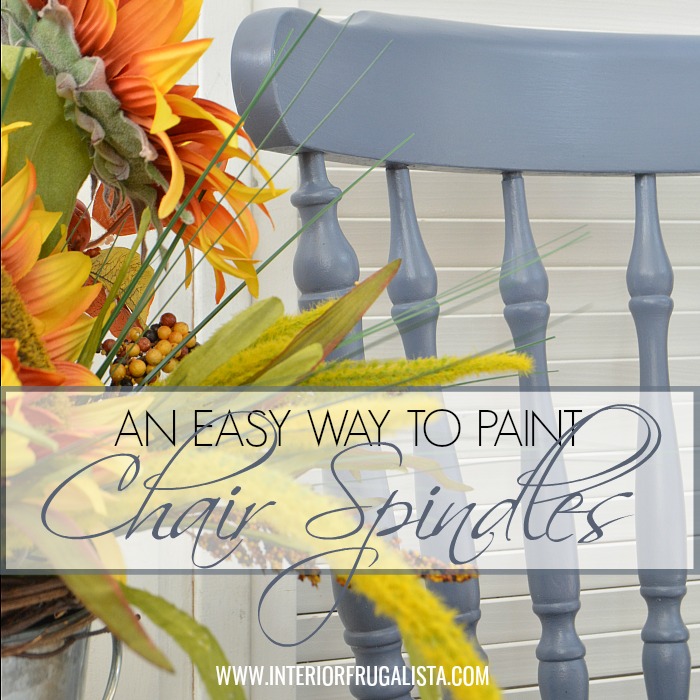
Here you can see the painted chair after using the tips above. It was painted with Annie Sloan Chalk Paint in the color Old Violet, a pretty cornflower blue. I always lightly sand between coats with 220-grit sandpaper for a smooth finish.
The photo below is after the chair was protected with a clear matte topcoat, which we'll discuss further down in this post.
What To Do When Sanding Wood Furniture Indoors Isn't An Option
Many chalk paint brands say their paint doesn't require sanding but I ALWAYS err on the side of caution by going over the piece lightly with a sanding pad first. It just gives the paint that extra bite for a lasting finish.
BUT having said that there are a few situations where sanding first is not an option:
- Possibly it could have been previously painted with lead-based paint.
- Requires a dust-free zone when painting indoors.
- Has a glossy, lacquered, or melamine finish.
- Wood is mahogany or cherry and opening the pores guarantees paint bleed when painting white or a light color.
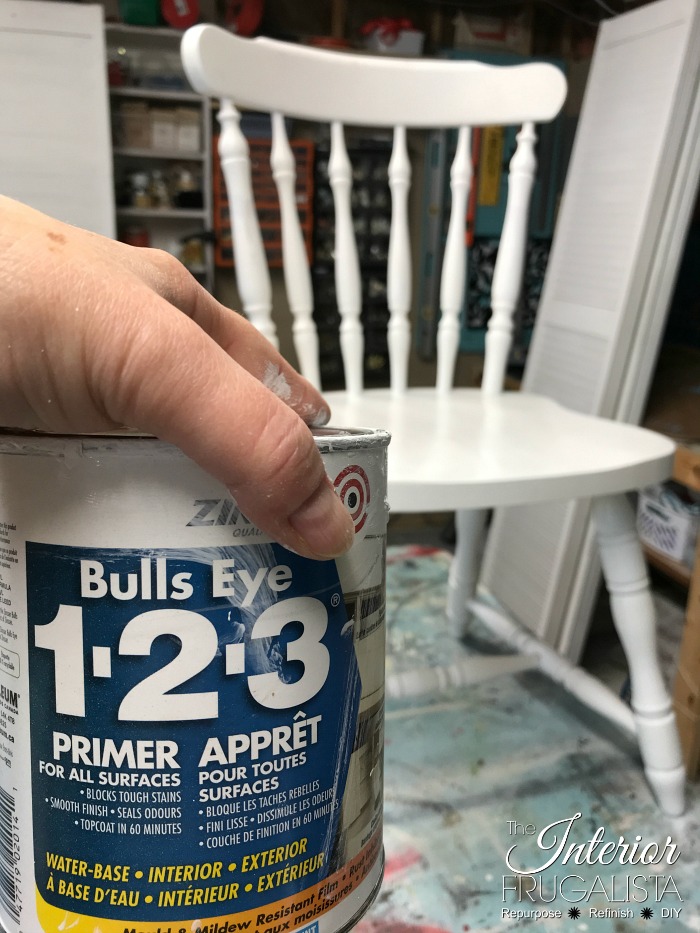
In these cases always prime the furniture first instead. I've tried several primers over the years and this is my go-to primer.
This particular old chair was made in the former Yugoslavia. It had been painted a glossy white that was chipping in some areas. Because I had no idea whether it had been painted with lead-based paint, I was not taking the chance by sanding the chair.
What To Do When There Is Paint Resist
It's important before you prime that you give the furniture a good clean to remove any grease, grime, and furniture wax build-up. One part vinegar to two parts water with a drop of Dawn dish soap is my most used method for cleaning furniture but Simple Green or a degreaser also works well.
But like humans, some furniture can be more stubborn than others and such was the case with this chair. For the life of me, I couldn't figure out why after priming, the paint was resisting in some areas. I knew it wasn't the paint because I've used this can of Old Violet chalk paint on this Vintage Farmhouse Cupboard and Art Deco Waterfall Sideboard.
When cleaning the chair I found candle wax drips in some areas and I removed the wax with a razor blade scraper. Obviously, that wasn't enough because the ever so slight wax residue left behind caused the paint to resist in those areas.
If you ever come across this problem where paint resists in some areas, simply brush more primer over the paint and that should do the trick. It worked for my chair.
How To Protect The Paint Finish On Wooden Chairs
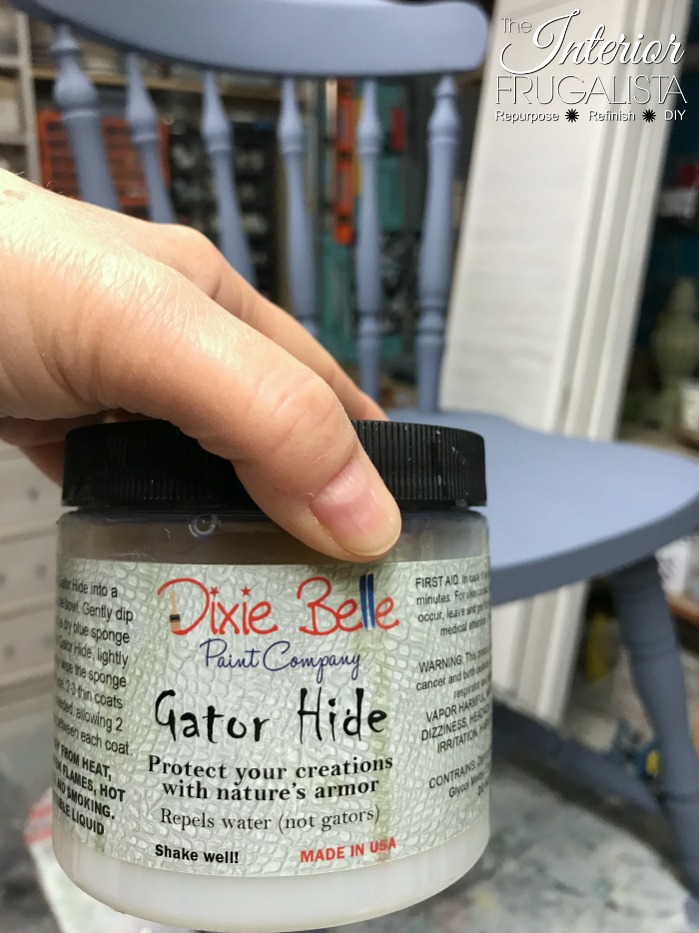
Kitchen chairs receive a lot of wear and tear, prone to spills, and being wiped often and so I recommend protecting the paint with a durable water-repellent top coat. Dixie Belle Paint Company's Gator Hide is my go-to clear finish for chairs, tabletops, and children's furniture. I also love the beautiful matte finish over chalk paint.
Once the chalk paint is completely dry, apply three coats of the topcoat with about two hours between each coat. It can be brushed on with the same round paintbrush used to paint the chair or applied with a sponge applicator.
I should also mention that the topcoat should cure for at least 48-hours before using the chair.
Thanks for stopping by the Interior Frugalista today! I hope you were inspired by these chair painting tips. If you have any questions, please leave them in the comment section below or the Contact Me tab at the top to drop me an email. I love hearing from you!
If you enjoyed this wooden chair painting tutorial, I'd be so thankful if you shared it with a friend and pinned it to your Furniture Painting Tips or Upcycled Chair Makeovers board on Pinterest.


This was very helpful. I am new at painting and found these tips great.
ReplyDeleteSo glad you found them helpful, Jackie! Have fun on your furniture painting journey. 😊
DeleteLoved reading your tips on painting spindles. Very helpful as I'm in the process of painting my stairs banisters and spindles with Frenchic chalk paint. Thank you
ReplyDeleteYou're welcome, Marie (great name by the way) 😉 Good luck with your stair banister & spindle painting and I'm so glad you found the tutorial helpful!
DeleteI'm painting an old rocking chair that has spindles, enjoyed the tips. I'm using benjamin moore advance paint have you used it and does the tips still apply? Also do you paint the bottom of the rails?
ReplyDeleteAbsolutely! I've never used it for painting furniture because my preference is always chalk paint but the tips I share here would still apply. Yes, I always paint the underside of the rails and the chair seat for a finished look. I hope this helps!
ReplyDeleteif you dont sand, how do you get an even finish over the chipped paint areas? Also, is gatorhide suitable for an outdoor rocking chair?
ReplyDeleteHi Elysia, well there are a couple of ways to even the chipped paint. You can get a lead test kit and if it comes back negative, then you're safe to go ahead and sand. Otherwise you could fill the grooves with a non-shrinking putty compound OR just go with the chippy paint for a more shabby chic look. As for Gator Hide being suitable for outdoors, I'm not 100% certain but after three coats it is a water-repellent clear coat. You may want to use an outdoor rated clear coat to be safe. I hope this helps!
DeleteVery helpful, never heard of Gator Hide and I've been painting a long time. Thanks
ReplyDeleteAwesome, I hope trying this topcoat is a game changer for you!
DeleteYou shared some excellent points that I need to remember when painting thrift and vintage items. You should share this on the tailwind tribe!
ReplyDeleteRR
Glad you found the tips informative Rachelle!
ReplyDeleteThank you so much for the painting tips Marie. I actually have this paint color and haven't used it yet. Thank you for the inspiration! And thank you for sharing with Charming Homes and Gardens.
ReplyDeleteYou're welcome, Kim! It's such a pretty color, you'll love it.
DeleteGreat tips! I wonder if this would work on metal stair rail spindles? They are twisty and we need them painted. Not sure why the previous homeowner painted them in the first place but alas, now we have to do it. Bummer.
ReplyDeleteDang Cindy, you definitely can't spray those without making a huge mess. A round brush would definitely do the trick for no brush strokes but what paint you use is a good question. You'll probably have to start with a metal primer. Good luck!
DeleteThank you so much for sharing, I have a few chairs like this I've been stalling on. Thanks for sharing.
ReplyDeleteYou're welcome Chas, I hope this inspired you to get those chairs painted!
DeleteGreat tips and tutorial. Thank you!
ReplyDeleteThanks Kathy, I'm glad you enjoyed the tutorial!
DeleteThanks for the pin and share, Marilyn, and have a great week!
ReplyDeleteInteresting post - thank you for sharing. So you prefer the gator hide on Annie Sloan over the A.S. wax? I'm about to redo my kitchen table with some annie sloan (it currently is three colors in a sort of Scandia fashion, which I love, but have never loved the finish on it), so think I will give the Gator Hide a go.
ReplyDeleteWhen (if) you want to paint over - what's the process? I know with the AS wax you can just paint right over...wondering about this.
Thanks!!
Annie Sloan also carries a clear lacquer that you could use over her paint. I would use wax on the base of the table ONLY and not on the top. You need something more durable to handle daily use. To answer your other question, you can paint over the lacquer or Gator Hide but I would give it a light sanding first with 150 grit sandpaper to give the paint some bite. I hope this helps!
DeleteThank you so much for your wonderful tutorial! I'm painting a toddler chair, using chalk paint as the base. Your trips are so helpful! I know this will turn out great!
ReplyDeleteSo glad you found the tips helpful, Amy! Have fun with your toddler chair makeover.
DeleteThank you so much for the tutorial. I'm about to start painting a rocking chair full of spindles, but it's full of varnish, even hard varnish drips, and I don't know how to deal with it before I paint. I'm afraid it's not just a cleaning with Simple Green. Any help will be more than welcome! Thank you!
ReplyDeleteIf sanding those varnish drips doesn't work then carefully try removing them with a small retractable craft knife. You definitely need to prime the chair first (scroll back through this article to the section where I recommend a primer). Wait the suggested dry time between coats of primer (you may need two) or before you apply paint. If you need additional help, don't hesitate to press the contact me button at the top of the blog to drop me an email and I'd be happy to help. Good luck with your rocking chair!
DeleteYou didn't even show what the brush looked like. you were more or less just advertising the paint. Disappointed. sorry
ReplyDeleteSorry you feel that way anonymous but to be clear I am not advertising the paint as I use numerous brands on my furniture makeovers. Besides, it was my client who chose the paint for this chair makeover. As for the paintbrush, there is a link to see what style of brush I use and recommend when painting chair spindles.
DeleteLoved reading your tips in painting the chair. It is beautiful and turned out so smooth. I have an old tea cart that I plan to paint when winter gets here. My question is “do I need to disassemble it before I paint”? I feel that would give the best finished look BUT Im all about getting it it done quick! I appreciate your advice.
ReplyDeleteThank you so much! Without seeing your tea cart its hard to give a definitive answer but if you can paint it without taking it apart, I would go that route. Use a good quality painter's in areas you don't want painted. I invite you to click the contact me button at the top of the blog and I'd be happy to answer further questions in depth via email.
DeleteI am new at this and have just done my kitchen table and chairs. Is Gator Hide available in Canada? The top coat suggested to me is water based and feel it won’t be tough enough
ReplyDeleteYes it is! Visit the Dixie Belle Paint .com website and click the "find your local retailer" tab at the very top of their page.
DeleteThanks so much for these excellant painting tips!
ReplyDeleteYou are most welcome, I hope you find them helpful!
DeleteI have a marble topped Bombay chest that looks like veneer. It had long cracks on both sides that I filled with wood putty. It needs to be sanded now. I got fine sandpaper but am afraid to do it. I’ve purchased a primer and color paint but not a matte finish coat. Does this process and materials sound OK? I have the round brushes.
ReplyDeleteHi Joan, don't be afraid to sand it! Hand sand if you're nervous, apply gentle pressure, and work your way to a smooth finish. Those Bombay pieces are prone to bleed through light paint colours (click my Helpful Tips Tab at the top of the blog and read my How To Fix Wood Bleed article). If it were me, I would prime 1-2 coats of "stain blocking primer" first before applying the paint colour. I hope this helps and wishing you the best with your makeover!
Delete