DIY Lamp From Repurposed Wood Vases
When Mr. Frugalista brought this trio of large hourglass wooden vases home I wasn't sure what I'd do with them. I couldn't believe the original price of $79.99 compared to the whopping $4 he paid at the thrift store. With their Scandinavian mid-century modern vibe, I thought they'd look cool stacked together and turned into a tall floor height vase. Then inspiration struck and the idea to turn them into a DIY Table Lamp instead was born.
If you follow my Facebook page, you may have seen this photo of the vases with their original price tag and the thrift store price sticker, all because they were missing two of the glass cylinder inserts.
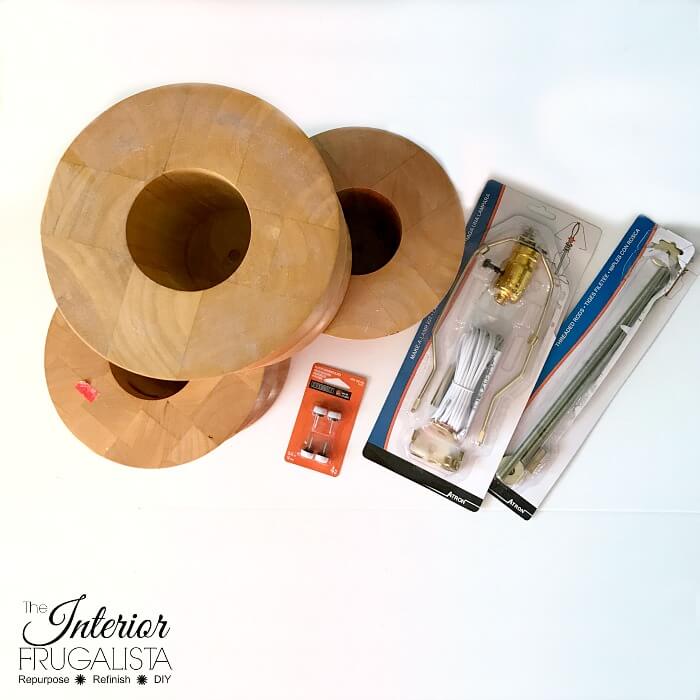
Here is a better look at the wooden vase trio. In case you missed it, you can see what I did with the one and only surviving glass insert pictured below in my DIY Ombre Valentine Vase post.
This post contains affiliate links for your convenience so you can see what products I used or recommend to make this project. See my full disclosure policy.
Run a bead of wood construction adhesive to the top rim of the bottom vase. Slip the middle vase through the threaded pipe and press firmly for a tight bond. Wrap duct tape around the joint to hold the vases in place and repeat the step above for the middle and top vase assembly. Leave the duct tape on until the adhesive is fully cured.
Had I known how difficult it would be to find a shade large enough to work with the large base, I would have searched far ahead of time to order one online.
We did manage to find a large shade but our only option available locally was white linen. BORING with the white painted base. Onto plan B...
I repainted the base with mineral chalk paint in a pretty sea glass color. Mineral chalk paint does not require sealing but I chose to apply white wax both to soften the color and protect the base.
Are you ready to see the wooden vases now?
Here's what the lamp looks like on. It casts a lovely soft light at night.
A closer look at the sea glass painted base.
So what do you think? When you saw the before photos of the wood vases did you see a lamp?
If you're like me and enjoy seeing the potential in old things and giving them a brand new purpose, then you may like these Repurposed Home Decor ideas and these Repurposed Furniture ideas.
I share my projects at these fabulous link parties.
DIY Lamp From Repurposed Wood Vases
If you follow my Facebook page, you may have seen this photo of the vases with their original price tag and the thrift store price sticker, all because they were missing two of the glass cylinder inserts.
Here is a better look at the wooden vase trio. In case you missed it, you can see what I did with the one and only surviving glass insert pictured below in my DIY Ombre Valentine Vase post.
For the lamp DIY, we used these supplies:
This post contains affiliate links for your convenience so you can see what products I used or recommend to make this project. See my full disclosure policy.
Here is how we turned the vases into a lamp:
Step 1 - Drill holes for threaded pipe
First, drill a hole through the bottom of each vase with a 1/2-inch drill bit for the threaded pipe of the light kit assembly.Step 2 - Hole for lock nut washer
On the bottom vase, use a 1-inch Forstner drill bit to make a hole for the threaded pipe lock nut washer. This is what holds the entire light kit together.Step 3 - Joining the vases together
In order to keep the holes lined up in all three vases during assembly, place the threaded pipe (we had to add an extension to accommodate the height of our lamp) through the vases and loosely tightened the lock nut.Run a bead of wood construction adhesive to the top rim of the bottom vase. Slip the middle vase through the threaded pipe and press firmly for a tight bond. Wrap duct tape around the joint to hold the vases in place and repeat the step above for the middle and top vase assembly. Leave the duct tape on until the adhesive is fully cured.
Step 4 - Prep for paint
Fill the gaps between the vases with layers of wood filler and allow to dry fully between each one. Sand the joints smooth with 150 grit sandpaper. Also lightly sand the wood vases with 220 grit sandpaper to give the paint some bite.Step 5 - Lamp base feet
To raise the lamp to accommodate the electrical cord we attached four plastic cushioned glides to the base with a hammer.Step 6 - Paint the vases
The original plan was to give the wood just a wash of white paint and sand back a little for the original light wood to peek through. I had them all painted and ready for a new shade. The plan was to buy a large drum shade with a colorful geometric pattern.Had I known how difficult it would be to find a shade large enough to work with the large base, I would have searched far ahead of time to order one online.
We did manage to find a large shade but our only option available locally was white linen. BORING with the white painted base. Onto plan B...
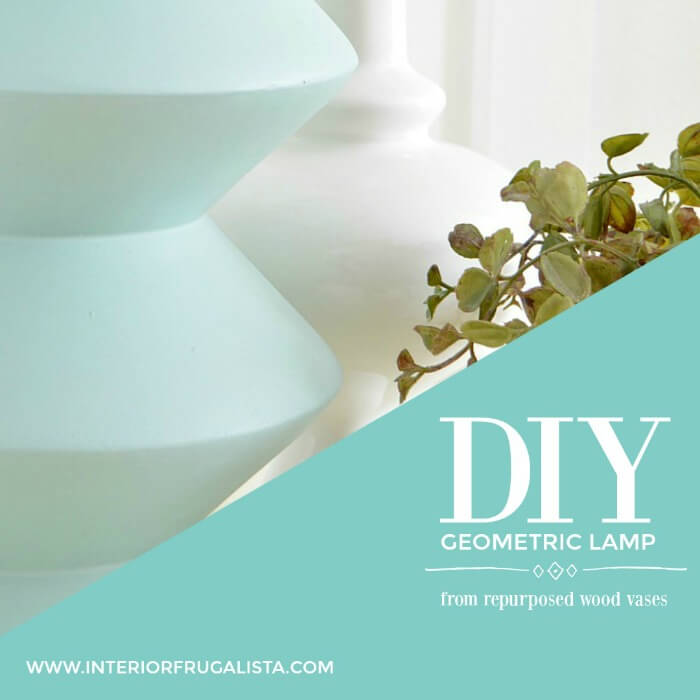
I repainted the base with mineral chalk paint in a pretty sea glass color. Mineral chalk paint does not require sealing but I chose to apply white wax both to soften the color and protect the base.
Step 7 - Light kit installation
I'm not going to do a full tutorial on how to install the lamp light kit. I should note that we purchased a tri-light bulb kit. It's important that you follow the manufacturer's instructions on the packaging.Step 8 - The shade
Attach the shade to the harp, plug in the lamp and we're done!Are you ready to see the wooden vases now?
Here's what the lamp looks like on. It casts a lovely soft light at night.
A closer look at the sea glass painted base.
So what do you think? When you saw the before photos of the wood vases did you see a lamp?
If you're like me and enjoy seeing the potential in old things and giving them a brand new purpose, then you may like these Repurposed Home Decor ideas and these Repurposed Furniture ideas.
I share my projects at these fabulous link parties.


Marie this is absolutely brilliant. I love what you did with those wood vases and never would have come up with this idea myself. The addition of that lovely paint color just adds to the beauty!
ReplyDeleteThank you very much, Mary! I've been waiting months to do this one and I'm thrilled that my vision became a reality, and a pretty one at that. Such a fun project!
DeleteThis is an awesome project Marie! I love the idea and especially the beautiful color! Pinned to my lighting projects board...eventually I'll try my hand at building a lamp...your tutorial is great! XO!!
ReplyDeleteThank you so much Wendi! It was one of those projects that makes you giddy. LOL Thanks for the pin and glad you found my tutorial helpful. Happy Super Bowl Sunday! xo
DeleteOh my goodness Marie this is fabulous!!! I love this lamp!
ReplyDeleteThank you so much, Susan 😊 Those vases were just begging to become a lamp! LOL
DeleteCan I say I'm a little jealous!?! The form and the color are gorgeous. Great job!
ReplyDeleteThank you very much! I'm thrilled that my vision for the vases turned out even better than I had imagined.
DeleteIt has a cool retro look. I'm passing this project idea on to my son too.
ReplyDeleteI know, right! That's what I love most about this project is it's retro vibe. I hope your son likes the lamp. 😊
DeleteFirst off your husband has a good eye. It looks like the vases were really meant to be. I can't imagine them as anything else except a lamp. Thanks for sharing at the Snickerdoodle Create Bake Make Party.
ReplyDeleteThank you Debra 😊 I know right, they were begging to become a lamp!
DeleteLove, love, love this makeover! This is salvaging and upcycling at is best. The lamp looks so modern and upscale! XO
ReplyDeleteThank you very much, Denise! I've been waiting months to finally turn those vases into a lamp and I'm thrilled with the results 😊
Delete