Burlap Ribbon Flatware Pockets For Spring
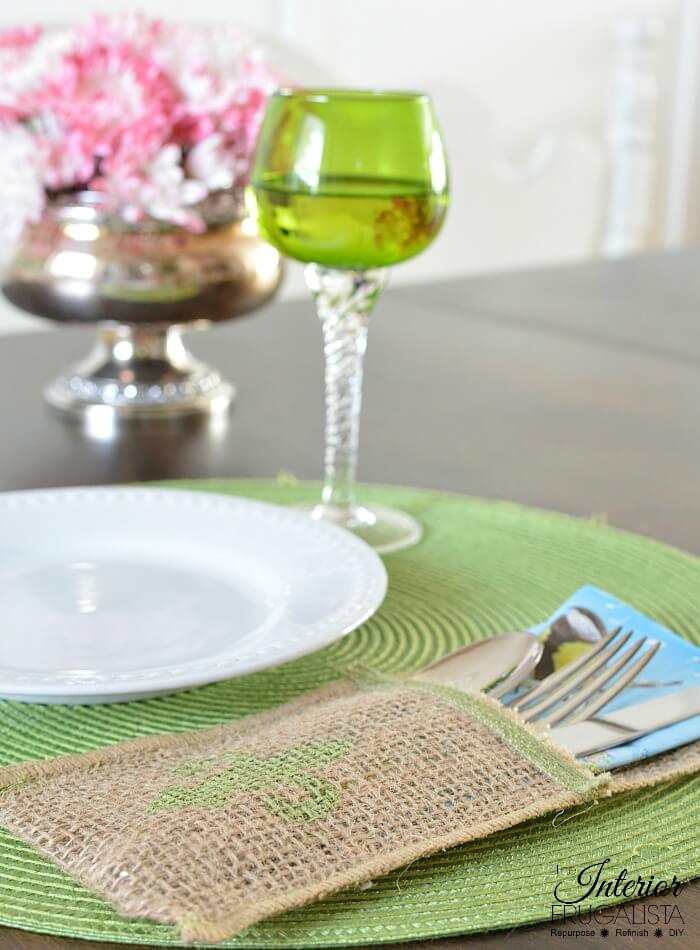
These reusable burlap ribbon flatware pockets with French Country style are perfect for gatherings with family and friends. They look pretty on dinner table place settings but they are so handy for self-serve gatherings.
If you can sew a straight line then you can make these easy-sew pockets. But the instructions can be easily adapted for no-sew as well. Made with burlap ribbon, they are easy to assemble and the possibilities for how you embellish them are endless.
French Country Style Silverware Pouches
They are so handy for guests to simply grab a pouch filled with needed cutlery and a napkin at the buffet table, Summer BBQ, and other large gatherings. The instructions below are for a basic pouch design and you decide how you'll decorate them.
Other Ideas For DIY Flatware Pouches
You decide how you want to embellish the flatware pouches. You can make them for the seasons like my Burlap Holiday Cutlery Holders or keep them neutral to use year-round.
Lace burlap ribbon would be lovely for wedding cutlery holders. Stenciling the burlap with colorful bunnies and pompom tails would be adorable for Easter. Embellished with colorful floral ribbon for Spring would be lovely too. So many possibilities!
A set of handmade silverware pockets would make lovely gifts too for a bridal shower, birthday gift, Mother's Day gift, hostess gift, or Christmas gift. Again, so many possibilities!
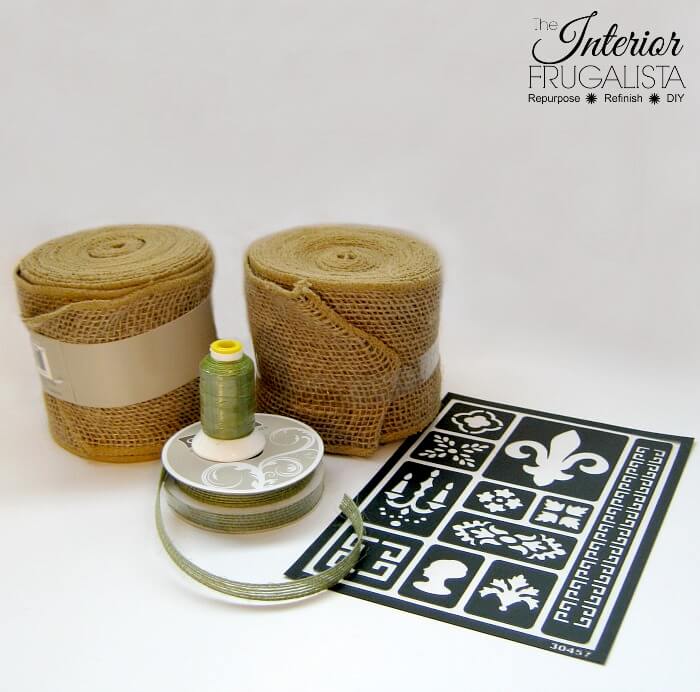
These are the supplies I used to make my French Country Fleur-De-Lis Burlap Flatware Pockets.
Before we get into the nitty-gritty of how to make the easy sew flatware pockets, almost all of the DIY projects shared here at Interior Frugalista have step-by-step tutorials so why not get your budget DIY on and subscribe. You can also follow us on Pinterest, Facebook, Instagram, and YouTube.
This post contains affiliate links so you can see what products I used or recommend for this project. As an Amazon Associate, I earn a small commission from qualifying purchases at no extra cost to you.
What You'll Need To Make Them
Supply List
- 4-inch Wide Burlap Ribbon
- 3/8-inch Wide Decorative Ribbon
- Coordinating Thread OR Fabric Glue
- Small Adhesive Stencils
- Small Stencil Brush
- Multi-Surface or Fabric Paint
Here's How I Made Them
These are easy-sew cutlery pouches. If you can sew a straight line then you can make these. However, they could also be no-sew flatware pouches using fabric glue instead. The instructions below can be adapted for either.
I should point out that it's better to use unwired burlap ribbon because you will be sewing or gluing along the edges. There are so many styles of burlap ribbon available too and here is a link to burlap ribbon options that I found on Amazon.
Here are some small summer stencils, Easter stencils, wedding stencils, and Christmas stencils ideas I found as well.
Okay, let's get to the instructions for making the simple cutlery pouches, starting with cutting the burlap ribbon.
Step 1 - Cutting Burlap Ribbon
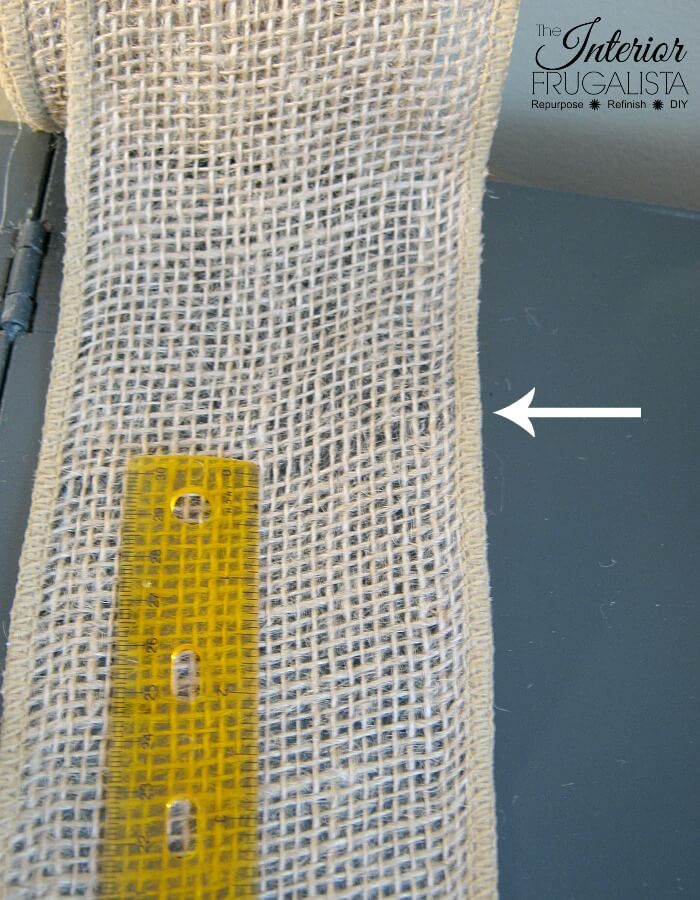
To mark the cut lines for each cutlery holder on the spool of burlap ribbon, remove a strand of jute every 15-inches (pictured below). I prefer making my cutlery pockets in sets of eight but if you want more in your set, keep going.
Cut the ribbon at each of your 15-inch markings.
Step 2 - Decorative Ribbon Trim
Cut strips of narrow 3/8-inch decorative ribbon about 4 1/2-inches long, slightly larger than the 4-inch wide burlap ribbon. I used green jute ribbon that I had in my stash to decorate mine for Spring.
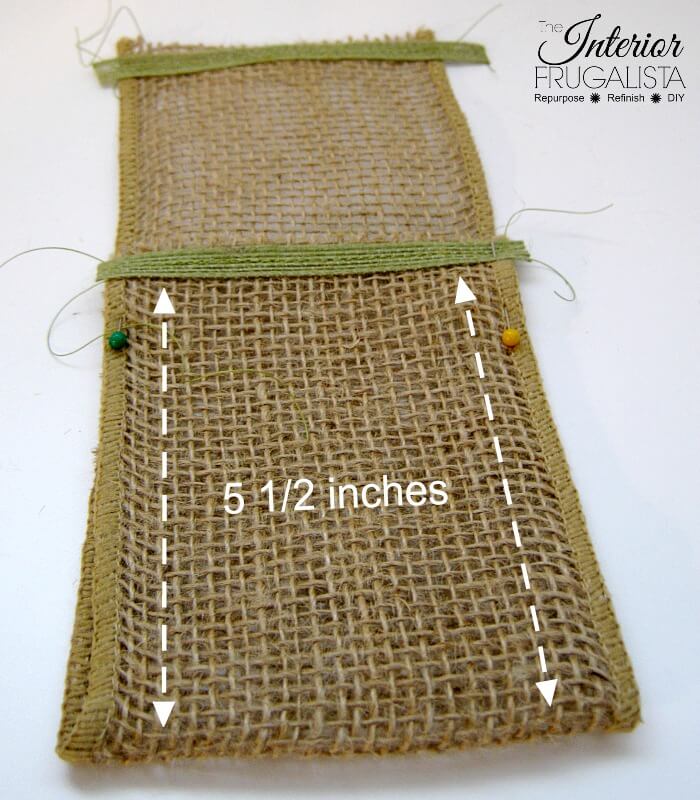
Lay the burlap ribbon pieces flat on your worktable. Sew or glue one strip of decorative ribbon on the top of each strip, facing outwards towards you. Flip the burlap over and sew the bottom piece on the backside of the burlap ribbon (as pictured below).
Step 3 - Flatware Pocket Assembly
Fold the bottom half of the burlap ribbon over, measure 5 1/2-inches, and pin in place.
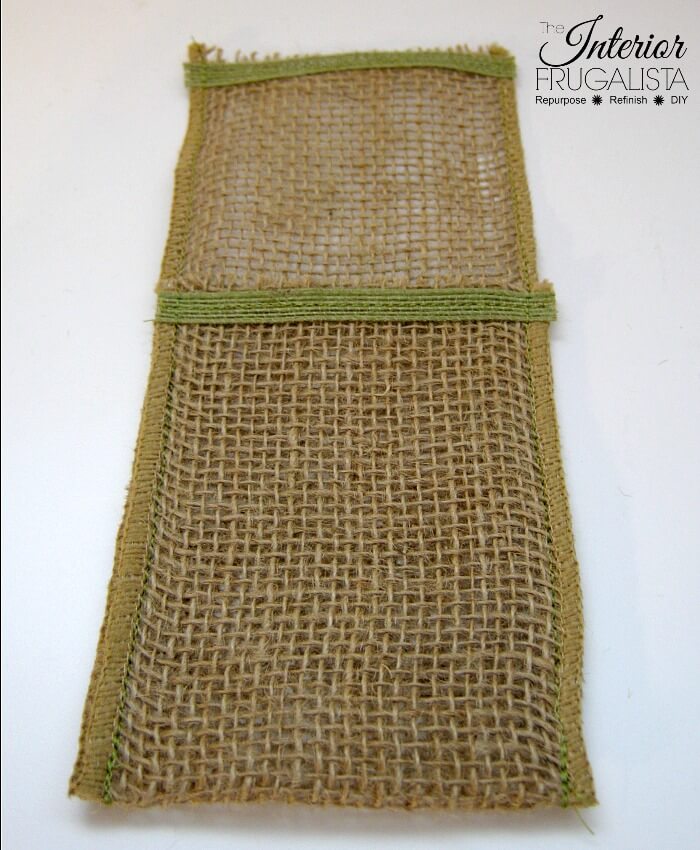
Sew the cutlery holders together with a straight stitch along the factory edge with either a coordinating or contrasting thread. Alternatively, glue the cutlery holders together along the factory edge. Trim the decorative ribbon and any loose threads.
Pictured below is one complete set of eight cutlery pouches. This next step is optional for stenciling the front of your cutlery holders.
Step 4 - Stencil Cutlery Holders
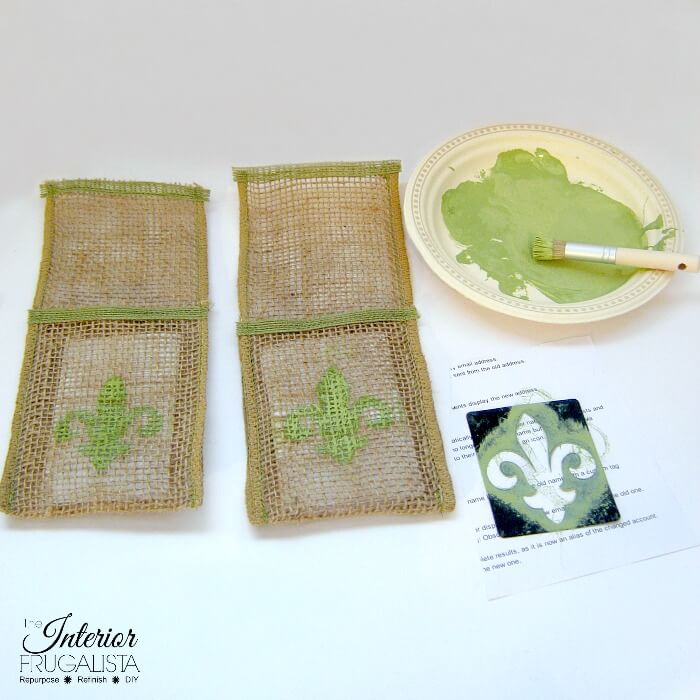
Slip a piece of paper inside each pouch so the paint doesn't seep through to the back. You could stencil the cutlery holders before they are sewn together but I found it easier to line up the stencil after they are sewn.
Set the small stencil on the front center of a cutlery holder. If your stencil isn't an adhesive stencil, use painter's tape or stencil adhesive to hold it in place.
Place some multi-surface or fabric paint onto a paper plate. Dip the stencil brush into the paint and offload the excess onto a paper towel. Having a brush that is almost dry will eliminate paint bleed behind the stencil.
Pounce the paint in an up and down motion with a small stencil brush, foam dabber, or even a wedge make-up sponge. Once the paint is dark enough to your liking, repeat these steps for the rest of your silverware pouches.
To add French Country style to my silverware pockets I used a Fleur De Lis stencil and a green paint color for Spring and Summer. I also made these French Country style place cardholders with dollar store finds that you may like. They could be used as guest favors as well.
For decorating the table here is a unique DIY faux wheatgrass centerpiece idea you may like. For more Spring decorating ideas visit my DIY Spring And Easter Ideas page.
Thanks for stopping by the Interior Frugalista today! I hope you were inspired by these reusable flatware pockets. If you have any questions, please leave them in the comment section below or the Contact Me tab at the top to drop me an email. I love hearing from you!
If you enjoyed these easy stenciled flatware pouches for Spring, I'd be so thankful if you shared it with a friend and pinned it to your Spring Decorating Ideas or DIY Tableware Ideas board on Pinterest.

I share my projects at these inspiring link parties.






Super cute idea Marie! Love your spring table styling!
ReplyDeleteThank you very much, Denise! xo
DeleteThis is beautiful. It is indeed inexpensive and easy to make. This tutorial is awesome. I liked the Spring cutlery holders with burlap ribbon.
ReplyDeleteThank you so much! They are very handy and a nice way to dress up the dinner table.
DeleteWhat a cute project! I'm stalled on my hand crocheting and loom knitting. I may have to give these a go. It might re-awaken the crafty side.
ReplyDeleteCara, they are so easy to make when you use wide ribbon, burlap or otherwise. Cut | sew or glue a straight line | done! If you can knit and crochet, you can make these! Although, you could probably crochet some cutlery holders 😏
ReplyDeleteThese are so pretty, Marie... and love the stencil you added. The green is a perfect color for the burlap! Thanks for sharing on Homestyle Gathering (and for visiting others, too! Isn't Cindy at Reinvented Delaware awesome? ;-) )
ReplyDeleteThank you Julie, I'm glad you like the burlap cutlery holders! The green is a perfect compliment to the green accents in my dining room. I use these for both Spring and Summer.
DeleteSo cute!! And so many ways to take it to a different level. Love these, Marie!
ReplyDeleteThank you very much, Larissa 😊 Yes, the possibilities for fabric and/or stencils is endless. Appreciate the visit! xo
DeleteThese are perfect for any occasion and so simple using wide ribbon. Saves you all that hassle of trying to cut straight too. They would make lovely house warming gifts too
ReplyDeleteExactly Michelle, so easy without the hassle of cutting fabric - my kind of sewing! Yes, they would make lovely house warming gifts or hostess, Mother's Day and shower gifts.
Delete