Faux Wood Burned Honey-Do Garden Shed Sign
Today I'm sharing an idea on how to get the look of a wood-burned sign with paint! Mr. Frugalista (a.k.a. Grandpa) has always had a wooden sign hanging on our garden shed. I figured it was time Grandma got one too.
Except his sign is a custom-made wood-burned sign. So I found some salvaged junk wood and made a faux wood burned honey-do garden shed sign to match. No wood-burning tool required in the making of this sign!
How To Get The Look Of Wood-Burning With Paint
The goal was to get my handmade Honey-Do Shed Sign a very close match to his wood-burned Grandpa's Fix-It Shop Sign. We inherited this one from my Dad who had it hanging above his shed at the lake for many years. It looks to be one of those popular custom signs you could have made at the Edmonton Exposition Klondike Days midway back in the day.
While mine is for a grandma, you can personalize the sign with whatever typography you'd like. I'll be sharing how to do that further down in the post. These DIY wooden signs are perfect for a SHEshed, greenhouse, garage, or man cave.
Personalize it for Dad, Mom, Hubby, Wifey, The Boss - well you get the picture. They make great Mother's Day, Father's Day, Birthday, or Christmas gifts too!
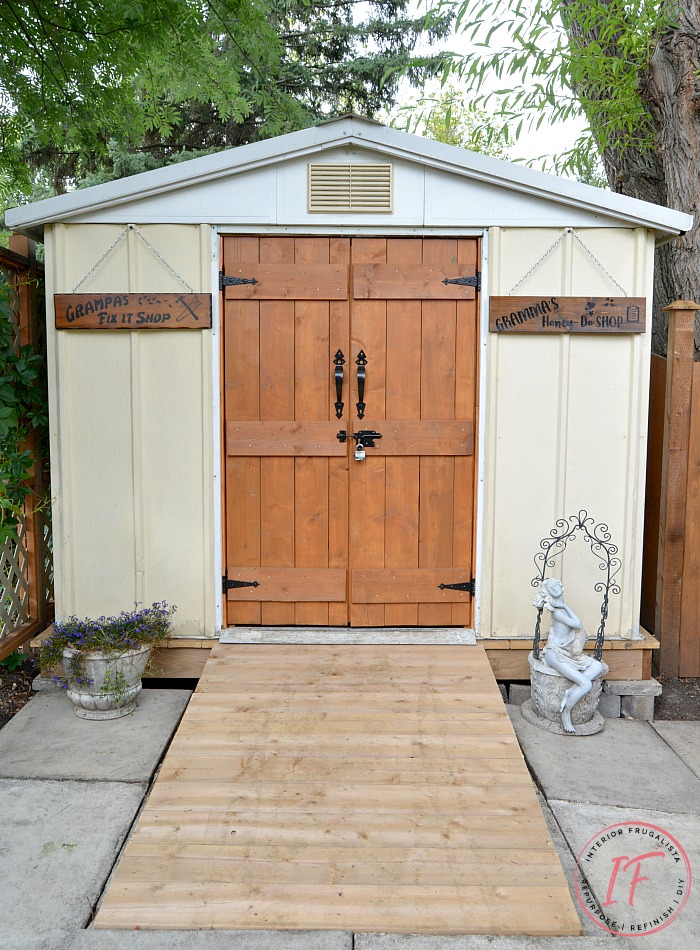
Within a few short hours, our shed door is now flanked with matching his and her wooden signs. Unless you go right up to them, you'd be hard-pressed to know the difference between the etched wood-burned sign and the painted one.
My next project is to build wood planters to flank each side of the wooden doors, stained to match the shed signs. I'll plant something tall to conceal the ugly metal siding on our shed.
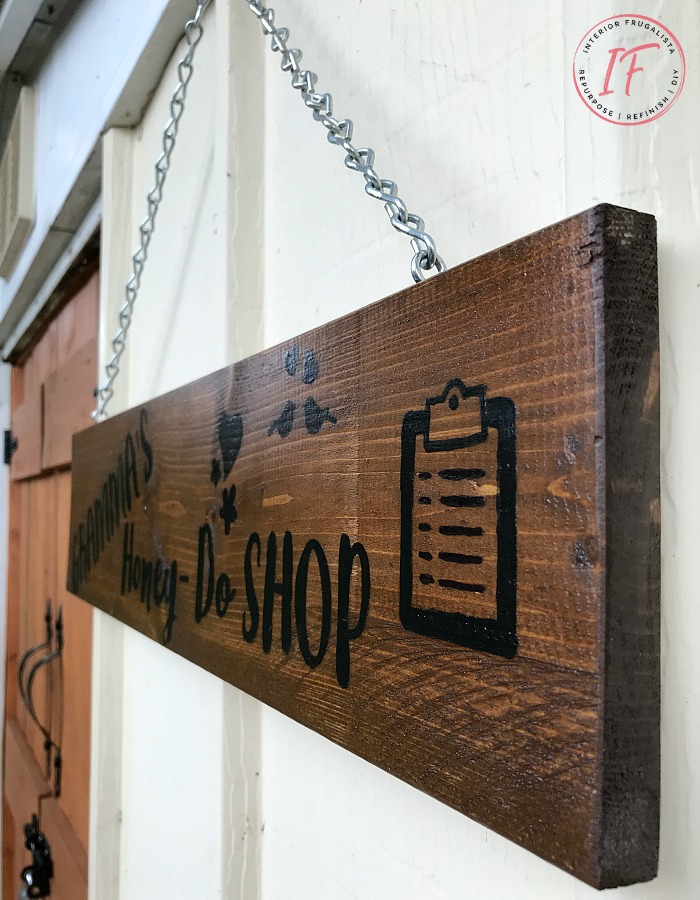
Here's a close-up of my copycat version DIY garden shed sign. It's only when you get up this close that you realize it's not etched with a wood-burning tool.
Before we get into the nitty-gritty of how to make the salvaged wood garden shed sign, almost all of the DIY projects shared here at Interior Frugalista have step-by-step tutorials so why not get your budget DIY on and subscribe. You can also follow us on Pinterest, Facebook, Instagram, and YouTube.
Here's How I Did It
First I went on the hunt for the perfect board in our junk woodpile to salvage for the sign. Lucky for me I found a fairly new fence board offcut. Next, I sanded the edges smooth with a mouse sander.
Staining The Salvaged Wood
Not knowing the original stain color of Mr. Frugalista's sign, I mixed a few colors together to get a close match. The first being Special Walnut followed by a coat of Golden Oak. Still not a perfect match, I brushed a third Canadian Maple stain color and that did the trick.
Shed Sign Typography
For the sign typography, I create a graphic in PicMonkey and printed it on two sheets of legal-size bond paper in landscape mode.
I went all old school by hand painting the words using this image transfer technique. If you have a Cricut Maker or Silhouette Machine you could use permanent vinyl rated for outdoors instead. But again, I wanted to replicate the original etched wood sign.
If you'd like to make a sign just like mine, I've included a free printable you are welcome to use. Click on the image below to download an unwatermarked PDF. Print on legal size paper in landscape and tape them together (as pictured above).
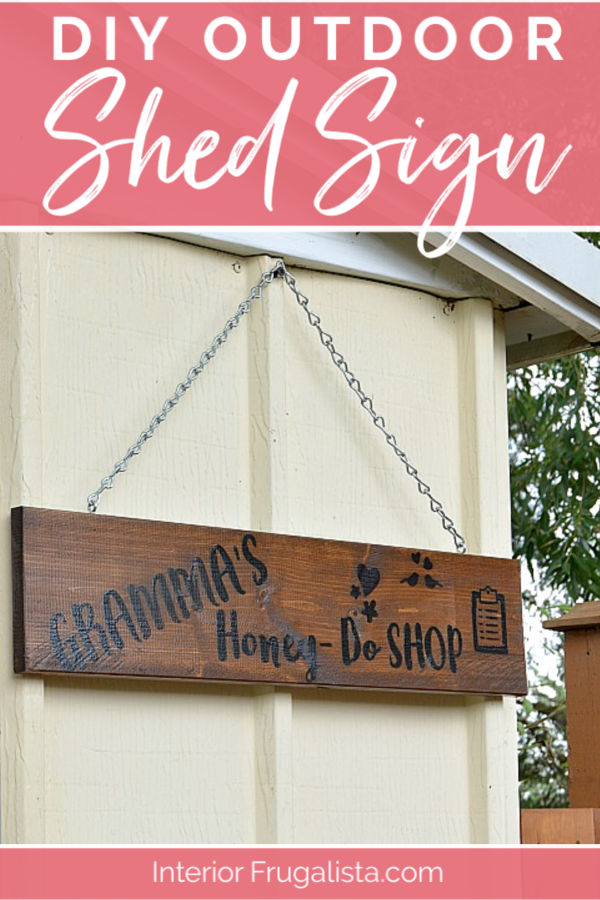
At the last minute, I decided to embellish the sign with freehand painted hearts, birds, and flowers. Here is my painted wood sign ready to be hung on the shed.
Once the paint was completely dry, I applied two coats of a glossy outdoor-grade clear coat to protect the sign from the elements.
Hanging The Shed Sign
Like the original sign, galvanized eye hooks were screwed into the top and the sign hung with a small galvanized chain.
What You'll Need To Make It
This post contains affiliate links so you can see what products I used or recommend for this project. As an Amazon Associate, I earn a small commission from qualifying purchases at no extra cost to you.
Supply List
- Salvaged Fence Board
- Special Walnut Wood Stain
- Golden Oak Wood Stain
- Canadian Maple Wood Stain
- Outdoor Gloss Clear Coat
- Graphite Paper
- Black Acrylic Craft Paint
- Script Liner Art Brush
- Eye Hooks
- Small Galvanized Chain
Tool List
- Miter Saw
- Mouse Sander
- Pliers
For more handmade sign ideas, visit my DIY Sign Ideas page.
Thanks for stopping by the Interior Frugalista today! I hope you were inspired by this outdoor garden shed sign idea. If you have any questions, please leave them in the comment section below or the Contact Me tab at the top to drop me an email. I love hearing from you!
If you enjoyed this faux wood-burned sign idea, I'd be so thankful if you shared it with a friend and pinned it to your DIY Wooden Sign Ideas or DIY Outdoor Decor board on Pinterest.

I share my projects at these inspiring link parties.


I have a Silhouette machine that I use for cutting stencils etc. But honestly Marie for a one of a kind sign, its faster, easier, and cheaper to just transfer the image and paint it. But then I am old and just like to get it done.
ReplyDeleteI am impressed how you fixed up those doors, the sliding doors on metal sheds are awful.
Huh, good to know, Leanna! I'm just itching to learn how to use the machine but have so many other things on the go with the blog that it keeps getting put on the back burner. We LOVE our double swing out doors on the metal shed. Took some head scratching to figure out how to mount them but they were relatively easy to make once we figured it out.
DeleteIt took me forever to try the Brother Scan and Cut out that the hubby bought me. So I get you with your Silhouette. Maybe one day? But in the meantime you're a master at doing it the good old fashioned way Mary and so many people can't afford fancy cutting machines, so this is almost better plus your "honey-do" sign is perfect
ReplyDeleteVery good point, Michelle! You're right, the cutting machines come with a hefty price tag - hence the reason it took so many years for me to get one. Makes me feel better about doing it the good old fashion way. xo
DeleteMarie, I love how the signs look. Good job.
ReplyDeleteThank you very much, Debra! Hope you are well 😊
DeleteHi Marilyn, I'm thrilled - thank you so much for featuring my Honey-Do sign! See you at the party. xo
ReplyDeleteThese are adorable, Marie! Always love having you at TTA! Hugs!
ReplyDeleteThank you Julie, mine version of his sign was such fun to make. Hugs backatcha!
DeleteOMG I love it!! Thank you for sharing with us at the To Grandma's house we go link party, I'll be featuring you on my blog this week!
ReplyDeleteWoot woot - thank you so much for the feature, Tarah! xo See you at the party 😀
DeleteThese are adorable! Since I just became a first-time Gma myself, I really am thinking of repeating this idea. Great work on your shed. It's gorgeous.
ReplyDeleteCongratulations, Amy, isn't being a Gma just the best? Glad you like our HIS and HER signs and have fun making your own versions!
Delete