Upcycled 1930s Wooden Sewing-Knitting Box Stand
A depression-era wooden sewing-knitting box stand makeover with farmhouse charm.
Sometimes you come across the most interesting furniture knobs and even though you may not have a suitable piece of furniture, you know they just have to come home with you.
Such was the case with these Smith & Thomas Cotton Spool knobs that have been waiting in my stash for a very long time. When I acquired this fabulous vintage sewing box stand from the 1930s, I knew, at last, I found that perfect piece.
Farmhouse Style Vintage Sewing Box Stand Makeover
If you sew, knit, crochet, or do needlework, you'll appreciate how special it is to acquire this old sewing box stand because it's not often you come across ones this age.
Wanting to retain the vintage charm, it got a simple farmhouse-style makeover that took less than two hours to complete.
I've had seller's remorse after giving a mid-century modern sewing box table a makeover two years ago and selling it. So this one is a keeper and now sits in my daughter's living room for her needlework, knitting, and crochet supplies.
Pictured below is the wooden sewing box stand before the makeover and it's in very good condition.
But when I opened the lid, the interior reeked of cigarette smoke. No worries though and I'll be sharing how to successfully get rid of the smell further down in the post.
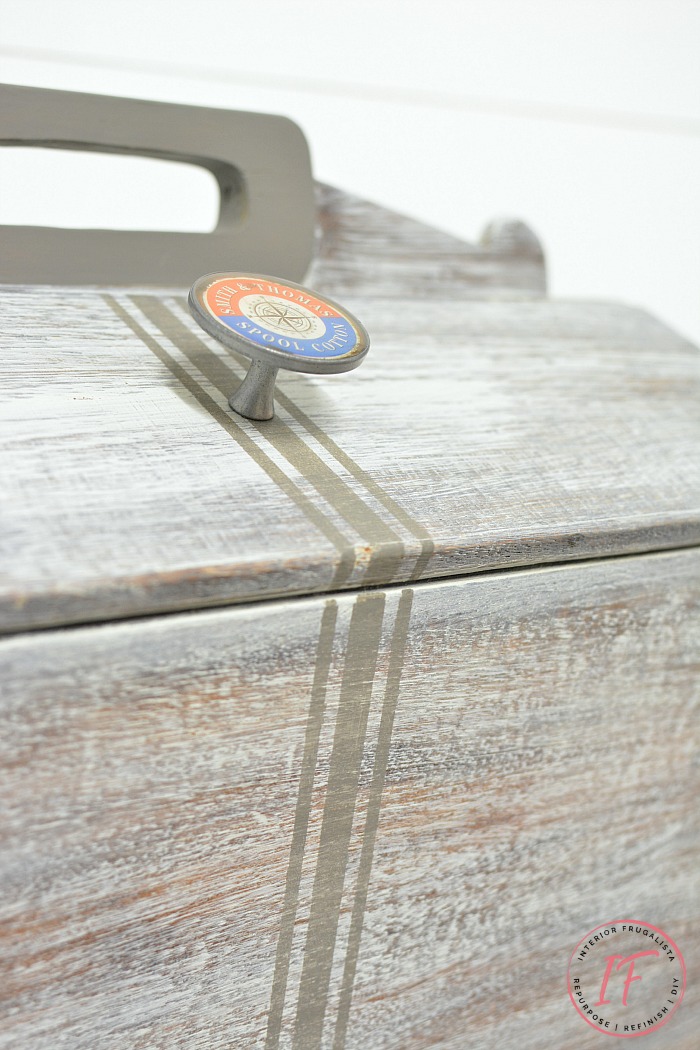
I couldn't bring myself to cover the wood with a solid paint finish and so I comprised with a whitewash paint finish instead.
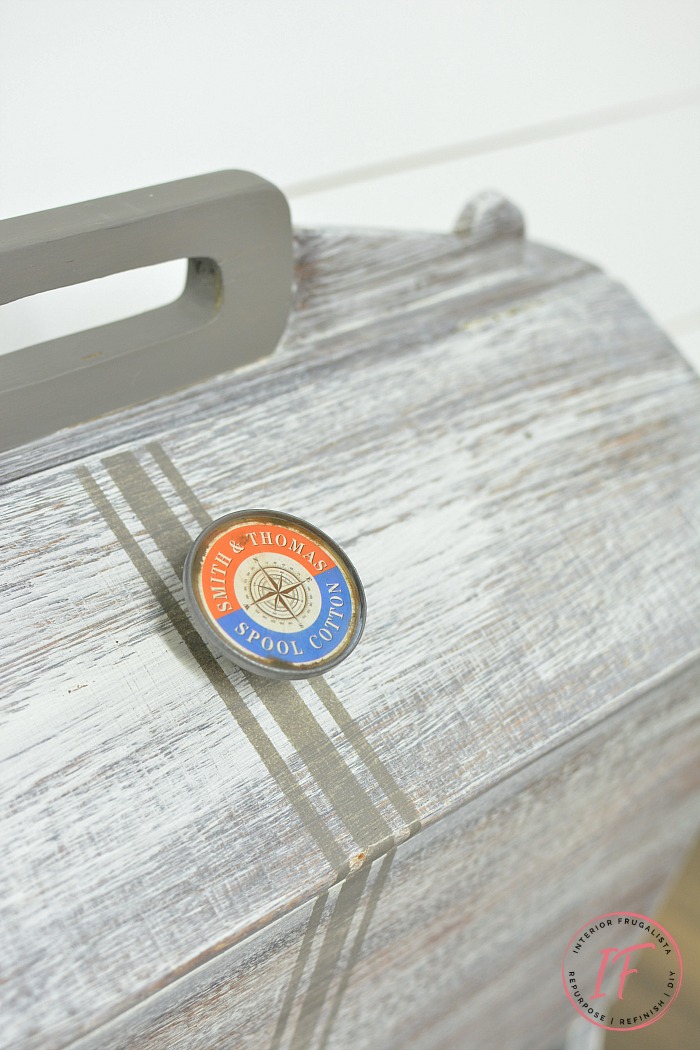
To add interest to the rather plain exterior, I added timeworn farmhouse grain sack stripes. Fitting for a sewing box stand and I'll be sharing how easy it is to paint them as well.
While the hinged lids on the sewing box are without handles, those Smith & Thomas Cotton Spool knobs couldn't be more fitting.
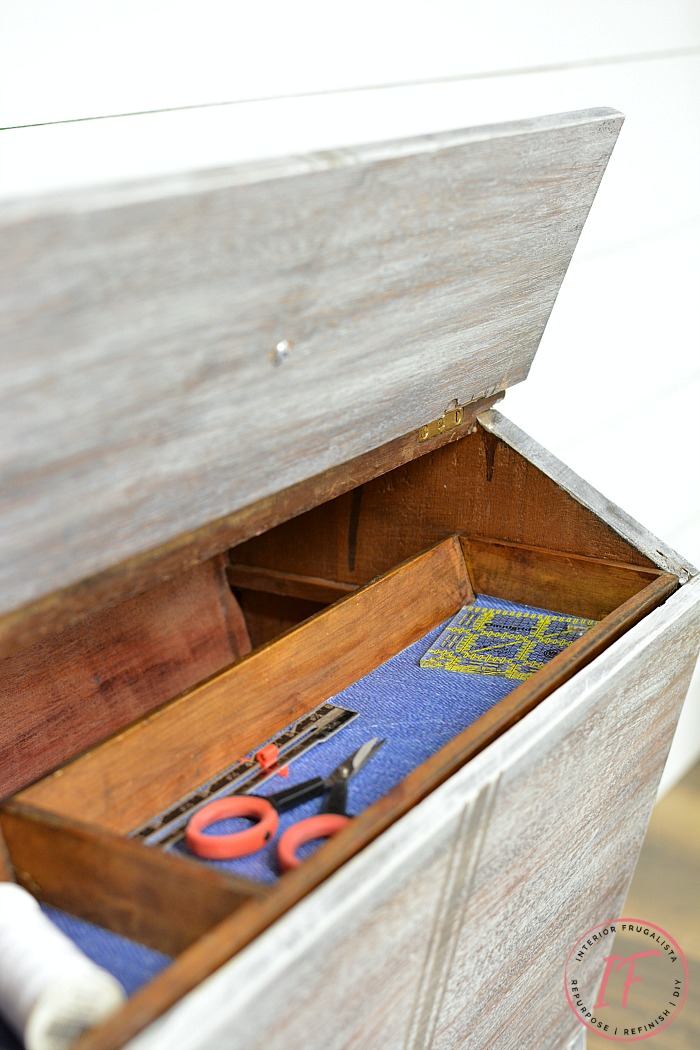
I kept the wooden removable sewing notions tray unfinished but lined the bottom of each cubby with denim scrapbook paper that I had on hand.
To add some interest I painted the handle on the top of the sewing box and the base of the stand with the same charcoal gray color used to paint the grain sack stripes.
Supply List
This post contains affiliate links so you can see what products I used or recommend for this project. As an Amazon Associate, I earn a small commission from any qualifying purchases at no extra cost to you. Thank you for your support!
Sewing Box Table
Clear Stain & Odor Blocking Primer
White Chalk Paint
Charcoal Grey Chalk Paint
Grain Sack Stripe Stencil
Sewing Cabinet Knobs (alternatives)
Denim Paper Liner
Clear Wax
Round Wax Brush
Shop Towels
Here's How I Did It
These old mahogany pieces are notorious for causing paint bleed where the tannins in the wood bleed through the paint, especially white. But there is a way to prevent that from happening.
How To Prevent Paint Bleed
To eliminate the chance of paint bleed when painting over mahogany with white paint, you'll want to use a stain-blocking primer. Because I'll be giving the wood a whitewash of paint rather than full coverage, I'm using a clear primer instead of white.
Whitewash Paint Finish
The whitewash paint technique is so easy to do. It's essentially a wash of paint applied with either a brush or rag.
- Mix a 50:50 ratio of water and white paint into a container.
- Scrunch a lint-free rag (I use shop towels) into a ball and dip it into the runny paint mixture.
- Wash the thinned paint onto the wood. The more washes you apply, the more opaque the finish.
- The nice thing about a whitewash finish is that the paint dries quickly.
To add texture after the paint is dry, dip a paintbrush into the thinned paint and swipe the brush across the box with long brush strokes. The paint I used is Fusion Mineral Paint in the color Raw Silk that I had on hand.
How To Add Grain Sack Stripes The Easy Way
To add farmhouse charm to the sides and the top of the sewing box, I added grain sack stripes. It's so easy to do with these handy grain sack stripe stencils and Hurricane Gray color from Dixie Belle Paint Company that I had on hand.
How To Get Rid Of The Cigarette Smoke Smell Inside The Sewing Box
I kept the interior of the wooden sewing box the natural wood but it smelled to high heavens of cigarette smoke. To get rid of the smell I used the same stain AND odor-blocking clear primer that I used earlier to prevent paint bleed.
After two coats of primer the smell was pretty much gone. But I also set a bowl of baking soda inside the box for a few days to absorb any remaining odors.
Protecting The Paint Finish
To protect the painted surfaces on the vintage sewing box I applied clear wax with a round wax brush. Clear wax also deepens the color of the paint too, which is quite lovely.
Adding Vintage-Style Knobs
The final touch is adding those wonderful vintage-style Smith & Thomas Cotton Spool knobs. First measure the center of each hinged lid and mark with a pencil. Drill a hole with a drill bit the same diameter as the screws on the knobs and screw the knobs in place.
I wondered, as I often do when working on older pieces, about the history of this sewing stand. I wonder what creations were made using it over the years? Where did it originate and how many times did it change hands?
Do you ponder these things too when working on secondhand furniture or decor? Thanks for stopping by the Interior Frugalista today! I hope you were inspired by this vintage sewing-knitting box stand makeover.
If you have any questions, please leave them in the comment section below or the Contact Me tab at the top to drop me an email. I love hearing from you!
If you enjoyed this upcycled sewing box stand, I'd be so thankful if you shared it with a friend and pinned it to your favorite board on Pinterest.


The grainsack stripe is perfect for this piece, Marie! You should be an affiliate for them;)
ReplyDeleteGirl, you took the thought right out of my head 😉
DeleteGREAT that your daughter saved this lovely box!!! I was fortunate to find a sewing box on legs with 2 drawers. For the drawer lining I used the fabric ticking (like old feather thicks), and it complimented the antique sewing machine transfer I used on the lid. I also wonder what treasures were created from the contents of this box.
ReplyDeleteLOVE what you did!
Sounds like you have a real nice one of these, Ceyla. The two drawers must come in very handy. I thought about using ticking fabric to line it but need to find some. Where did you get the antique sewing machine transfer from?
DeleteMarie, you did this justice! Your wash was the perfect touch to keep the story and give it new life. Bravo!
ReplyDeleteThank you so much, I appreciate your sweet comment!
DeleteMarie, this sewing cabinet had a lot of character before you worked on it but I think it has even more now. I love how it turned out with the grain sack stripe and especially the knob from your stash. Perfect! It would be interesting to know the stories this piece could tell if it could talk, wouldn't it?
ReplyDeleteThank you Naomi, I'm glad you like it. I was very hesitant to put paint to this old stand but now it works in our home to have on display, unlike before.
DeleteMarie, you did it again! You took a ho hum project and knocked it out of the ballpark.
ReplyDeleteThank you so much, Debra, you made my day! xo
DeleteGreat project. That flour sack striping and those knobs are just perfect to update and complement it!
ReplyDeleteThanks Kathy! While I contemplated going with color on that grain sack stripe to tie in with the colors of the knob, I had to tell my color loving self to hold back. This one just needed to be simple and neutral.
DeleteI'd love to see the interior of this stand in more detail. How does it function?
ReplyDeleteThe interior is just a box for storing things like skeins of wool, knitting needles, needlework and the like. I left the interior untouched so it still has the original finish. At the top it has a sliding/removable notions tray (see photo in post). The top has two flip top lids on either side of the handle where I've added the knobs. I hope that answers your questions, Kelsey. 😊
DeleteI love this! I remember that one of my grandmothers had one of these. I wish I had it now.
ReplyDeleteHi Michelle, I'm so glad you like what I did with the knitting stand! I feel like that about a lot of pieces that my Mom and Grandma used to have. If only we knew how popular they'd become several decades later.
DeleteSuch a beautiful makeover and great piece! But you sure got me on the handle! Oh my word...
ReplyDeleteI'm featuring this beauty in tonight's DIY Salvaged Junk Projects. Thanks for bringing it over! :)
Hi Donna, thrilled to hear it'll be feature tonight, thank you so much! xo I found the handles at a local antique mall this summer and just had to have them for "that perfect upcycle one day" so you can imagine my excitement when the knitting stand came my way.
DeleteAbsolutely gorgeous, Marie... I would love to have one of these.
ReplyDeleteThank you very much, Julie! It isn't often you come across these lovelies.
DeleteThis vintage sewing knitting box stand turned out so cute. I love how it turned out!
ReplyDeleteThank you very much, Amy!
Delete