How To Add Wow Factor To A Cheap $10 Mirror
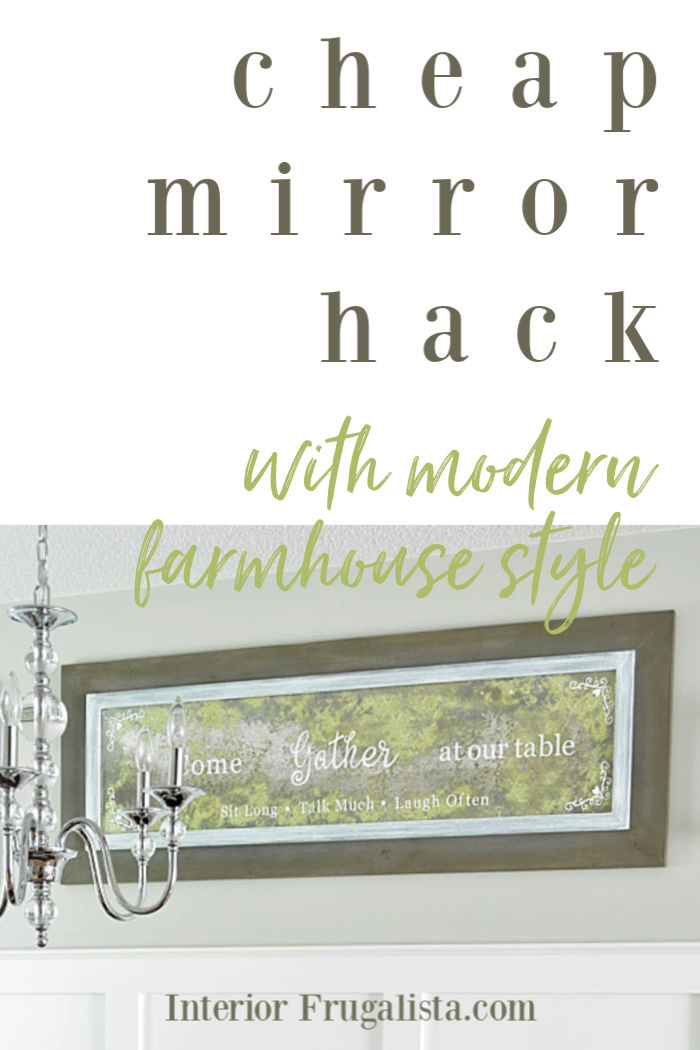
MIRROR MAKEOVER PART TWO - How To Add Wow Factor To A Cheap Mirror. This is a dramatic mirror hack that transforms a cheap $10 mirror into a gorgeous Modern Farmhouse style with mercury glass patina. It's an easy one or two board project (depending on the size of your mirror). Recently I shared Part One of the mirror makeover - How To Make An Inexpensive Mirror Look Antiqued and in part two I'm sharing how to reframe the narrow wooden mirror.
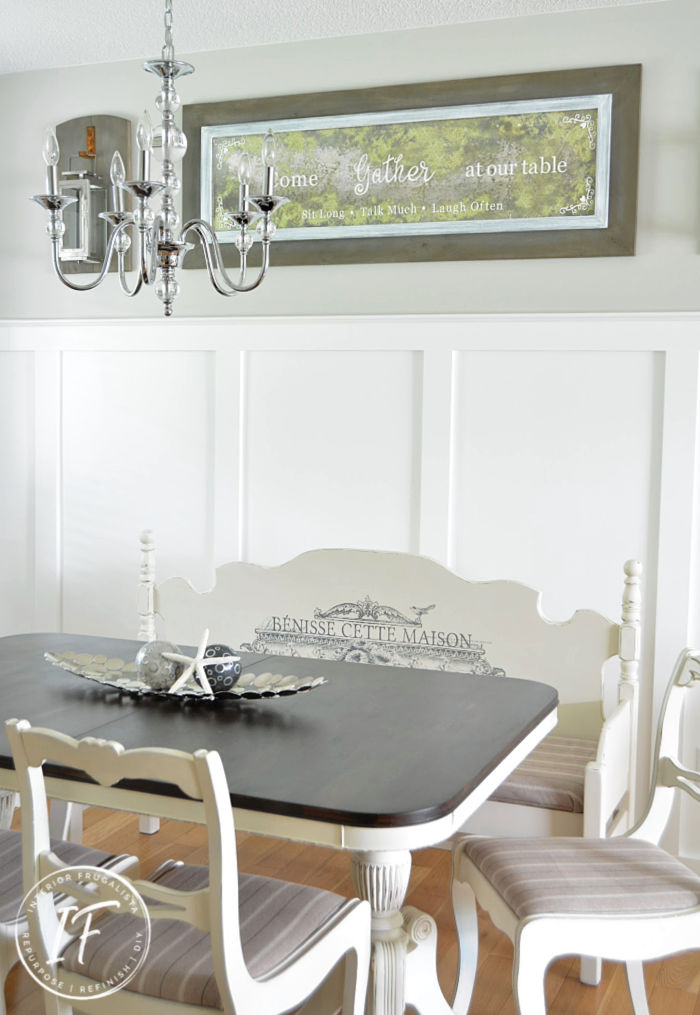
We recently installed board and batten wainscotting in our dining room and the top half of the wall was looking rather barren. This stunning DIY Mirror filled that void beautifully and I'll be sharing how we made the rustic lantern sconces flanking it soon. But first I need to purchase a couple of flameless candles on timers to set inside.
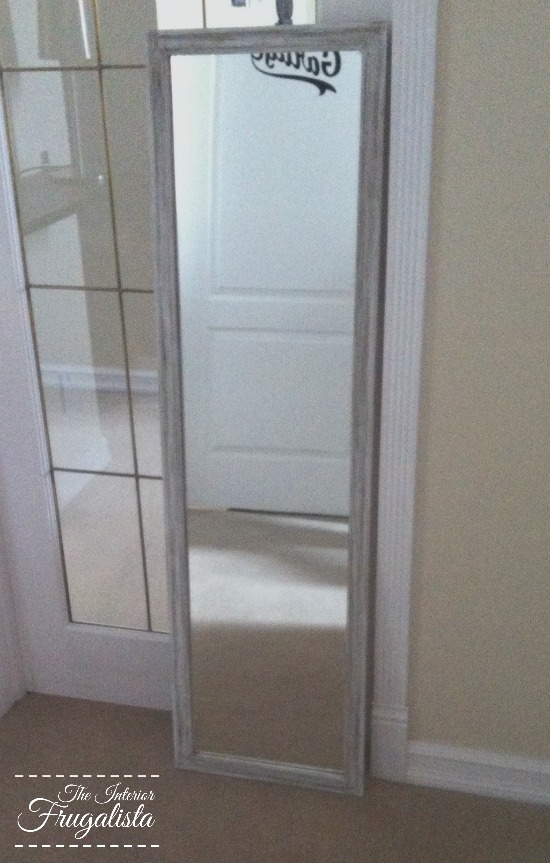
It all began with an inexpensive $10 mirror from Walmart and the need for large artwork to hang on our dining room wall. My apologies for the terrible photo, it was taken several years ago at night with an old iPhone.
The full-length mirror formerly hung in the master bedroom until we built a wall-mounted jewelry cabinet in that space. Not one to get rid of anything, I was glad to find another purpose for the mirror. This is what it looked like after Part One of the makeover, antiqued with a mercury glass patina.
It looked nice above our wainscotting before our recent dining room makeover but I never liked the skimpy frame. Enter two pine 1" x 6" boards...
Big difference, right?
It has a much bigger impact on the larger rustic farmhouse frame. As you can see, we kept the original frame and simply built a larger wooden plank frame underneath. I'm much happier with it now.
The brand new boards were given a time-worn patina with layers of stain and paint then aged with wax. I couldn't be happier with the results. When we move into the living room makeover, I'll be sharing what we made above our fireplace with the same patina.
In Part Two, I scraped the paint off the front of the glass and cut the typography and cornices with white permanent vinyl instead. It just gives it that professional edge and I'm much happier with the results.
Okay, let's get into the nitty-gritty of how we did it...
This post contains affiliate links so you can see what products I used or recommend for this project. As an Amazon Associate, I earn a small commission from qualifying purchases at no extra cost to you.
For the final layer on the frame, I used the same dark grey Behr Premium Plus latex paint in the color Mined Coal (PPU-18-18) that we've used as an accent color in each room. I dry brushed the color on, offloading the excess paint onto a paper towel and used long brush strokes with the grain of the wood.
You may be wondering why the painters tape in the bottom center photo below. It's a little trick I use for not getting paint to overlap in the mitered corners.
I let the last coat of paint dry overnight before aging the planks with dark wax. I used a round wax brush and applied it darker along the outer edges.
Here is a close up of the stained, painted, and waxed rustic mirror frame finished and ready for the antiqued mirror.
Run a bead of construction adhesive along the front of the new frame and center the mirror on top. Set some heavy objects on top and let it cure overnight. It probably isn't necessary but we also screwed the mirror on from the back.
Attach a couple of D-Hook picture hangers on the back and the mirror is ready to hang on the wall. Now if you're looking for a painless way to hang the mirror without a tape measure see my No Measure Tip For Hanging Art perfectly straight every.single.time.
If you have any questions about this mirror makeover, please leave them in the comment section below or the Contact Me tab at the top. I love hearing from you!
If you enjoyed this Modern Farmhouse Mirror Makeover, I'd be so thankful if you shared it with a friend and pinned it to your DIY Mirror Ideas or Modern Farmhouse Style Decor board on Pinterest.

I share my projects at these inspiring link parties.
A Cheap $10 Mirror Hack With Big Impact
We recently installed board and batten wainscotting in our dining room and the top half of the wall was looking rather barren. This stunning DIY Mirror filled that void beautifully and I'll be sharing how we made the rustic lantern sconces flanking it soon. But first I need to purchase a couple of flameless candles on timers to set inside.
It all began with an inexpensive $10 mirror from Walmart and the need for large artwork to hang on our dining room wall. My apologies for the terrible photo, it was taken several years ago at night with an old iPhone.
The full-length mirror formerly hung in the master bedroom until we built a wall-mounted jewelry cabinet in that space. Not one to get rid of anything, I was glad to find another purpose for the mirror. This is what it looked like after Part One of the makeover, antiqued with a mercury glass patina.
It looked nice above our wainscotting before our recent dining room makeover but I never liked the skimpy frame. Enter two pine 1" x 6" boards...
Big difference, right?
It has a much bigger impact on the larger rustic farmhouse frame. As you can see, we kept the original frame and simply built a larger wooden plank frame underneath. I'm much happier with it now.
The brand new boards were given a time-worn patina with layers of stain and paint then aged with wax. I couldn't be happier with the results. When we move into the living room makeover, I'll be sharing what we made above our fireplace with the same patina.
A Recent Modification To The Mirror Typography
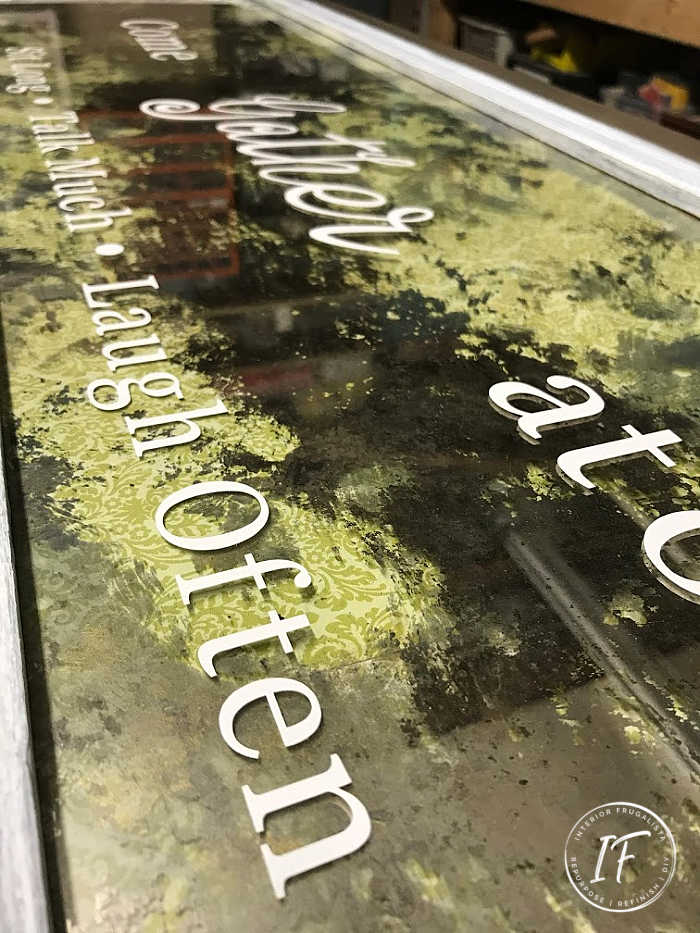
In Part One of the mirror makeover I transferred and handpainted the typography and decorative cornices onto the mirror. At the time I didn't have a Cricut Maker and that was the best option. I've never been 100% satisfied with the job I did hand painting them.In Part Two, I scraped the paint off the front of the glass and cut the typography and cornices with white permanent vinyl instead. It just gives it that professional edge and I'm much happier with the results.
Okay, let's get into the nitty-gritty of how we did it...
Here's How We Reframed The Inexpensive Mirror
These are the steps for building the large plank-style frame for the existing cheap mirror frame with pine boards.This post contains affiliate links so you can see what products I used or recommend for this project. As an Amazon Associate, I earn a small commission from qualifying purchases at no extra cost to you.
Building The Plank Style Mirror Frame
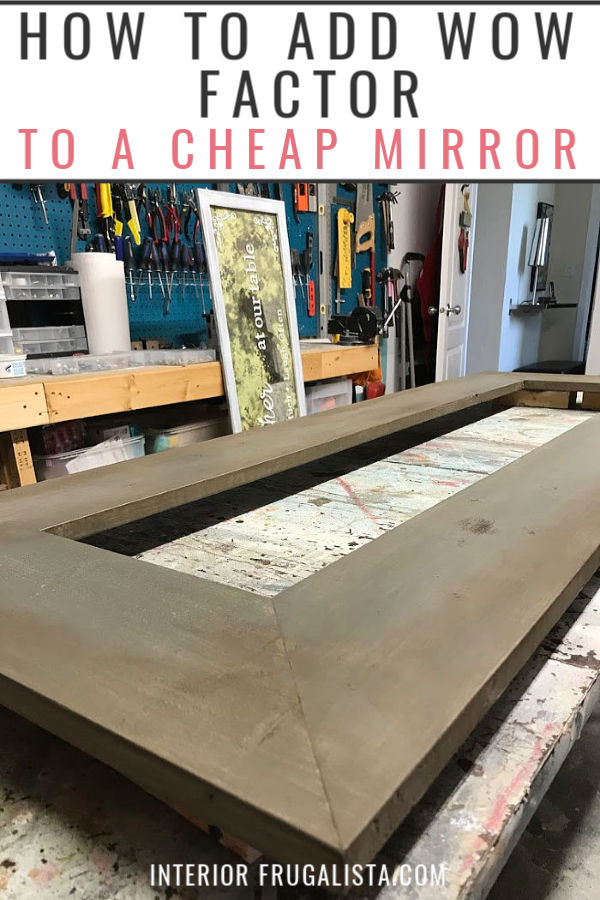
The new plank mirror frame is built with two new pine 1" x 6" boards. The corners are mitered at 45°angles with a sliding compounding miter saw and joined with a Kreg pocket hole jig. A bead of construction adhesive was applied to the joints first before screwing the frame together.Aging The New Plank Wood Mirror Frame
Once the frame was built I gave it a quick sand with 220-grit sandpaper to smooth it out a bit. Next, the frame is stained with layers of waterbased Dixie Belle VooDoo Gel Stains applied with a lint-free rag. The first coat is a green Bayou Moss color. This stuff dries fast so once it was dry to the touch I went ahead and added the next thin coat of brown Tobacco Road color. The last layer of stain color is White Magic.For the final layer on the frame, I used the same dark grey Behr Premium Plus latex paint in the color Mined Coal (PPU-18-18) that we've used as an accent color in each room. I dry brushed the color on, offloading the excess paint onto a paper towel and used long brush strokes with the grain of the wood.
You may be wondering why the painters tape in the bottom center photo below. It's a little trick I use for not getting paint to overlap in the mitered corners.
I let the last coat of paint dry overnight before aging the planks with dark wax. I used a round wax brush and applied it darker along the outer edges.
Here is a close up of the stained, painted, and waxed rustic mirror frame finished and ready for the antiqued mirror.
Attaching The Antiqued Mirror Onto The New Frame
Now we're ready to set the antiqued mirror with the original frame on top of the new farmhouse mirror frame.Run a bead of construction adhesive along the front of the new frame and center the mirror on top. Set some heavy objects on top and let it cure overnight. It probably isn't necessary but we also screwed the mirror on from the back.
Attach a couple of D-Hook picture hangers on the back and the mirror is ready to hang on the wall. Now if you're looking for a painless way to hang the mirror without a tape measure see my No Measure Tip For Hanging Art perfectly straight every.single.time.
If you have any questions about this mirror makeover, please leave them in the comment section below or the Contact Me tab at the top. I love hearing from you!
If you enjoyed this Modern Farmhouse Mirror Makeover, I'd be so thankful if you shared it with a friend and pinned it to your DIY Mirror Ideas or Modern Farmhouse Style Decor board on Pinterest.

I share my projects at these inspiring link parties.







That most definitely does not look like a cheap mirror to me Marie. Well done indeed!!
ReplyDeleteHi Mary, always a pleasure to have you pop over for a visit 🤗 Thank you very much, I'm so glad you think so. Big difference between the original $10 mirror and now, right!
DeleteThat looks SOOO good!!!
ReplyDeleteTania
Thank you very much, Tania! I couldn't be happier with the results. Wait until you see the clock. LOL
DeleteWhat a perfect idea, Marie! I love that you didn't just add typography, but also texture. Beautiful!
ReplyDeleteThanks so much Larissa, I'm glad you like it! I've been having a lot of fun learning the ropes of the Cricut Maker that my kids got me for Christmas. Next up for this room is a new (as in upcycled) table and chairs!
DeleteWOW, this is an amazing transformation! I love the frame and art.
ReplyDeleteHugs,
Kippi
Thanks a bunch Kippi, it was fun transforming that inexpensive full length mirror.
DeleteWow! No one would even suspect that you started with a $10 mirror. I bet it helps reflect light at night when the chandy is on, too. I thought I was clever mounting mine to the end of my son's HO railroad train setup so that it looks bigger!
ReplyDeleteHi Kathy! Oh it does look so pretty at night with the chandy on. I'm quite pleased with how the mirror transformation turned out. I'm very intrigued by your railroad train setup, it sounds interesting.
DeleteSo much better! :)
ReplyDeleteSheila
Thanks Sheila, I'm thrilled with the results!
DeleteYour mirror looks awesome Marie, glad to see your cricket is getting some use.
ReplyDeleteThanks Anita, I'm tickled pink with the results! Yessss, that Cricut machine is getting lots of use lately. Slowly but surely I'm learning the ropes.
DeleteNo ways!!!! I would never say that was a cheap old mirror. What a big difference with it's new frame and cut curly wurlies. One day I'm goig to spoil myself with a Cricut ;-)
ReplyDeleteThank you my friend, 🤗 I'm so pleased with the end result! Funny thing, I had a Cricut Maker on Santa's list for 3 years and last Christmas my kids got me one AND hubby! Returned hubby's and got the Cricut Heat Press instead and now I'm set up for some serious crafting (once I learn everything). LOL
Delete