How To Turn Vacation Photos Into Watercolor Prints
You know those amazing photos you took with your phone while on vacation? I'm going to show you how to turn special memories into watercolor prints and it's so easy...and fun. This is a terrific idea for inexpensive wall art and it looks just like a real watercolor painting. I'm also going to show you how to turn that watercolor print into a Sands Of Time vacation shadow box.
Are you like me and collect sand and other treasures from your beach vacations? If so, we'll be adding those to the watercolor canvas shadow box too. Today is our Int'l Bloggers Club challenge and this month the theme is Sands Of Time. The perfect motivation to finally do something with the beach sand I collected and my favorite photo from that vacation too.
If you haven't heard of our Int'l Bloggers Club, we are a group of blogging friends from around the globe who come together on the third Monday of every month to share a themed DIY project. We have members from Spain, South Africa, Australia, the USA, and Canada.
I'm from a hamlet east of Edmonton, Alberta, Canada, a 4-5 hour jaunt from the Canadian Rockies. In fact, I'm sharing a photo taken through the window of a rustic cabin we stayed in during a recent trip to Jasper National Park.
...and how I turned that photo into this watercolor print that I'll be framing to hang on our wall soon.
But before I get into the nitty-gritty of this fun watercolor technique and upcycled shadow box tutorial, I'd like to give a warm welcome to our newest member of the Int'l Bloggers Club. We're thrilled to have the talented Sara of Birdz Of A Feather join us. I'm even more excited that she's a fellow Canuck representing Eastern Canada from the Province of Ontario.
You'll find Sara's Sands Of Time project along with the others at the bottom of the post. I missed last month's Rock 'N Roll challenge but for our toilet paper roll challenge in June, I made these Firecracker Fire Starters.
When we were vacationing there the city had installed outdoor pianos in specific locations that were painted by local artists. It was part of their ParksAlive program and the pianos were there for the public to play during the summer months.
Shortly after taking this photo, a gentleman walking his dog stopped and blessed us with a free classical music concert for two. We were the only people on the beach below and I don't think he even knew we were there.
Here's that same photo run through the watercolor app and now Mr. Frugalista and I can enjoy that memory for many years to come with a framed art canvas.
So what's the app, you ask? It's called Waterlogue (not an affiliate link) and you can find it in the Apple Store. It's so easy to use from an iPhone or iPad and here's how it works.

After you download the app all you do is upload a photo from your iPhone or iPad and choose which pre-set style you'd like. Here are some screenshots of one of my vacation photos in three different pre-set styles.


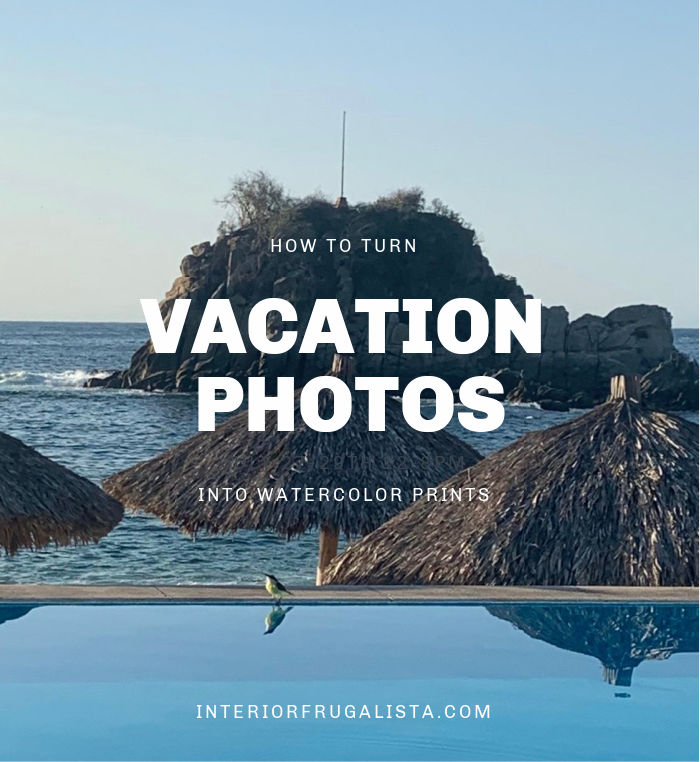
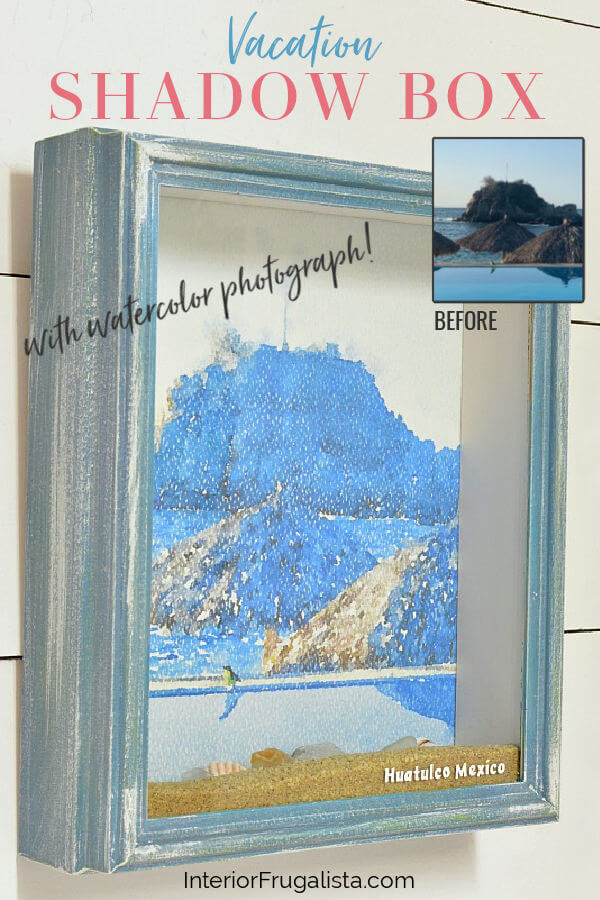
Here's the original photo I used for the vacation shadow box.
This was taken from my absolute favorite place in Mexico to relax and enjoy some sun during the bitterly cold Canadian winters. A little birdie came to visit us one morning while sipping our morning coffee by our favorite infinity pool on the resort.
With double-sided tape, I attached the watercolor canvas to the back of the shadow box frame.
With paint that I had on hand, I gave the outside of the frame a beachy vibe with layers of coastal colors. I started with the color The Gulf, followed by the color Peacock, and then the color Coastal Blue.
For the next two colors, I used the dry brush technique. All you do is offload the paint onto a paper towel until very little is left on the brush. With light pressure swipe across the piece with long brush strokes.
I wanted to pull the green color from my little birdie friend's feathers so I dry brushed just a skiff of the color Lily Pad. The very last layer of color is Fluff, and I brushed it on a little heavier. The inside of the shadow box is also painted with the color Fluff.
Once the paint was completely dry I protected it with clear wax applied with a lint-free rag.
You can see in the photos that I didn't bother masking the glass with painter's tape because it's so easy to remove the paint from the glass with a wet cloth.
Voila, lasting memories from our wonderful vacation at the Dreams Resort in Huatulco, Mexico. See, I told you it was easy!
If you have any questions about this upcycled shadow box idea, please leave them in the comment section below or the Contact Me tab at the top. I love hearing from you!

I hope you enjoyed this watercolor technique and that it inspires you to turn your favorite photos into watercolor wall art. I'd be so thankful if you shared it with a friend and pinned it to your DIY Wall Art or DIY Summer Ideas board on Pinterest.
Before we go, I turned a photo from my rose garden into a FREE watercolor printable that you're welcome to download and print. Just click your mouse on the photo for an unwatermarked copy. That's a little bee with its bee butt sticking out of the bottom left rose.
Now let's go see what my talented friend's made for our Sands Of Time challenge by clicking the links below.
I share my projects at these inspiring link parties.
How To Turn A Photo Into A Watercolor Canvas
Are you like me and collect sand and other treasures from your beach vacations? If so, we'll be adding those to the watercolor canvas shadow box too. Today is our Int'l Bloggers Club challenge and this month the theme is Sands Of Time. The perfect motivation to finally do something with the beach sand I collected and my favorite photo from that vacation too.
If you haven't heard of our Int'l Bloggers Club, we are a group of blogging friends from around the globe who come together on the third Monday of every month to share a themed DIY project. We have members from Spain, South Africa, Australia, the USA, and Canada.
I'm from a hamlet east of Edmonton, Alberta, Canada, a 4-5 hour jaunt from the Canadian Rockies. In fact, I'm sharing a photo taken through the window of a rustic cabin we stayed in during a recent trip to Jasper National Park.
...and how I turned that photo into this watercolor print that I'll be framing to hang on our wall soon.
But before I get into the nitty-gritty of this fun watercolor technique and upcycled shadow box tutorial, I'd like to give a warm welcome to our newest member of the Int'l Bloggers Club. We're thrilled to have the talented Sara of Birdz Of A Feather join us. I'm even more excited that she's a fellow Canuck representing Eastern Canada from the Province of Ontario.
You'll find Sara's Sands Of Time project along with the others at the bottom of the post. I missed last month's Rock 'N Roll challenge but for our toilet paper roll challenge in June, I made these Firecracker Fire Starters.
How To Turn Cell Phone Photos Into Watercolor Prints
Here's another example of how I turned a vacation photo into a watercolor canvas. This photo was taken on the shores of beautiful Victoria, British Columbia. We love this city so much that we named our daughter after it!When we were vacationing there the city had installed outdoor pianos in specific locations that were painted by local artists. It was part of their ParksAlive program and the pianos were there for the public to play during the summer months.
Shortly after taking this photo, a gentleman walking his dog stopped and blessed us with a free classical music concert for two. We were the only people on the beach below and I don't think he even knew we were there.
Here's that same photo run through the watercolor app and now Mr. Frugalista and I can enjoy that memory for many years to come with a framed art canvas.
So what's the app, you ask? It's called Waterlogue (not an affiliate link) and you can find it in the Apple Store. It's so easy to use from an iPhone or iPad and here's how it works.

After you download the app all you do is upload a photo from your iPhone or iPad and choose which pre-set style you'd like. Here are some screenshots of one of my vacation photos in three different pre-set styles.


How To Turn Beach Vacation Photos Into A Watercolor Shadow Box
Here's the original photo I used for the vacation shadow box.
This was taken from my absolute favorite place in Mexico to relax and enjoy some sun during the bitterly cold Canadian winters. A little birdie came to visit us one morning while sipping our morning coffee by our favorite infinity pool on the resort.
Printing The Watercolor Photo
Once I determined the watercolor style I liked I saved it into photos on my phone. Then from my iMac, I printed the photo with a color laser printer onto watercolor paper. But first, I trimmed it to 8"x10" to both fit in the paper tray and my shadow frame.With double-sided tape, I attached the watercolor canvas to the back of the shadow box frame.
Upcycling A Shadow Box
I've had this shadow box for a few years that I picked up at Goodwill for a whopping $2. It has a mate that I plan on framing my Jasper watercolor print much the same way.With paint that I had on hand, I gave the outside of the frame a beachy vibe with layers of coastal colors. I started with the color The Gulf, followed by the color Peacock, and then the color Coastal Blue.
For the next two colors, I used the dry brush technique. All you do is offload the paint onto a paper towel until very little is left on the brush. With light pressure swipe across the piece with long brush strokes.
I wanted to pull the green color from my little birdie friend's feathers so I dry brushed just a skiff of the color Lily Pad. The very last layer of color is Fluff, and I brushed it on a little heavier. The inside of the shadow box is also painted with the color Fluff.
Once the paint was completely dry I protected it with clear wax applied with a lint-free rag.
You can see in the photos that I didn't bother masking the glass with painter's tape because it's so easy to remove the paint from the glass with a wet cloth.
Labeling The Vacation Shadow Box
Next, I made a label for the vacation shadow box In Cricut Design Space for the glass and cut it with white permanent vinyl.Assembling The Watercolor Print Shadow Box
Before attaching the hardboard back with the watercolor print back into the frame, I sprinkled a layer of beach sand that I collected on this vacation onto the bottom of the frame. Then I stuck some beach glass and small seashells into the sand that I also collected during our holiday.Voila, lasting memories from our wonderful vacation at the Dreams Resort in Huatulco, Mexico. See, I told you it was easy!
If you have any questions about this upcycled shadow box idea, please leave them in the comment section below or the Contact Me tab at the top. I love hearing from you!

I hope you enjoyed this watercolor technique and that it inspires you to turn your favorite photos into watercolor wall art. I'd be so thankful if you shared it with a friend and pinned it to your DIY Wall Art or DIY Summer Ideas board on Pinterest.
Before we go, I turned a photo from my rose garden into a FREE watercolor printable that you're welcome to download and print. Just click your mouse on the photo for an unwatermarked copy. That's a little bee with its bee butt sticking out of the bottom left rose.
Now let's go see what my talented friend's made for our Sands Of Time challenge by clicking the links below.
- Unique Creations By Anita - How To Upcycle A Sand Timer
- Interior Frugalista (that's me) - How To Turn Special Memories Into Watercolor Prints
- Birdz Of A Feather - How To Make Sand Candles
- A Crafty Mix - How To Make A Sands Of Time Hourglass
I share my projects at these inspiring link parties.


YES!!!!!! I love watercolor paintings and while I can paint almost anything with oils, I have never ever been able to get the hang of watercolors. So this is a perfect alternative to turn some of our pics into the work of art I've been dreaming of. And then your idea of putting them into a shadow box and making 3 D art is just puts a cherry on top. Pinned to my secret "Must Do" board so I don't forget and few other boards too.
ReplyDeleteWhen you print them on watercolor art paper, it really does look like the real thing. I also printed one on an inkjet printer thinking it would look even more realistic. The colors were very muted but my printer has been acting up lately so it may just be MY printer. Have fun turning your favorite photos into watercolors, Michelle! Thanks for the pins 🤗
DeleteThis is awesome Marie. I can not draw or paint to save my life so this app is a game changer. I love learning new techniques from you. And to put it together in the frame with the sand makes it even more special. You were definitely thinking outside the box on this challenge. Well done. 👏👏
ReplyDeleteYay, Anita, I'm so glad you like the watercolor app, it IS a game changer! I love turning my favorite photos into watercolors to print and hang on clipboards for cheap art in my office. But thanks to our IBC challenge, it inspired me to create a gallery wall with a few of my vacation photos. Need to find one more shadow box to complete the ensemble.
DeleteThis is awesome Marie. I can't draw or paint to save my live so this app is a gamer changer. I always learn something new from you. The fact that you used sand from your trip together with the photo makes it more special. You really did think outside the box on this challenge.
ReplyDeleteWhat a wonderful idea! Even more special this year as we were unable to travel. I have so many beautiful beach photos from our previous trips to the Maine coast. I have put this on my bucket list of things to try.
ReplyDeleteSo glad this inspired you to try this with your beach vacation photos, Leslie! It's so fun to watch those photos transform into a painting. Enjoy!
DeleteMarie - thats great ! Thank you for sharing.
ReplyDeleteNaush
Marie, you are so creative and talented. Thank you for sharing at Meraki Link Party.
ReplyDeleteNaush
You're so sweet, thank you so much, Naush!
DeleteIt's such a cool idea of "how to turn special memories into watercolor prints", thanks for sharing!
ReplyDeleteGlad you like this idea, Michael, and have fun transforming your favorite photos!
DeleteThanks for the pin and share, Marilyn, always appreciated! xo Have a lovely labour day long weekend!
ReplyDeleteI love this app and its such a good idea to use for travel photos! Thanks for the inspiration! ~ Kristin | White Arrows Home
ReplyDeleteIsn't it a fun app, Kristin, and can be addicting. I have to stop myself from waterlouging all my favorite photos.
DeleteThis is an amazing idea! I am going to be featuring this post on our Embracing Home and Family link-up party this Friday!!
ReplyDelete-Cherelle
So glad you like this idea for favorite photographs and I'm thrilled to have it featured. Thank you so much, Cherelle! xo
Delete