DIY Photo Wall With Dollar Store Wood Artist's Panels
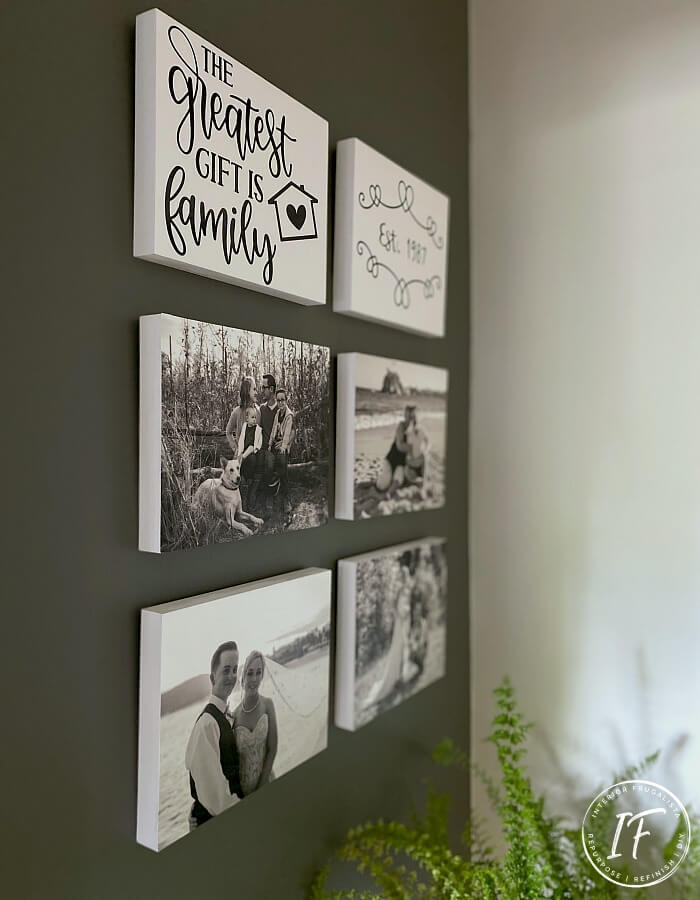
Today I'm sharing an easy idea for turning favorite family memories into a budget-friendly photo wall with dollar store wood artist's panels. For a fraction of the cost of ordering family photos printed onto wood canvases, you can make your own. I had all four finished and the black & white family photo gallery hung the same day, that's how easy they are to make.
Instead of paying around $45 to have a photo printed onto a wood canvas, my DIY version cost under $10. The photo gallery wall I created at the end of our hallway would have cost around $200 but I paid just under $40 to make mine. What's not to love about that!
The wood artist's panels cost only $2.50 each and to have black & white prints enlarged to 8"x10" cost just under $6. The rest of the supplies I had on hand but if you don't have them, the dollar store will, making them a super cheap wall art project.
I bought two extra wood panels because I've learned the hard way that if you don't grab 'em while they have 'em you may be SOL. The plan is to have family photos taken in the Spring AND I'm waiting with bated breath for my son and DIL to expand our family so I have a canvas reserved for future grandbabies. 😏 😉
In the meantime, I cut some vinyl graphics with my Cricut Maker that can easily be removed when I'm ready to add more black & white photos to the gallery photo wall.
These are the wood artist's panels I used found at Dollarama, a Candian dollar store chain. If you can't find them at your local dollar store, I've included affiliate links to some that I found online. As an Amazon Associate, I earn a small commission from qualifying purchases at no extra cost to you.
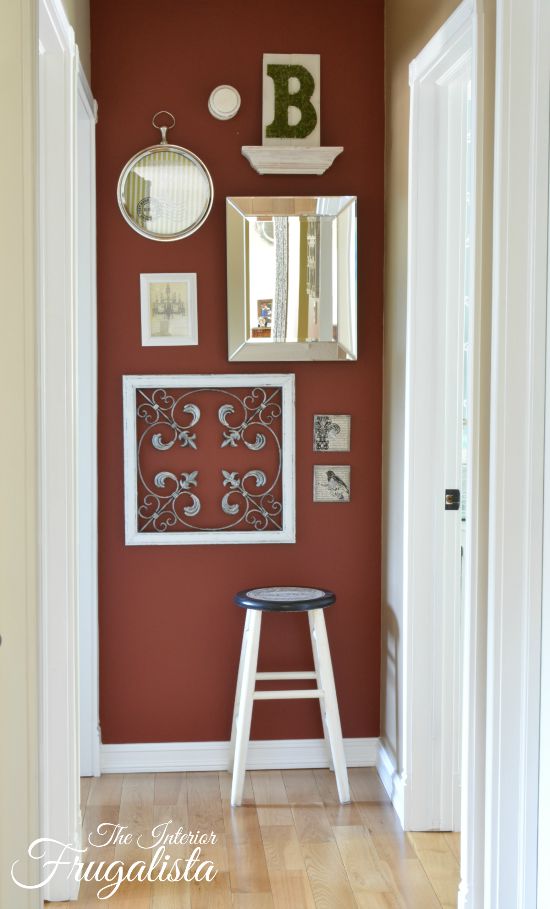
For the fun of it let's take a look at the wall we plan on hanging the new photo gallery before, with the Sundried Tomato paint color and our former hallway gallery art.
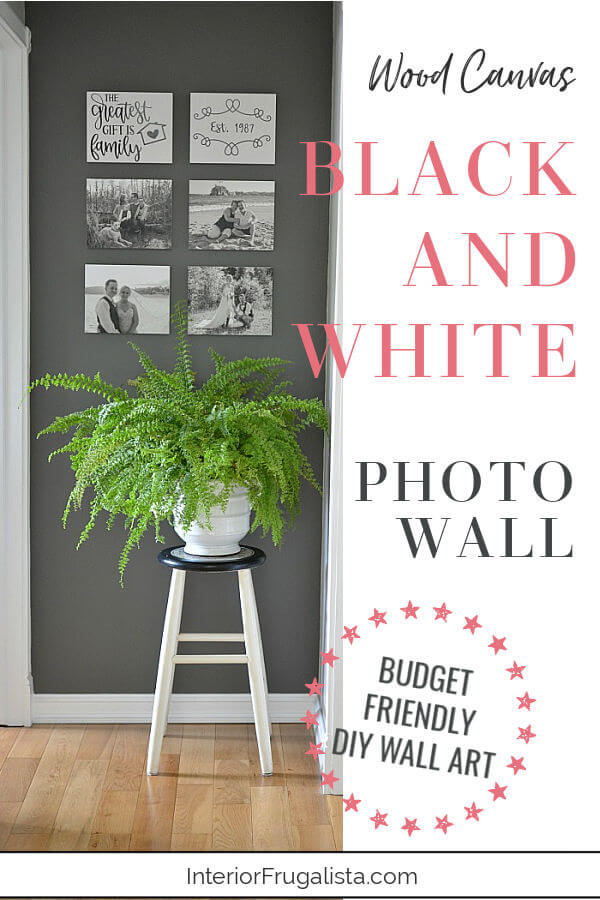
And the wall now painted with Behr Premium Plus latex Mined Coal (PPU-18-18) and the new photo wall gallery. The stool has a story too and you can read about that in my Mom's Stool Got A Makeover post.
Black and White Photo Prints
White Chalk or Acrylic Paint
Semi-Gloss Clear Coat
Matte Mod Podge
Scraper or Brayer Tool
Small Retractable Craft Knife
Sawtooth Picture Hangers
Once the paint is dry brush a semi-gloss or high gloss non-yellowing clear coat on the sides ONLY of the painted wood canvas. You don't have to do this step but I found the gloss sheen adds a professional finish. Plus because my photo collage is against a dark grey wall in our hallway, it offers high contrast and reflects light.
Brush a generous layer of matte Mod Podge on the top of the wood canvas, especially in the corners. Set the photo down (good side facing you) and align it to the canvas. No worries if the photo is slightly larger, we'll deal with that later.
Either with a scraper tool or your fingers, set inside a plastic baggie to protect the photo, rub along the photo to remove any air bubbles. Wipe any oozing Mod Podge along the edges with a damp cloth.
Check for any drips down the sides of the canvas and wipe with a clean damp cloth.
Nail a sawtooth picture hanger on the back of each canvas and they are ready to hang on the wall.
I told you it was easy!
Here are a couple more budget-friendly gallery wall ideas that you may like. This glitz & glam gallery wall is created with a collection of thrift store finds. This nursery gallery wall shows how to transfer color photos onto wood.
If you have any questions about this DIY Wood Canvas Photo Wall Idea, please leave them in the comment section below or the Contact Me tab at the top. I love hearing from you!
If you enjoyed this DIY Photo Wall Idea, I'd be so thankful if you shared it with a friend and pinned it to your DIY Wall Art or DIY Gallery Wall Ideas board on Pinterest.

I share my projects at these inspiring link parties.
Cheap Photo Wall Idea With Dollar Store Wood Canvas Frames
Instead of paying around $45 to have a photo printed onto a wood canvas, my DIY version cost under $10. The photo gallery wall I created at the end of our hallway would have cost around $200 but I paid just under $40 to make mine. What's not to love about that!
The wood artist's panels cost only $2.50 each and to have black & white prints enlarged to 8"x10" cost just under $6. The rest of the supplies I had on hand but if you don't have them, the dollar store will, making them a super cheap wall art project.
I bought two extra wood panels because I've learned the hard way that if you don't grab 'em while they have 'em you may be SOL. The plan is to have family photos taken in the Spring AND I'm waiting with bated breath for my son and DIL to expand our family so I have a canvas reserved for future grandbabies. 😏 😉
In the meantime, I cut some vinyl graphics with my Cricut Maker that can easily be removed when I'm ready to add more black & white photos to the gallery photo wall.
Here's What You'll Need
Like I mentioned earlier, you should be able to find all the supplies you need to make these at the dollar store, minus the photo prints of course.These are the wood artist's panels I used found at Dollarama, a Candian dollar store chain. If you can't find them at your local dollar store, I've included affiliate links to some that I found online. As an Amazon Associate, I earn a small commission from qualifying purchases at no extra cost to you.
For the fun of it let's take a look at the wall we plan on hanging the new photo gallery before, with the Sundried Tomato paint color and our former hallway gallery art.
And the wall now painted with Behr Premium Plus latex Mined Coal (PPU-18-18) and the new photo wall gallery. The stool has a story too and you can read about that in my Mom's Stool Got A Makeover post.
Supply List
Wood Artist's Panels (alternatives)Black and White Photo Prints
White Chalk or Acrylic Paint
Semi-Gloss Clear Coat
Matte Mod Podge
Scraper or Brayer Tool
Small Retractable Craft Knife
Sawtooth Picture Hangers
Here's How I Did It In Just Five Easy Steps
Step 1 - Order Black & White Prints
Before you get started first you'll need to order 8"x10" black & white prints of your favorite family photos. I order mine online at a local photo lab and they are usually ready the same day.Step 2 - Paint The Wood Panels
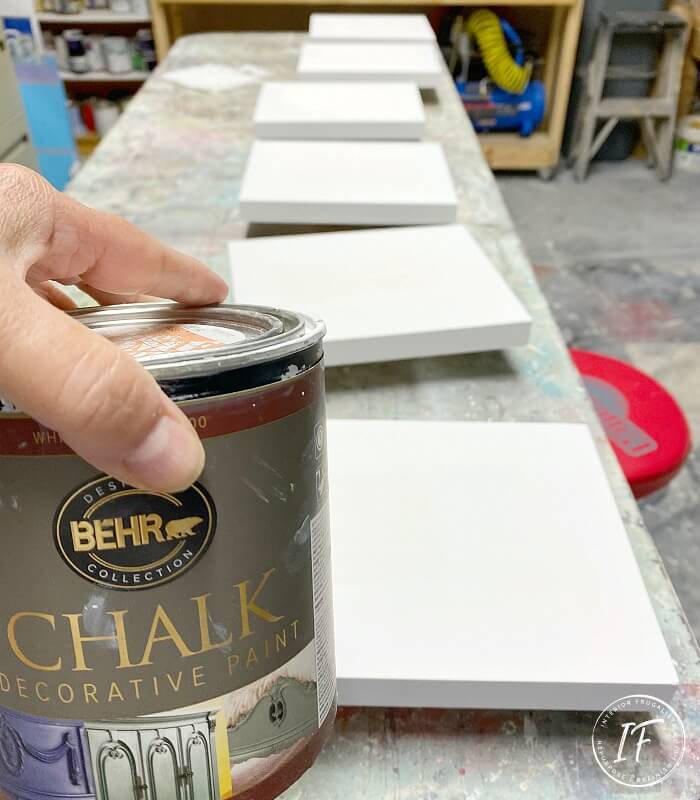
Sand the wood artist's panels nice and smooth with 150-grit sandpaper and remove the dust particles with a damp lint-free rag. Next paint the wood panels with either white chalky paint or acrylic craft paint. I painted mine with two coats of Tin White Behr Chalk Decorative Paint that I had on hand.Once the paint is dry brush a semi-gloss or high gloss non-yellowing clear coat on the sides ONLY of the painted wood canvas. You don't have to do this step but I found the gloss sheen adds a professional finish. Plus because my photo collage is against a dark grey wall in our hallway, it offers high contrast and reflects light.
Step 3 - Attach The Photos
Before we decoupage the photographs onto the wood canvas panels it's important that you give the panels a wipe with a lint-free rag to remove any small particles that may be resting on top.Brush a generous layer of matte Mod Podge on the top of the wood canvas, especially in the corners. Set the photo down (good side facing you) and align it to the canvas. No worries if the photo is slightly larger, we'll deal with that later.
Either with a scraper tool or your fingers, set inside a plastic baggie to protect the photo, rub along the photo to remove any air bubbles. Wipe any oozing Mod Podge along the edges with a damp cloth.
Step 4 - Clear Protective Finish
This step is completely optional but you may want to protect the photo so it doesn't get damaged over time when dusting and cleaning the gallery wall. You can do this in one of three ways.- Use Mod Podge thinned a little with water and well stirred so there are no lumps. Brush it on in two thin coats with a foam brush.
- You can use the same non-yellowing clear coat used to protect the sides of the canvas, also applied in two thin coats with a foam brush.
- Or you can do what I did using the go-to sealer that I had on hand, applied with a slightly damp car detailing sponge. I prefer a detailing sponge over a foam brush because it eliminates any brush strokes.
Check for any drips down the sides of the canvas and wipe with a clean damp cloth.
Step 5 - Trim The Photos
Once the clear coat is completely dry, use a sharp retractable craft knife to trim the photos if necessary.Nail a sawtooth picture hanger on the back of each canvas and they are ready to hang on the wall.
I told you it was easy!
Here are a couple more budget-friendly gallery wall ideas that you may like. This glitz & glam gallery wall is created with a collection of thrift store finds. This nursery gallery wall shows how to transfer color photos onto wood.
If you have any questions about this DIY Wood Canvas Photo Wall Idea, please leave them in the comment section below or the Contact Me tab at the top. I love hearing from you!
If you enjoyed this DIY Photo Wall Idea, I'd be so thankful if you shared it with a friend and pinned it to your DIY Wall Art or DIY Gallery Wall Ideas board on Pinterest.

I share my projects at these inspiring link parties.


Beautiful! I love the way this turned out. I'm off to pin!
ReplyDeleteThank you so much, Kim, both for the sweet comment and the pin! xo
DeleteThis looks incredible, Marie!
ReplyDeleteThank you very much, Paula! I'm having a lot of fun decorating the new dark grey accent walls around our home.
DeleteYour gallery wall turned out great Marie! I'm going to have to see if my Dollar store has those wood canvas things!
ReplyDeleteTania
I hope you find them, Tania! I love our Dollarama stores, my second home. LOL You can find them on Amazon as well if you can't find them locally.
DeleteMarie this is such a great idea. You can do this for pennies and it looks fantastic and you will have sweet memories forever. You are going to put the frame shops out of business. :)
ReplyDelete🤭 You know me, Mary, always looking for a way to save a buck. LOL
DeleteLove the photos and the wall color. The B&W photos and white woodwork really pop against that grey background.
ReplyDeleteThanks Lisa, I'm thrilled with how the photo gallery wall turned out.
DeleteWhat a neat idea. Hubby has some nice smooth wood in his shop, I just may have him cut me some sections of wood. Good way to use up some of his wood scraps that way.
ReplyDeleteThanks for the great tutorial.
I had to pin this for future use.
Have a wonderful day.
Take care, stay safe & stay healthy
Glad you found inspiration with my DIY photo wall, Colleen, and thanks for the pin! Have fun making your photo gallery wall.
DeleteVery pretty. I didn't know about wood canvas. Why wood instead of artist canvas? Does it look different? Can't really tell by photos. Can't wait to visit Dollar General to see what they have. It's always fun to visit late summer when they get their fall stash.
ReplyDeleteHi Vicky, I'm glad you like the photo wall. The wood canvas is a different look because the canvas is much thicker/deeper and more rigid. It gives the photo more of a framed appearance (if that makes sense). You could do this same technique on a regular art canvas and I've done that in the past too. I hope you find some at your local dollar store.
DeleteGood thing there's extra space on the wall Marie ;-) and these will be great for doing oil portraits too. It always helps when they're thicker and firmer, especially when I use a palette knife
ReplyDeleteYesssss, they definitely would be great for oil portraits! If you can't get them in SA, you most certainly can online. They'd also make great glassless shadow boxes too. So much potential in these awesome panels. I hope you find some!
DeleteWhat fun and frugal wall decor. They turned out great! Pinned.
ReplyDeleteThanks so much, Joanne! I'm smiling all the way to the bank with how much money I saved by DIYing the photo wall instead.
DeleteBeautiful Marie. I wish I new this before I ordered all my family pics from Mix Tiles for my family wall. Yours looks wonderful.
ReplyDeleteHugs,
Kris
Thanks Kris! When I saw the wood artist's panels at Dollarama I instantly knew what I wanted to do with them. I cleaned the store right out. LOL
DeleteMarie, these look lovely. Dollar Tree is my favorite go-to place for ideas and inspiration too. Thank you for sharing with us at Meraki Link Party. We hope to see you next week too.
ReplyDeleteNaush
Dollar Tree and Dollarama are my second home! LOL
DeleteMarie,
ReplyDeleteI love this photo wall idea. I need to head out to my local Dollar Store. Congratulations, you are being featured at Over The Moon Linky Party. I hope you stop by.
Hugs,
Bev
Thank you very much, Bev, for featuring my DIY photo wall! It was so rewarding creating this wall for such little money.
DeleteThis is great. I've been wanting to do a wall like this for some time. I'll be featuring this tomorrow at the TFT party. :)
ReplyDeleteOh you should, Pam, it was so quick and easy! Thank you very much for the feature. xo
Delete