How To Decoupage On Wood With Napkins
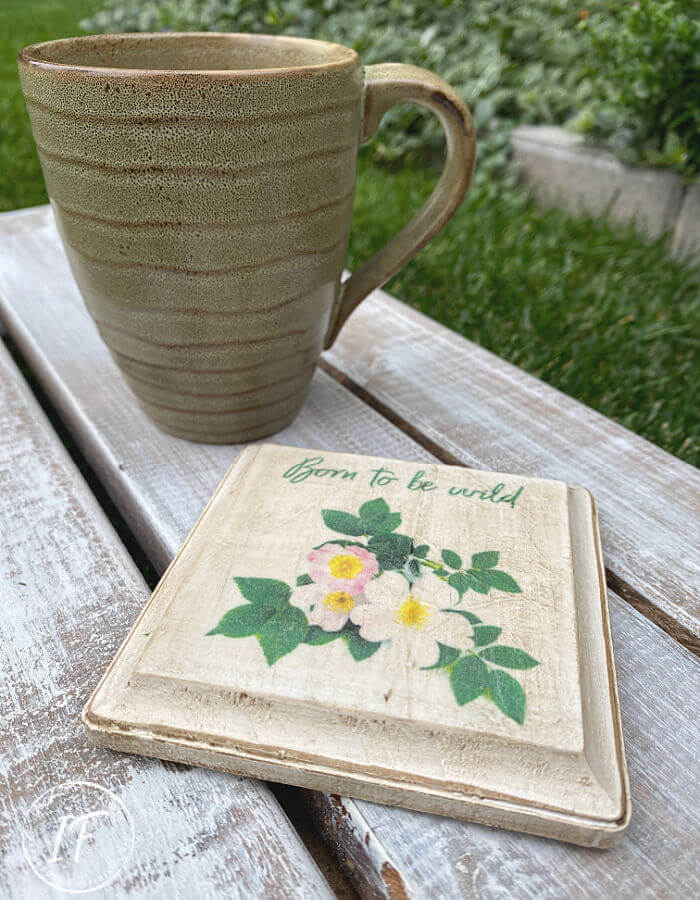
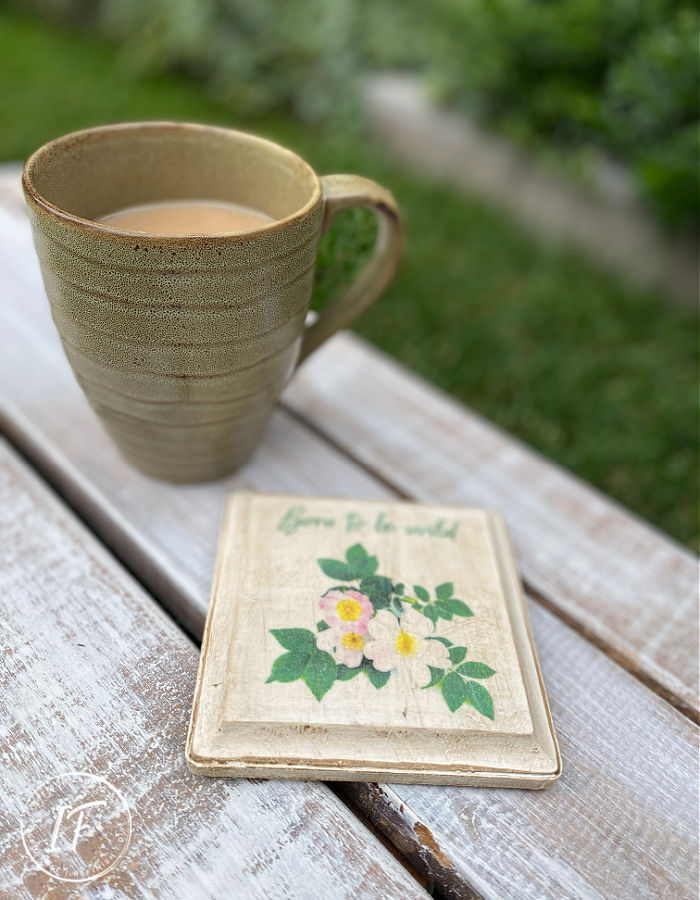
Did you know you can print on a napkin? To demonstrate, I'm sharing a decoupage wooden coaster with a custom wild rose graphic for my office. I'll show you how easy it is to print on a napkin and how to decoupage the printed napkin on wood.
Alberta Wild Rose Decoupage Napkin Coaster
There's a significance as to why I chose the wild rose for my graphic. The theme for our Int'l Bloggers Club challenge this month is Local Love. Because our group is made up of bloggers from around the globe, I could interpret "local" as my country (Canada), province (Alberta), or the hamlet (Sherwood Park) where I reside.
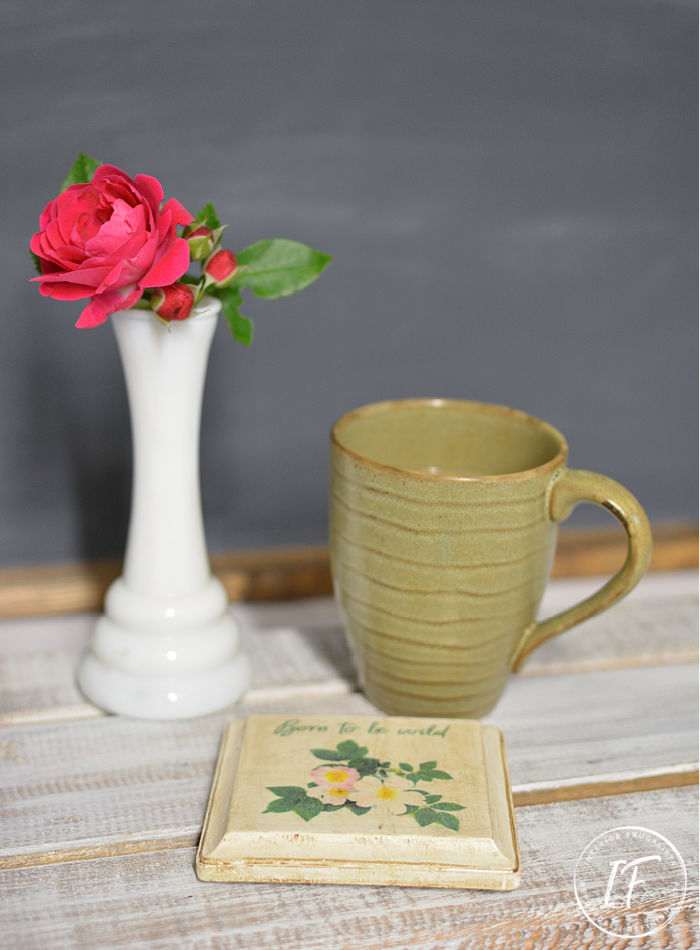
I had all sorts of ideas for each but decided to narrow my focus to Alberta and our provincial flower. I should point out that in the photos, the rose in the bud vase is NOT an Alberta wild rose. Unfortunately, I didn't have access to a wild Alberta rose bush.
A Little History About The Alberta Wild Rose
The Prickly Wild Rose (Rosa acicularis) became the province of Alberta's provincial flower in 1930. Our vehicle license plates have been sporting the "Wild Rose Country" slogan since 1973. As the name states, it grows wild in Alberta's farmlands and is a very hardy rose to survive our cold prairie winters.
Its deep-pink petals with bright yellow centers bloom abundantly all summer and have a very sweet fragrance. There were several wild roses that grew near our lake cabin growing up.
My sisters and I would grind the petals with rocks and make our own perfume. It wasn't the nicest smelling perfume mind you but we had fun making it. As I write this I can smell that sweet potent scent, one I will never forget.
If you haven't heard of our Int'l Bloggers Club, we are a group of blogging friends from around the globe who come together on the third Monday of every month to share a themed DIY project. We have members from Spain, South Africa, Australia, the USA, and Canada.
Last month our theme was sands of time where I turned a vacation photo into a watercolor print and made a vacation shadow box. I've included links to our talented member's local love ideas further down in the post.
My idea to make a wooden coaster was inspired by this natural wood plaque that I found at the dollar store. You can see by the $1 price tag that this is an inexpensive decoupage craft.
What You'll Need To Make It
A little white acrylic craft paint, a color printer, one napkin, and some mod podge is all you need to make the decoupage napkin wooden coaster. But if you want to give the coaster vintage style, like I did, some brown wax or brown glaze will also be needed.
Funny story about brown glaze...
Well, it wasn't so funny at the time. I had a coaster made and was about to age it with glaze when the jar slipped out of my hand and spilled all over the worktable AND my brand new coaster. Good thing this tissue paper project is quick to make! By the time I wiped up the spill it had stained the paint too dark so back to square one.
Here's How I Did It
This post contains affiliate links so you can see what products I used or recommend for this project. As an Amazon Associate, I earn a small commission from qualifying purchases at no extra cost to you.
First I painted two coats of vintage white acrylic craft paint on the top and bottom of the wood plaque.
Then I set out to design the wild rose graphic in PicMonkey and saved it to my computer.
What Projects Could I Use The Tissue Paper Printing Technique For?
You could use the tissue paper printing technique for many projects besides wood coasters. Decoupage the printed napkins on seasonal signs, small wall plaques, glass jars or vases, jewelry or trinket boxes, wooden trays, and another home decor.
So let's get started with how to print on a napkin but first, there are a few things you need to do so it can be fed into the printer.
How To Print On A Napkin
You want to print on the bottom ply only of the napkin. Rub your fingers on a corner of the napkin to separate the layers and carefully peel them off until only the last one remains.
Tape the thin tissue either onto a sheet of regular bond paper or my preference, a more rigid cardstock (pictured below). It's important to have the tissue lay perfectly flat so it doesn't catch and cause a paper jam in the printer.
This next step is optional and I didn't do it for this project. You can iron the folds of the napkin with an iron but make sure the steam setting is turned off. Place a cotton cloth over the tissue and iron the folds with the dry heat setting.
You can print on the napkin with either a color inkjet or laser printer. Change the settings to "best" print quality. You'll also want to change the print size to fit your project - in my case 3 1/2 inches square. Orientate the paper into the printer tray so it prints on the tissue side.
Now hold your breath, cross your fingers, say a prayer, and hit the print button.
Once it prints, cut along the edges to remove it from the paper backing.
Pro-Tip
If you used an inkjet printer, set the printed napkin aside for an hour or so to make sure the ink is completely dry before the decoupage step. Also, make sure the mod podge isn't too runny. Otherwise, you risk the ink bleeding.
How To Decoupage Napkins Onto Wood
These are the supplies you'll need to decoupage the printed napkin onto the wood. The sandwich bag is to slip your hand into to smooth the wrinkles instead of your bare hands.
Cut the tissue so it is a little larger than the surface of the wood and then brush a generous amount of Mod Podge onto the painted wood. There is no wiggle room with the thin tissue so you want to eyeball the placement as best you can and carefully set the tissue paper down.
Slip your hand inside the sandwich bag and very gently tap your fingers over the wrinkles. It's inevitable that you'll have some so embrace the wrinkles! You can see in the photo below that I have several but because I want a vintage style for my coaster I was not concerned.
Once the Mod Podge is completely dry brush a thin coat over top of the tissue. Once it's dry repeat with one or two more coats of Mod Podge as a protective barrier. Since mugs and glasses will be set on my coaster I want to make sure it is sealed well.
Trim the excess tissue along the edges with scissors or by carefully ripping it away. Smooth out the edges with a piece of 220-grit sandpaper or a nail file works well too.
The next step is completely optional and it's important it be done AFTER the decoupage has been sealed.
How To Give The Decoupage Vintage-Style
To give your project vintage style like my coasters, apply a coat of brown wax or brown glaze. It'll settle in all the wrinkles giving it an aged appearance. Immediately remove the excess wax or glaze with a lint-free rag.
Last but not least, place some felt protectors on the bottom of the coaster to protect your furniture.
Thanks for stopping by the Interior Frugalista today! I hope this tutorial inspired you to make your own custom designs and try printing them on tissue paper.
Almost all of our DIY ideas have step-by-step tutorials so why not get your budget DIY on and subscribe. You can also find us on Pinterest, Facebook, Instagram, and YouTube.
If you have any questions, please leave them in the comment section below or the Contact Me tab at the top to drop me an email. I love hearing from you!
If you enjoyed this tutorial on how to print on napkins, I'd be so thankful if you shared it with a friend and pinned it to your Image Transfer Techniques or Decoupage Decor Ideas board on Pinterest.
Now let's see what my talented friend's made for our Local Love challenge by clicking the links below.
DIY Ndebele Planters | A Crafty Mix
How To Use Iron-On Vinyl | Unique Creations By Anita
Pop Art Serving Tray DIY | Birdz Of A Feather
How To Decoupage On Wood With Napkins | Interior Frugalista (that's me)
How To Make A Whitewashed Farmhouse Sign | Raggedy Bits (not pictured above)
I share my projects at these inspiring link parties.


Beautiful Marie and I would have had a mini heart attack when the glaze went all over the place. Glad you did a "take 2" without any mishaps.BTW, every time I hear about wild roses I always think of poor Elisa Day and the words to the song "Where the Wild Roses Grow". Do you know if they're talking about the same roses Marie? And it really is such a lovely plant too (I had to go look it up on the interweb :D first). I bet the heady scent must fill the air when she's flowering.
ReplyDeleteYes, the heady scent definitely fills the air when in bloom. I have no clue if the song relates to the same wild rose plant but who knows. Leonard Cohen also recorded the song and he was Canadian.
Deleteeep!! Those are ao cute! Love your tips too.
ReplyDeleteThanks my friend, so glad you liked the tips too!
DeleteI was holding my breath as you hit the 'print button' - lol! This is such a cute project, and now I know what your provincial flower is :).
ReplyDeleteThere ya go my fellow Canuck! Yikes, come to think of it I have no clue what the Ontario provincial flower is either. Hey Google????
DeleteHello Marie, I love how the coaster turned out and love that you always give very clear and easy to follow instructions.
ReplyDeleteThank you Jasmine, so glad you think the instructions I provide are easy to follow. It's always a challenge writing the tutorials.
DeleteWow, Marie this is such a cool project. I would have put money on it that it would not print. The possibilities for this project is amazing.
ReplyDeleteI did hold my breath while it fed through the printer but with both attempts it worked like a charm. I have two printers, an inkjet and a laser. The inkjet is more forgiving but I used the laser for this project and had no problems. Yay!
Deletegreat instructions and how-tos - love the cute coaster!
ReplyDeleteThanks so much, Carol!
DeleteThis turned out so cute, I love that print and the colors! I'm so glad the glaze didn't ruin anything else. I kicked over a can of varnish while working on a mirror on our hard wood floors, I screamed and all the kids came running to help me get it all up. No damage thank GOd
ReplyDeleteOh no, glad to hear the varnish didn't ruin your hardwood! Thank goodness the glaze spilled in our workshop so the staining really doesn't matter. Glad you like the decoupage wild rose wood coaster, Kristin, and thanks for stopping by for a visit!
DeleteWow what a beautiful rose you have growing locally! Bet it's scent is amazing!! I love how you made your coaster and can now enjoy your rose all year round when it's not in bloom!
ReplyDeleteI wish I knew of a wild rose plant growing near me I could have clipped a stem for the bud vase to show everyone what they look like.
DeleteWhat a cute idea! And this seems like a very versatile technique. Thanks for sharing this tutorial! I'm visiting today from the Over the Moon link up. Have a great week!
ReplyDeleteThanks Marielle, yes it is very versatile and could be used for so many applications. Thanks for stopping by and wishing you a great week as well!
DeleteMarie....when I read the title, I thought you were gonna be on the back of a Harley!!! Lol!! Love the sweet wild roses! Thanks for sharing this process!!
ReplyDeleteLOL, definitely a dream of mine when I was younger but now, this is as wild as I'm going to get! LOL Glad you enjoyed the process and thanks for popping over for a visit!
DeleteVery pretty, looks nice!
ReplyDeleteThanks so much, Dee, I have my coffee sitting on it right now. LOL
DeleteMarie, your coaster looks gorgeous with a vintage touch and lovely colors. I envy you Marie, coz You wear so many creative hats.
ReplyDeleteThank you for joining Meraki.
Naush
Thanks Naush, I'm using the coaster in my office and love it. Girl, you have amazing talent and such creative ideas!
DeleteI love this idea. I tried printing onto a napkin and it turned out great, the only problem is that the ink ran when I applied the mod podge. Do you have any suggestions ? THanks
ReplyDeleteOh no! Did you use an inkjet printer? If so, my suggestion would be to set it aside for an hour or so to let the ink completely dry and make sure the mod podge isn't really runny. I hope this helps! I'll edit the post to add this tip so it doesn't happen to anyone else.
ReplyDelete