Easy Valentine's Day Scrap Wood Sign
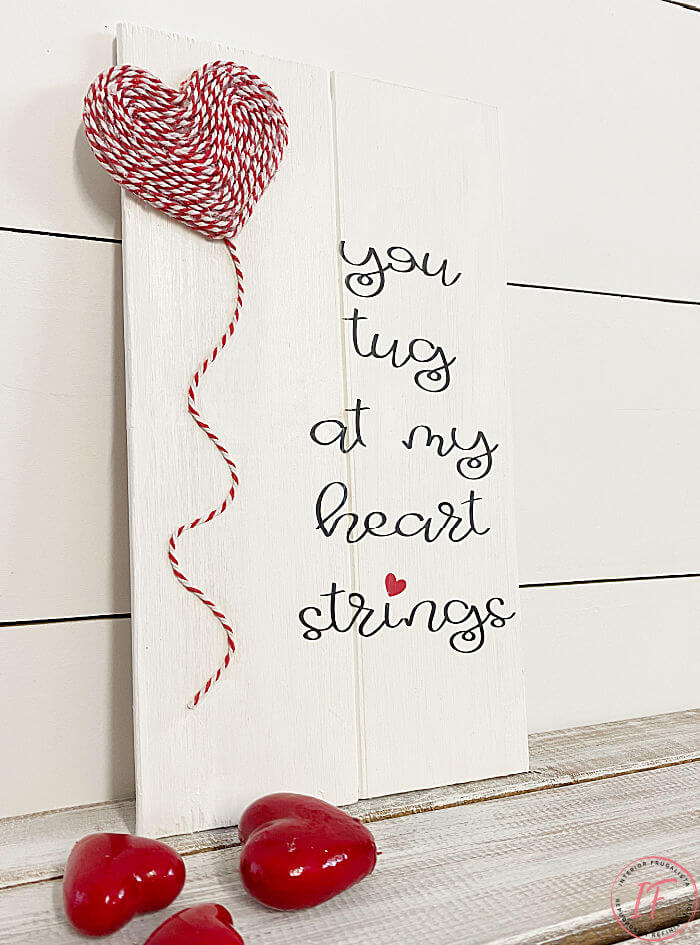
If you like easy peasy ideas for valentine's decor, then you'll love this! Plus it's a great way to recycle scrap wood you may have kicking around. But even better, this easy valentine's day scrap wood sign costs next to nothing to make.
Easy Scrap Wood Valentine Sign
You can see I used tongue and groove pine boards that I had in my stash but any small piece of scrap wood you have laying around is perfect for this DIY valentine sign.
If you don't have red and white baker's twine, no worries, use whatever string you have. For the heart, you can use a wooden heart shape like I did or make one with cardboard.
This post contains affiliate links so you can see what products I used or recommend for this project. As an Amazon Associate, I earn a small commission from qualifying purchases at no extra cost to you.
What You'll Need To Make It
Besides scrap wood, baker's twine, and a heart shape, you'll also need white school glue or a hot glue gun, and a wee bit of white paint. Again, use what you have on hand.
Here's How I Made It
Step 1 - Paint Scrap Wood
My previously painted tongue and groove scrap wood for the sign measures 12" x 6 1/2". Paint the scrap wood white with either acrylic craft paint, like I did, or chalk-style paint. Remember, we're going for a next to nothing cost here so use what you have on hand.
Step 2 - Creating The Quote
I created the, you tug at my heartstrings quote in Cricut Design Space because I'm making the quote with black permanent vinyl. Here's a screenshot so you can see the font and other settings I used if you have a Cricut machine. But if you don't, I've got you covered.
If you don't have a Cricut machine you could use either this image transfer technique or this image transfer technique for adding the quote to your sign. Design it first in Microsoft Word or PicMonkey.
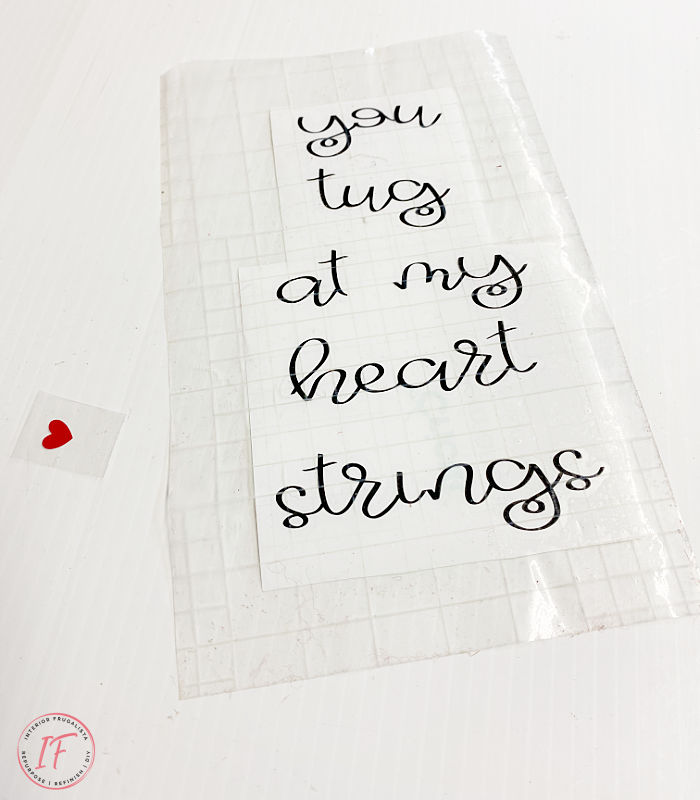
Here's the quote cut and weeded in vinyl with the transfer paper on top. I had some small red vinyl hearts leftover from another project to replace the dot on the letter i with a red heart.
Step 3 - Transfer Quote Onto Wood
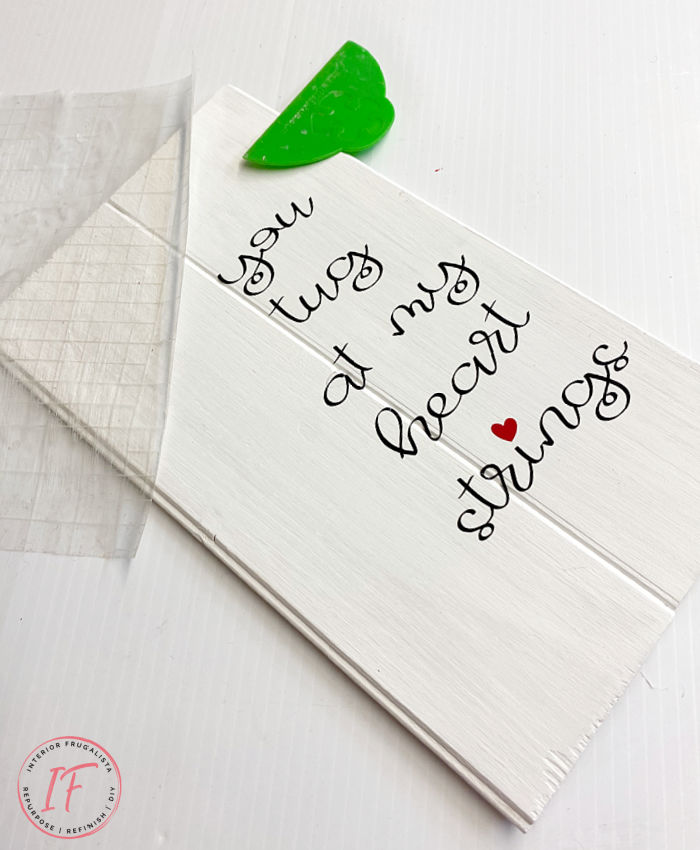
Transfer the quote onto the painted scrap wood and we're ready to play with some string but first, we need to do one more step.
Step 4 - Seal The Quote
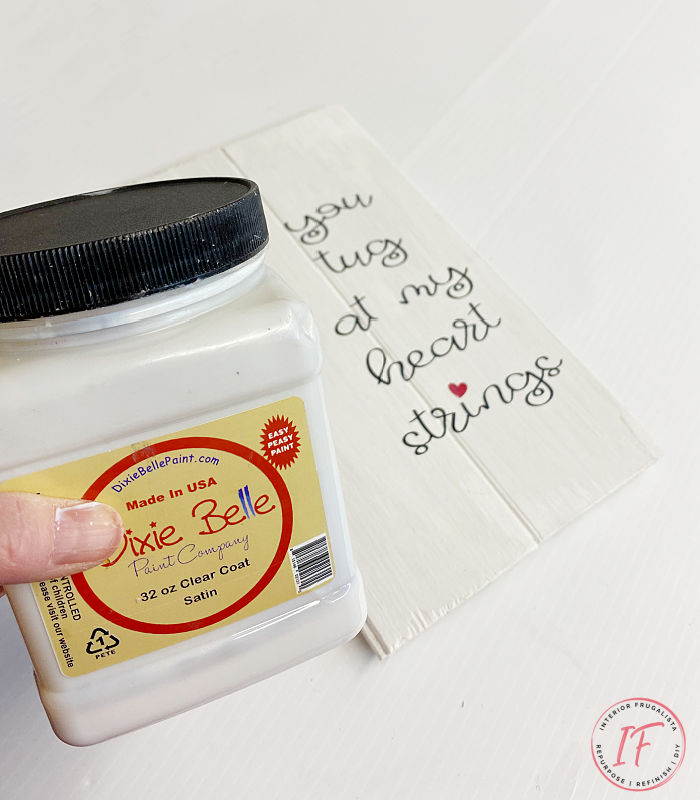
Whether you made the quote with vinyl or used one of the other image transfer methods, it's a good idea to seal the quote. Use whatever satin clear coat you have on hand but make sure it's non-yellowing.
Step 5 - Add A String Heart
For this step, you'll need either a 3-inch heart-shaped cardboard cutout or a wooden cutout. I used a wooden one that I had on hand.
You can use white school glue or a hot glue gun for this next step. Confession: I started with school glue and found it too messy and ended up switching to a hot glue gun. Plus it went much quicker too - patience is not one of my virtues.
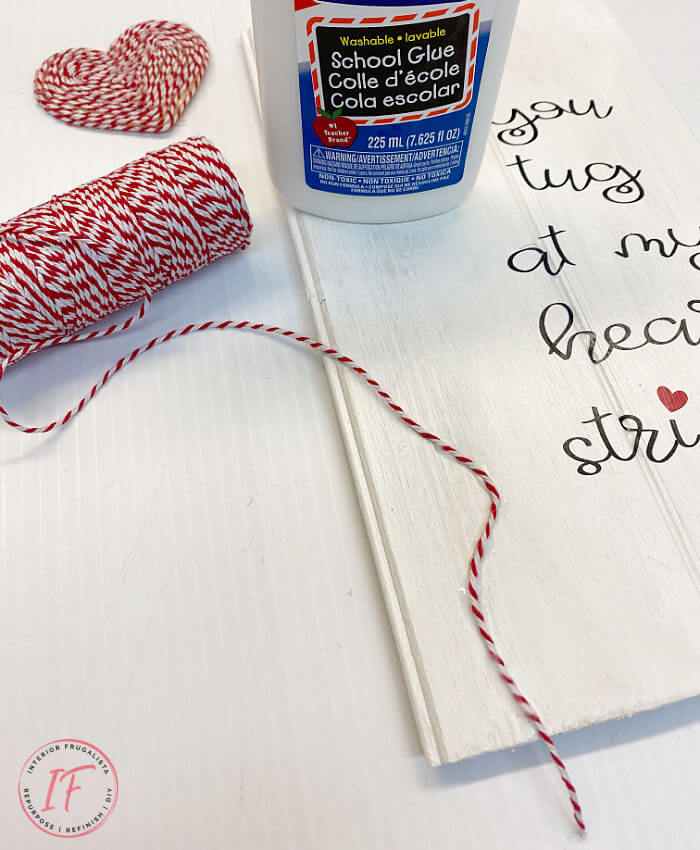
Starting at the top run a bead of glue along the outer edge of the heart and wrap the red and white baker's twine (or whatever twine or string you have on hand) around the heart, working your way towards the center. Easy peasy!
Cut a short strand of baker's twine and glue it onto the sign like a balloon string (pictured above). Next, glue the twine wrapped heart on the top left corner of the sign. I set mine a little over the edge of the scrap wood. Trim the excess twine on the bottom (pictured below) and we're done!
Here's another DIY Valentine's Day sign idea that you might like. For more heart-day inspiration visit my DIY Valentine Ideas page.
Almost all of the DIY projects shared here at Interior Frugalista have step-by-step tutorials so why not get your budget DIY on and subscribe. You can also follow us on Pinterest, Facebook, Instagram, and YouTube.
Thanks for stopping by the Interior Frugalista today! I hope you were inspired by this simple DIY Valentine Sign. If you have any questions, please leave them in the comment section below or the Contact Me tab at the top to drop me an email. I love hearing from you!
If you enjoyed this handmade valentine's decor idea, I'd be so thankful if you shared it with a friend and pinned it to your Valentine Decor Ideas or Scrap Wood Project Ideas on Pinterest.

I share my projects at these inspiring link parties.





Marie, this is gorgeous! I love how it looks and you presented it beautifully! I am pinning this!
ReplyDeleteThank you for your sweet comment, Maya, I'm glad you like it and the way I staged the photos (often a struggle). Thank you also for the pin. Have a good weekend! xo
DeleteThis is such a cute idea!!
ReplyDeleteThank you Michelle, I had fun with it!
DeleteThat is so cute, I love it! Pinning!
ReplyDeleteTania
Thanks Tania, I had some fun with the play on words.
DeleteThis is such a sweet piece! I can see it being a great gift for an anniversary too.
ReplyDeleteAlexandra
EyeLoveKnots.com
Oh yes, great idea Alexandra!
DeleteThis is so cute. What makes it better is using what's on hand for a nearly free project. Love it!!!
ReplyDeleteThank you Luana, I'm glad you like it! I get great satisfaction out of making things for next to no money.
DeleteSuper cute Marie! I need a Cricut! XOXO
ReplyDeleteThanks Denise, the possibilities are endless with these machines. I hope you get one.
DeleteMarie, This is just too stinkin' cute! I love it. Made a copy so I can work on it for next year. Would make a great gift for a birthday gift or best friend's gift, etc. ADORABLE!
ReplyDeleteSo glad you like it and plan to make one next year. Yes, it would make a great birthday or best friend's gift - never thought of that!
DeleteI think this is so fun and cute. My favorite Valentines always make me laugh and this sign made me laugh when I saw it.
ReplyDeleteThanks Leanna, glad I made you laugh. I love that my wood and craft stash is finally dwindling thanks to not shopping over the last year. What a shopping spree it's going to be once this is all over!
DeleteThis is such a sweet sign! I just love how you have used the butchers twine to make that gorgeous heart balloon.
ReplyDeleteThank you Sam, I'm glad you like my quirky sign!
Delete