Easy Repurposed Antique Chair Spindle Wind Chimes
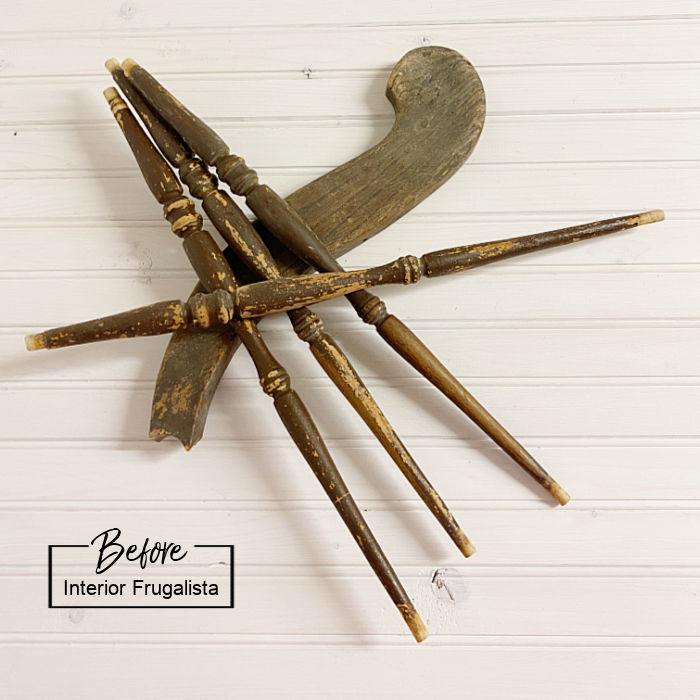
Today is our Int'l Bloggers Club Challenge and the theme this month is Spin Me A Spindle. I just happen to have a bucket of those because a few years ago my son brought me a dilapidated antique wooden chair knowing I'd find a use for it.
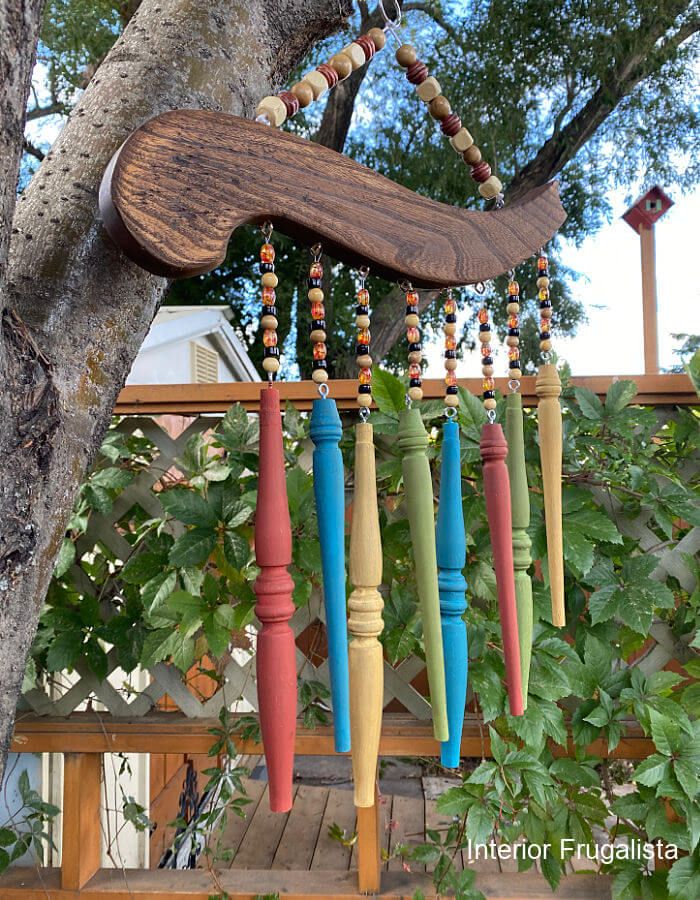
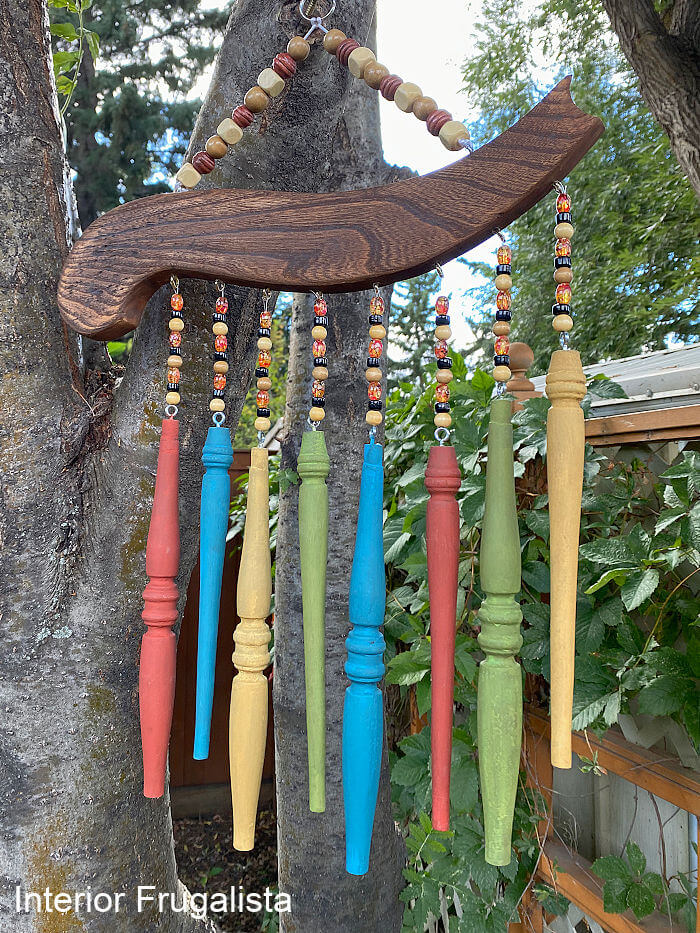
It's been the chair that keeps on giving because I've made multiple projects from the parts. Today I'm using some of the small spindles and one arm of the chair to make these easy repurposed antique chair spindle wind chimes.
Easy Rustic Wooden Chair Spindle Wind Chimes
The best part about these rustic spindle wind chimes for our backyard is that they cost absolutely nothing to make!
I've been slowly working my way through the box of antique chair parts, determined to salvage every single piece into something useful. Like the pressback top rail that was turned into a unique bird feeder.
Last month for our Walls And All theme I turned the chair seat into a playful time for a walk dog leash holder. You can see all the chair part projects so far on my repurposed antique chair page.
If you haven't heard of our Int'l Bloggers Club, we are a group of blogging friends from Spain, South Africa, Australia, the USA, and Canada who come together on the third Monday of every month to share a themed DIY project.
I've included links to our uber-creative member's Spin Me A Spindle ideas further down in the post and as always, they hit it out of the park!
What You'll Need To Make It
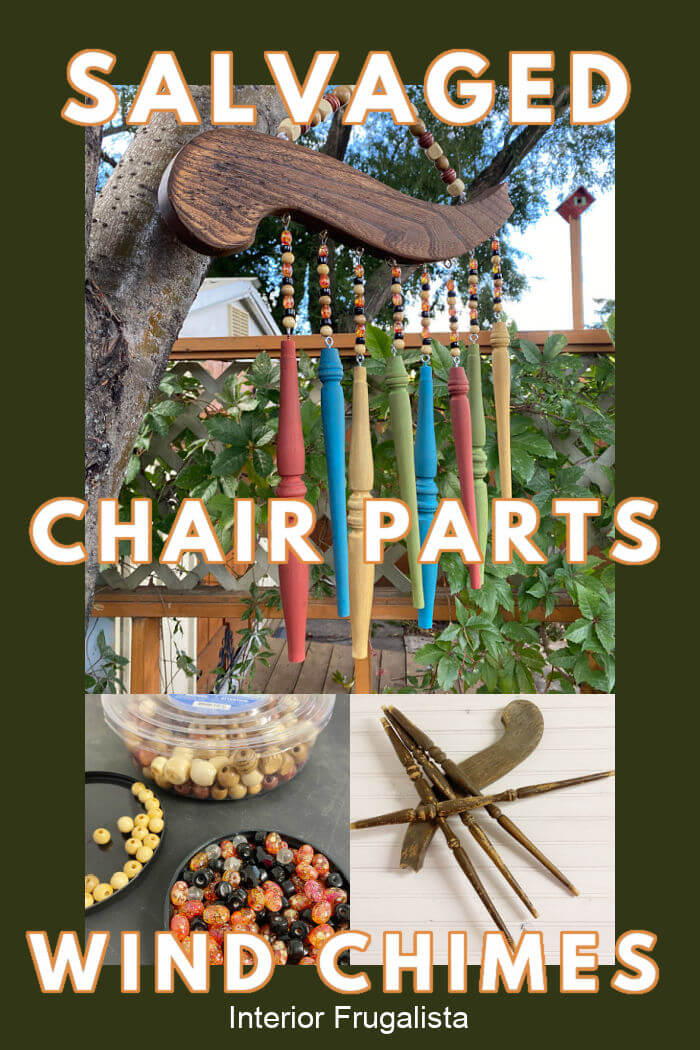
Pictured below are the chair parts used to make the spindle wind chimes.
A great resource for finding spindles is places like Habitat reStores or your local architectural salvage yard. Garage sales are another great resource for cheap wooden chairs that have seen their better days.
You'll also need small jewelry beads for the chimes and medium-sized beads for the hanger. I used an assortment of colorful beads salvaged from old costume jewelry and wooden beads from the dollar store that I had on hand.
This post contains affiliate links so you can see what products I used or recommend for this project. As an Amazon Associate, I earn a small commission from qualifying purchases at no extra cost to you.
Supply List
Wooden Spindles (salvaged)
Wooden Chair Arm (salvaged)
18 Small Eye Hooks
1-inch Keyring or Large Jump Ring
Clear Non-Stretch Thread
White 1.5mm 100% Nylon Cording
Small Colorful Beads (recycled costume jewelry)
Small and Medium Wooden Beads (dollar store)
Goldenrod Wise Owl Paint (on hand)
Lily Pad Green, Autumn Red, Mykonos Blue FAT Paint Company (on hand)
Behr Brown Wax (optional)
Wood Glue
Wooden Dowels
How To Make Chair Spindle Wind Chimes
Let's get into the nitty-gritty of how quick and easy the wind chimes are to make. You'll have them hanging outdoors within a few hours. Let's get started.
Cut Wooden Chair Spindles
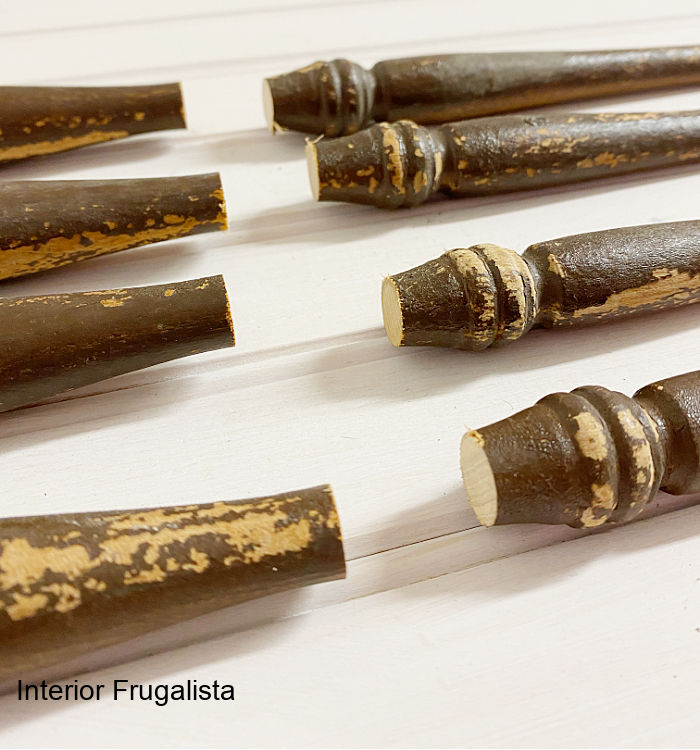
The chair spindles were too long for chimes so they were cut in half with a miter saw for a total of eight spindle chimes. Then they were lightly sanded with 150 grit sandpaper, just enough to remove any peeling stain.
Paint Wooden Spindles
Before painting the spindles, attach small eye hooks to the top of each spindle both to hang the spindles while the paint dries and for hanging the spindles on the wind chimes.
It's easier to screw the eye hooks into the spindles if you make a pilot hole first in the top center with either a nail, an Awl, or a tiny 1/16-inch drill bit.
Considering we are entering the autumn season, I chose to paint the spindles in Fall inspired colors with chalk-style paint that I had on hand. The colors are Goldenrod yellow, Lily Pad green, Autumn red, and Mykonos blue (pictured below after one coat).
This step is completely optional but to add rustic charm to the wind chimes, age the painted spindles with brown wax applied with a lint-free rag. You can see the difference between the waxed and unwaxed spindles in each color below.
Wooden Chair Arm
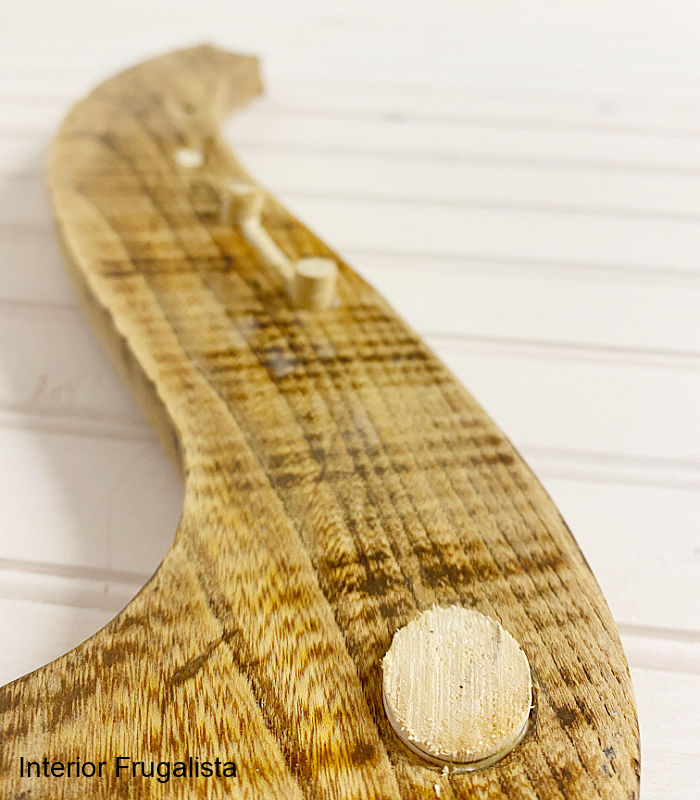
For the spindle hanger, one of the arms of the antique chair was salvaged. The end of the chair arm that was attached to the chair is left as is. All I did was fill the holes on the underside with wooden dowels in various sizes and wood glue.
Once the glue cured, the dowels were cut flush with a coping saw and any voids were filled with wood filler. Once the filler was dry the arm was sanded smooth with a mouse sander.
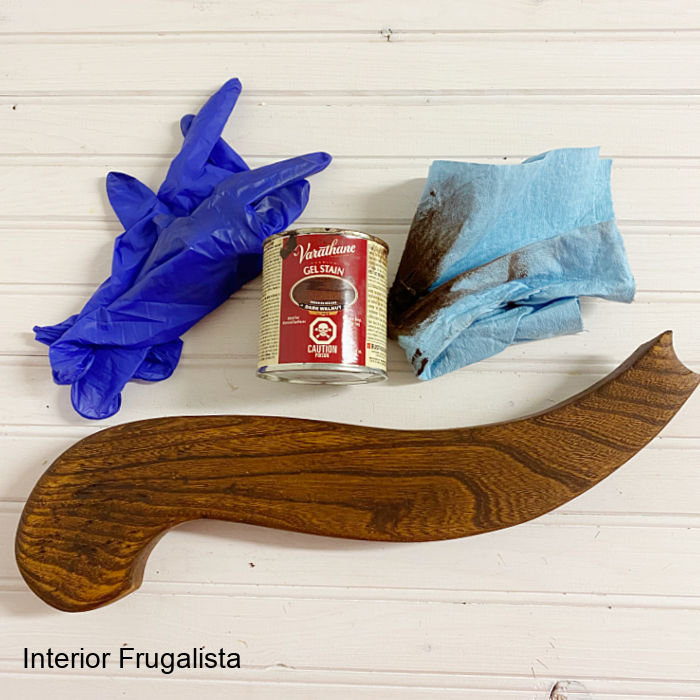
Next, any sawdust was removed with a damp cloth, and the chair arm was stained with one coat of Dark Walnut gel stain with a lint-free rag.
The chair arm is flipped so one side is pointing upwards and the scroll end facing downward. Because the arm is stained rather than painted, the dowel plugs are visible so that side is facing towards the back.
Eight pilot holes are predrilled with a 1/16-inch drill bit (a nail or Awl would work too) and spaced 1 1/2-inches apart along the bottom edge of the arm.
Next, small eye hooks are screwed into each predrilled hole. All I had left in my stash were small gold eyehooks that don't match the silver ones used on the spindles.
Oh well, I'm not going to sweat it because like I mentioned earlier, these handmade wind chimes are all about using what I have on hand so they cost absolutely nothing to make.
Assembling Wind Chimes
I tied an 18-inch strand of clear non-stretch jewelry thread with a triple knot through the eye hook on each spindle.
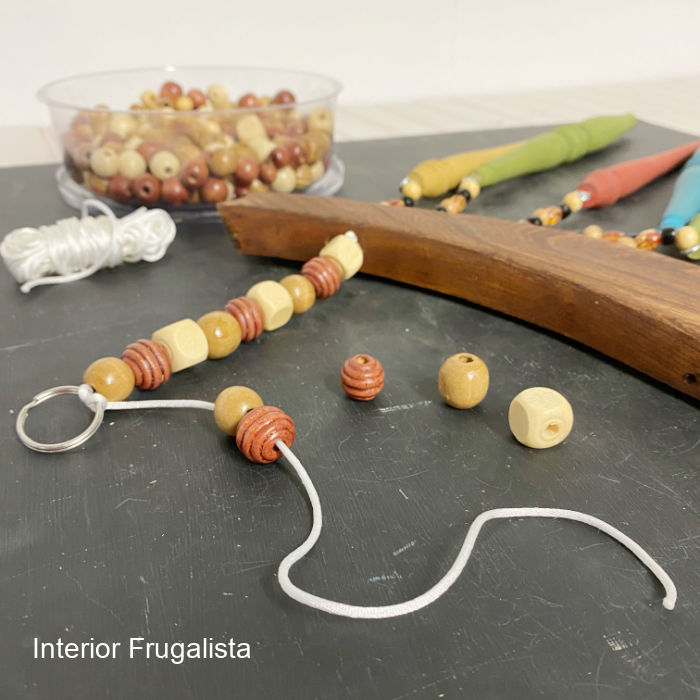
Then I threaded a mixture of nine small colored acrylic beads and round wooden beads on the clear thread. String the cut end of the clear thread through the beads to conceal it.
Tie the opposite end of the clear thread with a triple knot to the eye hooks on the chair arm. Again slipping the cut end of the thread through the beads to conceal. Be sure to hang the spindles at varying heights.
Wind Chime Hanger
To hang the wind chimes, attach two small eye hooks on the top of the chair arm. Cut a 20-inch strand of white 1.5mm 100% nylon cording and fold it in half. Attach a keyring or 1-inch jump ring to the center of the cording with a slip knot like pictured below.
Thread an assortment of medium-sized beads on either side of the keyring. Tie each end of the cording onto the eye hooks with a double knot and thread the cut ends back through the beads to conceal them.
Ensure the keyring is centered on the chair arm so the wind chimes hang straight. Now head outside and hang the wind chimes from a tree branch and enjoy!
Thanks for stopping by the Interior Frugalista today! I hope you were inspired by these antique chair spindle wind chimes.
Almost all of our DIY ideas have step-by-step tutorials so why not get your budget DIY on and subscribe. You can also find us on Pinterest, Facebook, Instagram, and YouTube.
If you have any questions, please leave them in the comment section below or the Contact Me tab at the top to drop me an email. I love hearing from you!
If you enjoyed this handmade wooden wind chime idea, I'd be so thankful if you shared it with a friend and pinned it to your Wind Chime Ideas or Repurposed Chair Ideas board on Pinterest.
Now let's see my talented friends' ideas for the spin me a spindle challenge by clicking the links below.
DIY CD Spindle Water Feature | A Crafty Mix
DIY Coral Reef Pattern | Birdz Of A Feather
Cement Grim Reaper | Unique Creations By Anita
DIY Spindle Outdoor Bird Perch | What Meegan Makes
Easy Antique Chair Spindle Wind Chimes | Interior Frugalista (that's me)
I share my projects at these inspiring link parties.









Such a charming project Marie! I adore the Fall colours you chose and the wax really cements the Fall vibe! I've never tried chalk paint before but hope to be trying it out on a project this week. Wish me luck!
ReplyDeleteOh Sara, you're going to love working with chalk paint! If you have any questions, don't hesitate to drop me a DM. Thank you, I'm happy you like the wind chimes. They sound quite lovely and they really got a run for their money last week with the crazy wind we had.
DeleteBrilliant idea, Marie!! I would love to have one of these hanging in our garden and I'm coming back to hear the sound they make. I bet it sounds sooooo cool.
ReplyDeleteThank you, Michelle! The sound of spindle wind chimes and the trickling water from your amazing water fountain would make for such a wonderful relaxing backyard oasis.
DeleteThis is so cute, creative and colorful Marie 💜 I hope you’re having a great week!
ReplyDeleteThank you very much, Michelle, I'm glad you like them! I hope you're having a great week too. I planned on sending you a DM later today or tomorrow. xo
DeleteI just love these colorful spindle wind chimes, Maria! I love how you are using every bit of the chairs to recreate something lovely for your home. This would be so lovely to listen to on my apartment cottage back porch. Thanks for always inspiring me.
ReplyDeleteThank you so much, Meegan, I'm glad you like the wind chimes and how I've been repurposing every single piece from that old chair. You and I were on a similar wave-length for this challenge. LOL Thank YOU for always inspiring me too my friend. ~Marie
DeleteYour windchime is just awesome. I love all the bright colours and the beads were a perfect touch to make it unique. I am just annoyed that I did not think of it because I have loads of those spindles. Brilliant project.
ReplyDeleteThanks Anita, I'm glad you like the wind chimes! I'm so glad to have found yet another purpose for recycling some of the old chair parts. I still have many more to put my thinking cap on for.
DeleteWhat a unique way to use those chair parts! I love how colorful you made the spindles. Wonderfully creative, Marie!
ReplyDeleteThank you very much, Beverly, I had fall in mind when choosing the colors for these wind chimes.
DeleteWhat an amazing idea! I will have to look through my barn and see what I can find! Thank you for sharing.
ReplyDeleteThank you very much, Tracy! I hope you find just what you need in your barn to make the wind chimes. If do end up making them, I'd love to see a photo. And of course if you have any questions, don't hesitate to contact me, I'd be happy to help.
DeleteYour spindle challenge turned out so sweet. I am always amazed at how you can look at something like a broken chair back, spindles and make a gorgeous piece out of it. Great idea. xoxo Kris
ReplyDeleteThank you very much, Kris! I ditto the sentiment right backatcha with how my favorite DIY Dynamic Duo transform vintage finds into gorgeous cottage decor. Have a lovely Sunday. xo
DeleteYou had me at chair spindle!! I am crazy over spindles of any kind and I am excited to do this project! Probably not until next spring and I will link back to you when I do it!. Pinned and thanks so much for sharing such a fun project!!
ReplyDeleteMusic to my ears, Cindy! So glad the wind chimes inspired you to make some for your yard too.
DeleteI love the colors and the fact that you salvaged items! And the sound is so calming :-)
ReplyDeleteThanks Christina, I'm so pleased with how they turned out. I still have leftover chair parts so more spindle projects to come.
DeleteI love these so much Marie - especially that it costed you nothing to make! The colors you chose for it are giving me all the fall vibes! Thanks for sharing these with us at Farmhouse Friday - we're featuring you at Friday's party!
ReplyDeleteI'm glad you like the wind chimes, Michelle, and thrilled to hear you'll be featuring them this week. Thank you so much! They've been getting a run for their money (wait a minute, they didn't cost me anything) because it's been so darn windy here lately.
DeleteHow cute (& fun) is this?! Love it, Marie. Sharing!
ReplyDeleteSo glad you like my trash to treasure wind chimes, Larissa! Big hugs sent your way for sharing. xo
DeleteYou are so clever and creative. I'd never see a wind chime in a chair spindle, but your is wonderful.
ReplyDeleteHi Carol, I'm glad you like the wind chimes. It feels good to have found a useful purpose for the chair spindles. I love how they sound in our back yard too. Thanks for popping over for a visit. 😀
DeleteThis is such a cute idea! I have a friend that loves to make wind chimes, I'll have to share this with her.
ReplyDeleteCarrie
curlycraftymom.com
Thank you Carrie! I hope your friend likes this idea for handmade wind chimes. I love how they sound in our backyard.
DeleteI absolutely love your chimes Marie! Great repurpose of chair spare parts, and I love the fallish colors that you chose.
ReplyDeleteThank you very much, Tuula, that means a lot considering I think of you as the queen of DIY wind chimes! xo
DeleteThanks for sharing with us, I'm featuring you this week when the next To Grandma's house we go party starts. Happy spring!
ReplyDeleteHappy Spring back to you Tarahlynn! I'm thrilled to hear my wind chimes will be featured this week and thank you so much. xo
DeleteDo you remember I said I would make this for my backyard last year?? Well, I haven't done that but I am featuring this post in Tuesday Turn About link party this week!! Thanks for sharing your creative ideas Marie!
ReplyDeleteI'm thrilled to hear you'll be featuring my wind chimes, Cindy, and thank you so much! Girl, you've got all summer to get those wind chimes made for your yard and you'll love listening to them once you do.
DeleteMarie, this is fabulous! It grabbed my attention at To Grandma's House We Go. This is something that could actually inspire this non-crafty person to dive right into some crafting!
ReplyDeleteI'm thrilled to hear this Jean! I hope you make the wind chimes, they sound lovely on a breezy summer day.
DeleteLove love love this! I can hear it now with it's deep knocking sound. How fun and so cute! Thanks for linking it on Farmhouse Friday. I'm featuring it tomorrow! pinned
ReplyDeleteThank you so much for the feature and the pin, Cindy, you made my Friday! xo
DeleteThis is just gorgeous!!
ReplyDeleteAlexandra
EyeLoveKnots.com
OnRockwoodLane.com
Hi Alexandra, thanks a bunch!
Delete