Small Tea Storage Box - Upcycled Bombay Jewelry Box
What is your preference, coffee or tea? We are coffee drinkers but this winter we got in the habit of enjoying a pot of earl grey after dinner. The problem though is that our tea is inconveniently stored in an awkward lower cabinet. Considering this has become a daily ritual, we decided we needed a small decorative tea storage box to sit on our kitchen counter.
I happened to have a hinged Bombay-style jewelry box tucked away in a cabinet that we were no longer using. It is the perfect size for storing a few rows of tea bags and the lovely shape makes it worthy to have on display in our kitchen. The only problem is the cherry color had to go so I set out to give it a makeover.
Upcycled Bombay-Style Wooden Tea Box
We don't drink enough tea to justify a larger wooden tea box with compartments so this one suits our needs perfectly. Not only is it great for storing tea bags, but it could easily store a bag or two of loose leaf tea, a tea scoop, and steeper too.
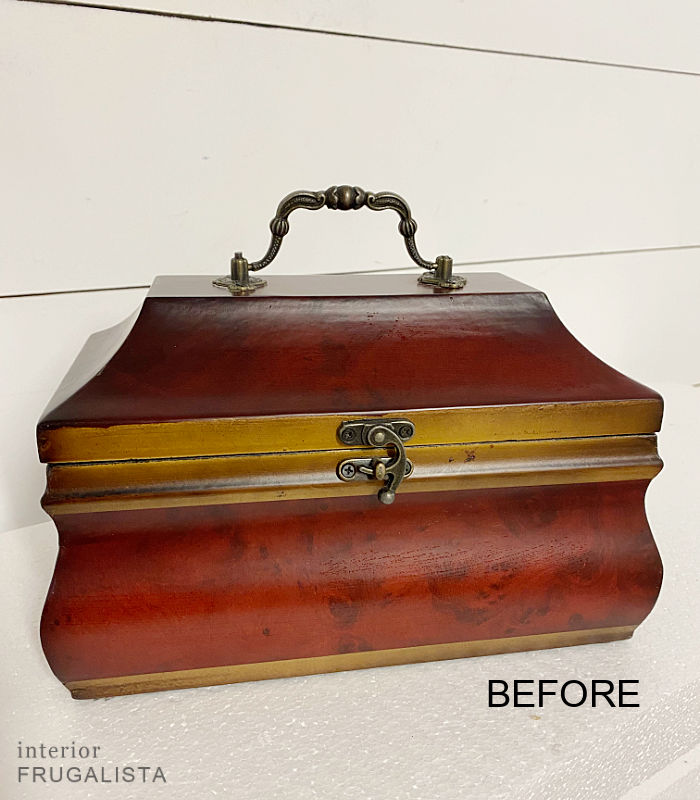
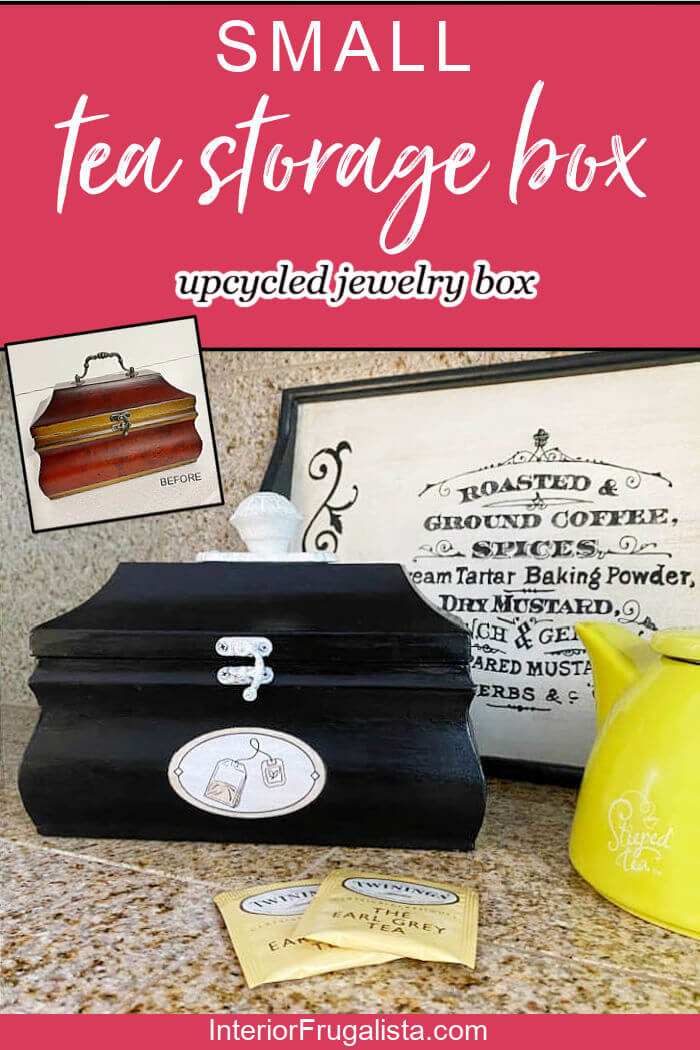
Pictured below is the small Bombay-style jewelry box before the makeover. For decades it was displayed on our living room bookcase and was never used for its intended purpose.
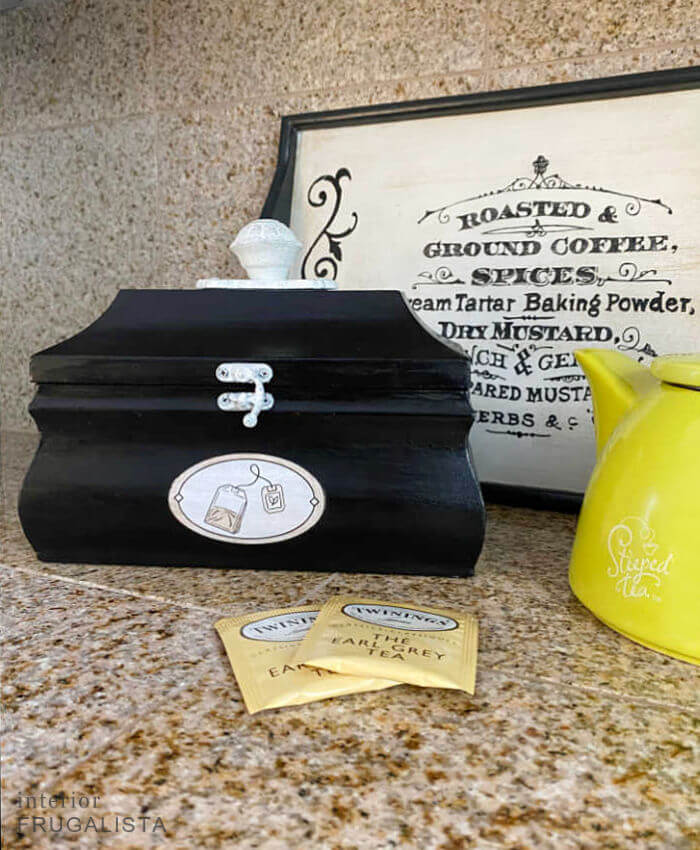
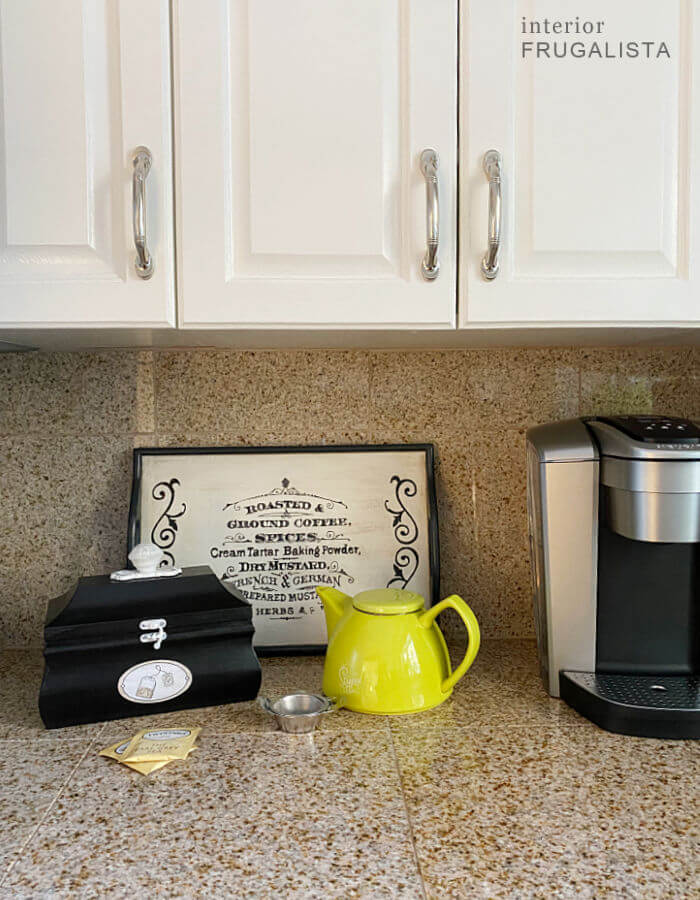
Here it is now as a kitchen tea storage box in colors that work with our recent kitchen makeover.
What You'll Need To Make It
These are the supplies I used for the hinged wooden box transformation.
This post contains affiliate links so you can see what products I used or recommend for this project. As an Amazon Associate, I earn a small commission from any qualifying purchases at no extra cost to you. Thank you for your support!
Supply List
Small Wooden Hinged Box (had on hand)
Decorative Handle
Wood Filler
White Primer
Black Chalk Paint
Gloss Acrylic Clear Coat
Black Spray Paint (optional)
White Chalk Paint (optional)
Clear Wax (optional)
Brown Wax (optional)
Here's How I Made It
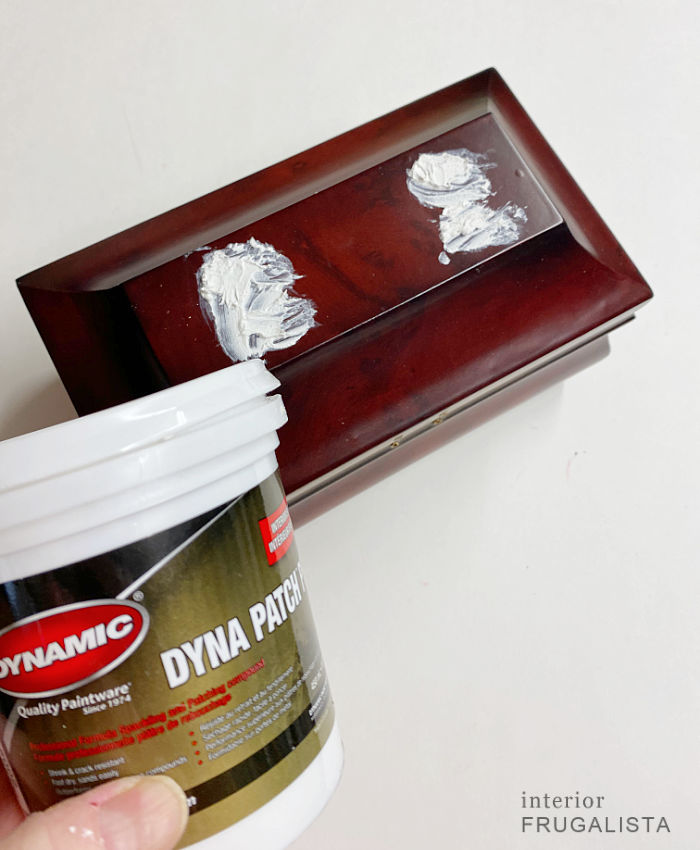
I've always disliked the drop bail drawer pull handle on the box because it never stayed upright. So the first thing I did was remove it and fill the holes with a non-shrinking plastic wood filler. I also removed the lid and the rest of the hardware but more about that later.
Normally I would lightly sand the shiny finish to give the paint some bite. But sanding a red stain will likely cause dreaded paint bleed so I primed the box with two coats of Zinsser Bulls Eye 123 Primer instead.
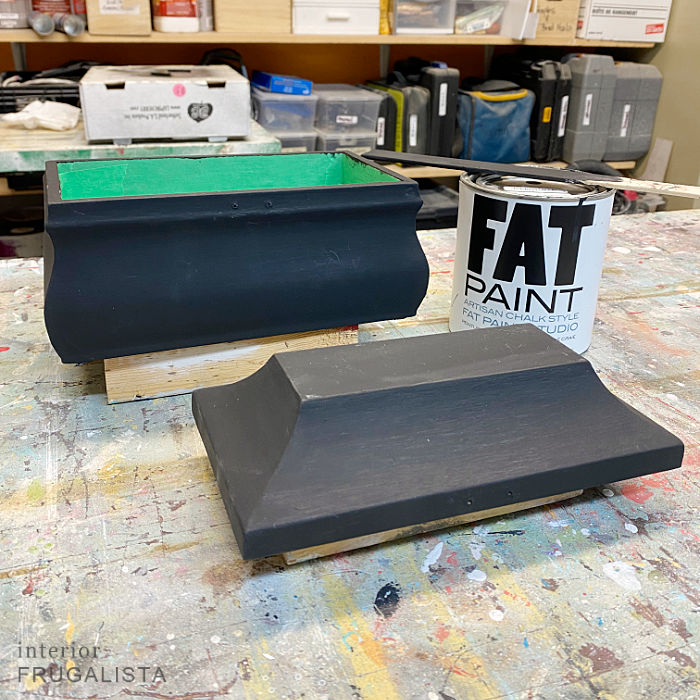
After the primer dried for a few hours, I painted the exterior of the box with two coats of Raven Black FAT Paint that I had on hand. I lightly sanded the paint between each coat with 220-grit sandpaper for a nice smooth finish.
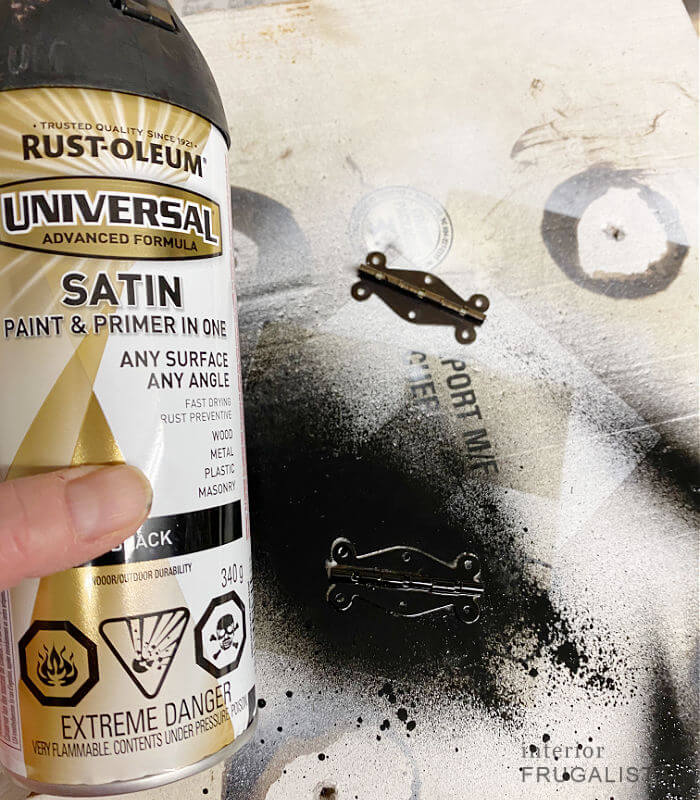
While the first coat of black paint was drying, I spray-painted the metal hinges black so they would blend with the black exterior color of the tea storage box.
The felt inside the box, albeit not my color preference, is in perfect condition so I decided to leave it as is and give it a quick clean with baby wipes.
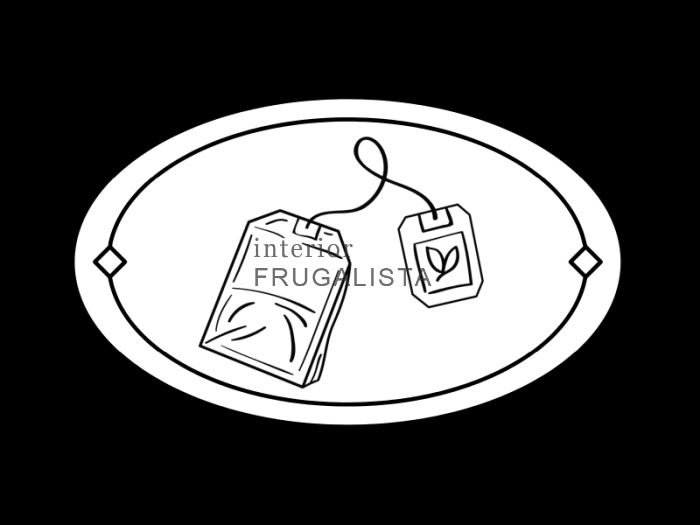
Next, I set out to make a simple label for the front of the box in PicMonkey. I designed the label with a black background so the white border on the label was visible for easy cutting.
I printed it on regular bond paper in a ratio that fit the front of the box. I used serrated kitchen scissors to cut the label so it had a bit of a decorative ragged edge. I set the label aside so the ink would completely dry for a few hours.
Once the black paint was completely dry I used Mod Podge to decoupage the label to the front of the painted box.
After the label was dry, I used a foam brush to apply two coats of clear gloss Minwax protective finish over the entire box, including the label.
Now that the decoupage label is protected with a clear coat, I used brown wax to add some color to parts of the label.
With a small art brush, I lightly feathered dark wax over part of the teabag, the string tag, and around the perimeter of the label with a small art brush. I continued to blend the wax with the brush, occasionally wiping the excess wax collecting on my brush onto the rag.
Alternatively, you could stain the label much the same way with cooled steeped tea before attaching the label to the box and before sealing with a clear coat. This would have been my preference had I thought to add color beforehand.
Before attaching the hinged lid back onto the box, I replaced the old handle with a new one that I had in my stash. I believe I got it during this Canadian gal's first visit to Hobby Lobby.
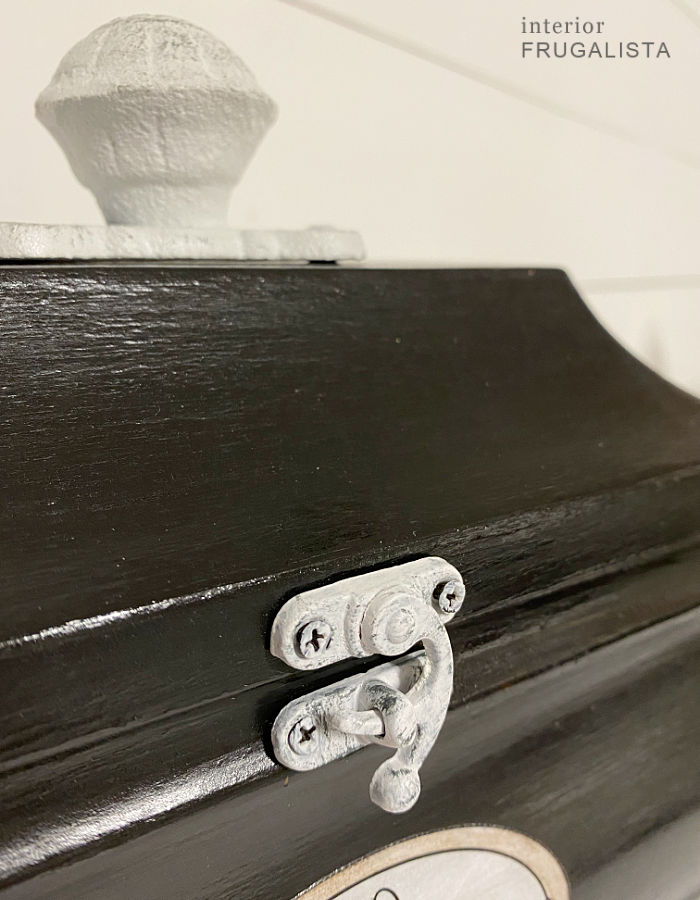
Before reattaching the latch hook hasp on the front, I painted the metal to match the patina on the new handle. To do this I first painted it with a base coat of tin white Behr Decorative Paint that I had on hand.
Once dry, I dipped an art brush into some charcoal gray paint that I had on hand and blotted the brush onto a paper towel to offload most of the paint. Then I lightly swept the brush over the white paint to hit the raised details.
Next, after the gray paint was dry, I protected the paint by applying clear wax with a lint-free rag. After I reattached the painted latch hook hasp to the box I dabbed the screw heads with tin white paint.
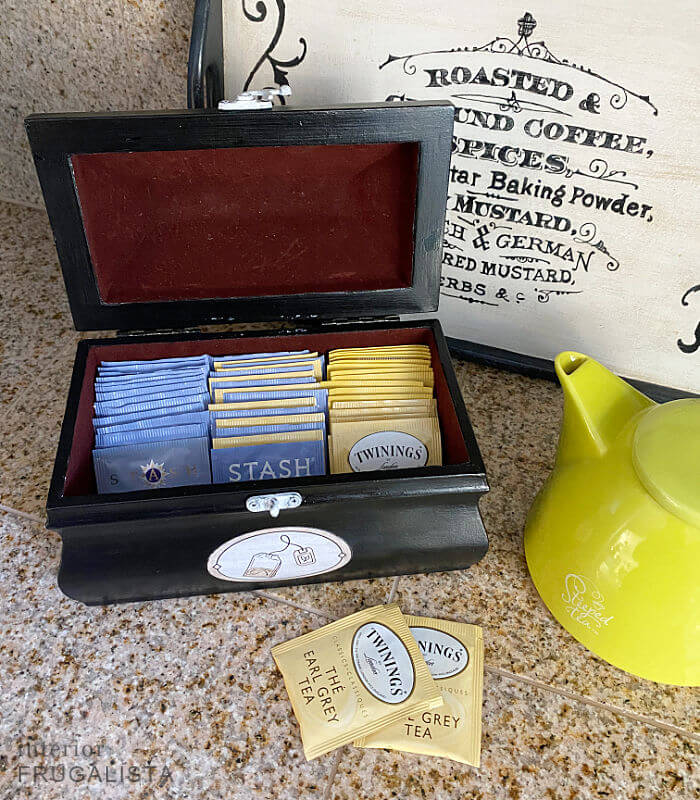
Now the upcycled jewelry box is ready for its new life as a wooden tea box. I love having our assortment of earl grey tea bags conveniently within arms reach.
I'm especially liking how our tea is hidden in a pretty Bombay-style tea storage box on our kitchen counter. Almost as much as I like the remote control storage jewelry box in the living room.
Thanks for stopping by the Interior Frugalista today! I hope you were inspired by this pretty tea storage idea. Here's another idea for a hot beverage station by repurposing wooden shutters into a space-saving wall-mount mug holder.
Almost all of our DIY ideas have step-by-step tutorials so why not get your budget DIY on and subscribe. You can also find us on Pinterest, Facebook, Instagram, and YouTube.
If you have any questions, please leave them in the comment section below or the Contact Me tab at the top to drop me an email. I love hearing from you!
If you enjoyed this upcycled jewelry box to a pretty wooden tea box, I'd be so thankful if you shared it with a friend and pinned it to your favorite board on Pinterest.
I share my projects at these inspiring link parties.







Oh my gosh this is so adorable Marie! I love your upcycled boxes they always turn out awesome!
ReplyDeleteThank you very much (I wish I knew your name), I'm glad you like it and the other upcycled boxes I've done! Have an awesome day 🙂😄
DeleteYou did a great job with the makeover Marie. I love that you turned the box into one for tea bags.
ReplyDeleteThank you very much, Julie! We sure are enjoying our new tea box, so much handier than before.
DeleteI love it, great idea! I drink tea AND coffee, haha!!
ReplyDeleteThank you Tania, this bonafide coffeeholic gal is surprising herself by the evening tea ritual. LOL
DeleteWhat a great idea. I probably won't be able to find one of those Bombay styled jewelry boxes, but I've seen a whole bunch of others at our thrift store that would work too and we need something for our holiday home. For some strange reason, that's the only time we drink tea :D
ReplyDeleteThat's too funny that your holiday home is the only time you drink tea. Sounds like you definitely need a tea box then! We sure are enjoying ours.
Deletegreat work! for sure it will be lovely decoration and no longer tucked away in a cabinet :)
ReplyDeleteThank you very much! It is so handy having our tea within arms reach now.
DeleteI just love this, Marie! Not just for the funtastic idea, but also the time spent together. 💗
ReplyDeleteI love that you picked up on that Larissa and I know how much you value those moments in life. Thank you! xo
Delete